I kind of lost my love for baking these past few months. It was a stressful and emotional winter, and the kitchen was not its usual place of relaxation.

However, I’m happy to report that I’m back in action! I baked a multitude of treats for my friend’s birthday last week and enjoyed every single second of it.
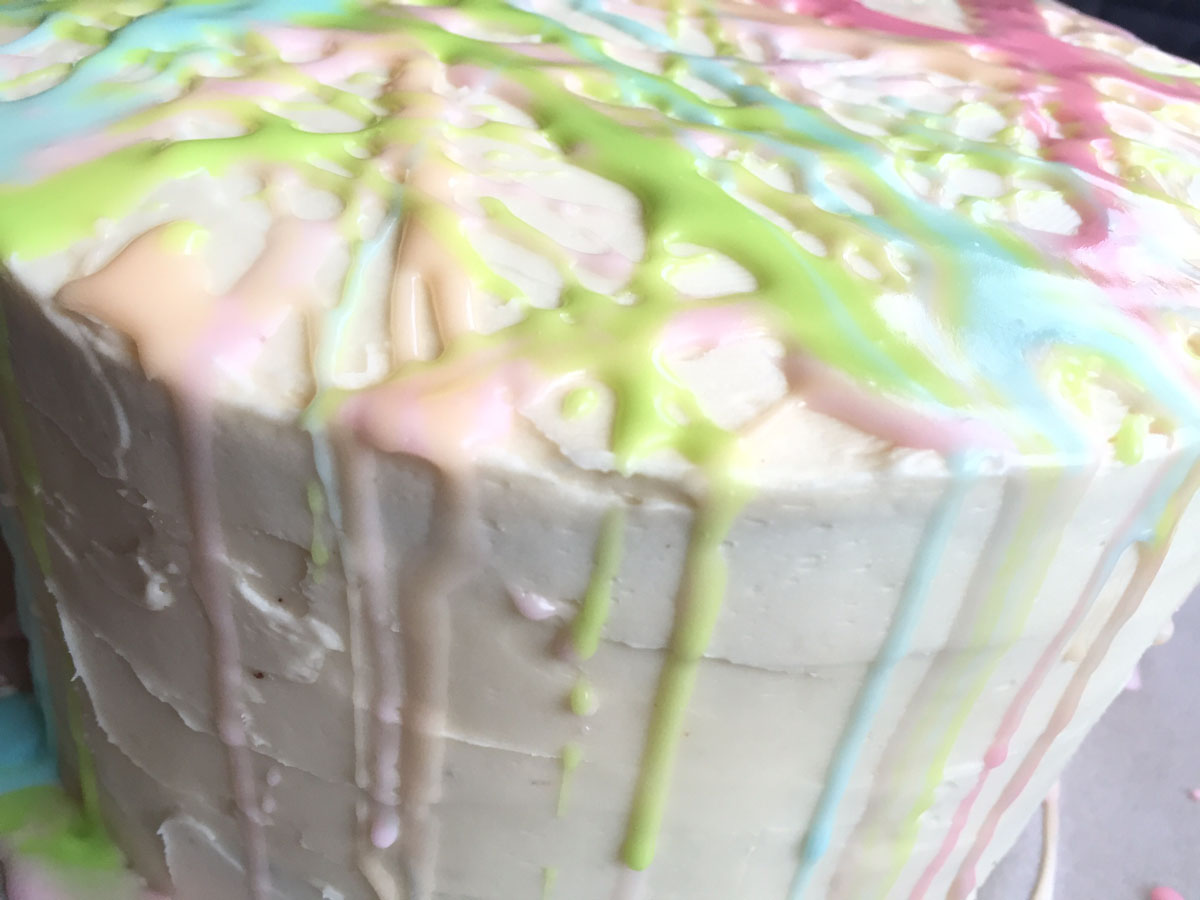
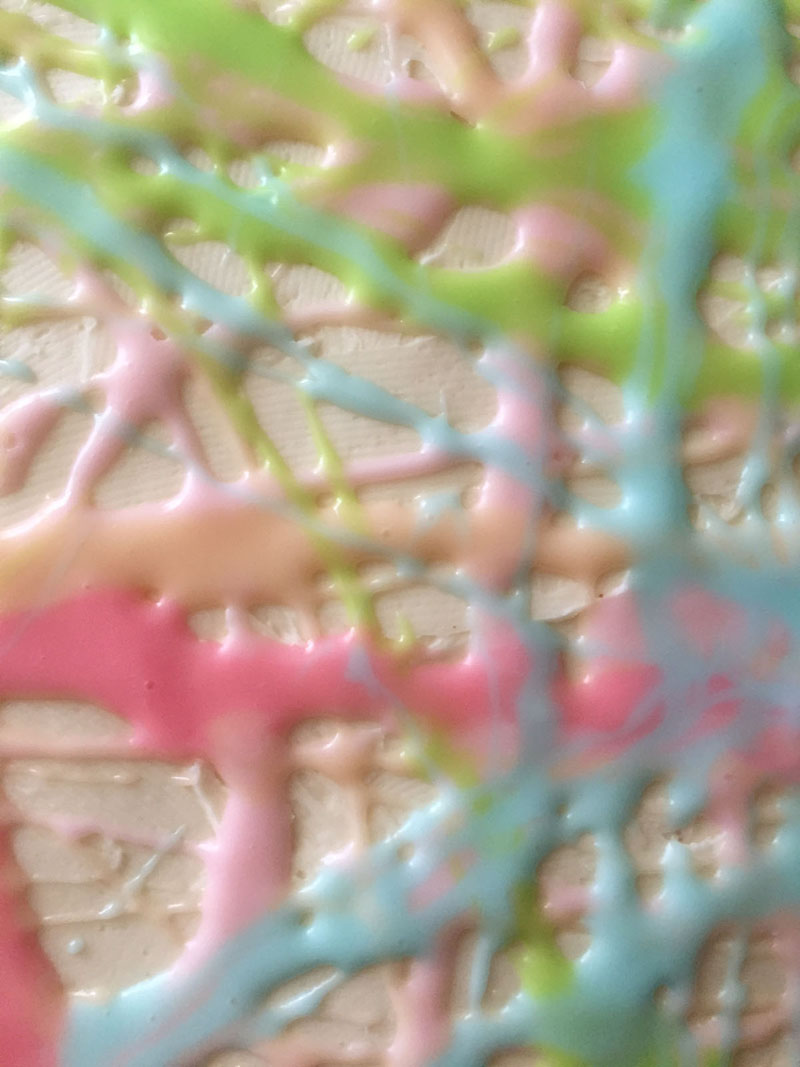
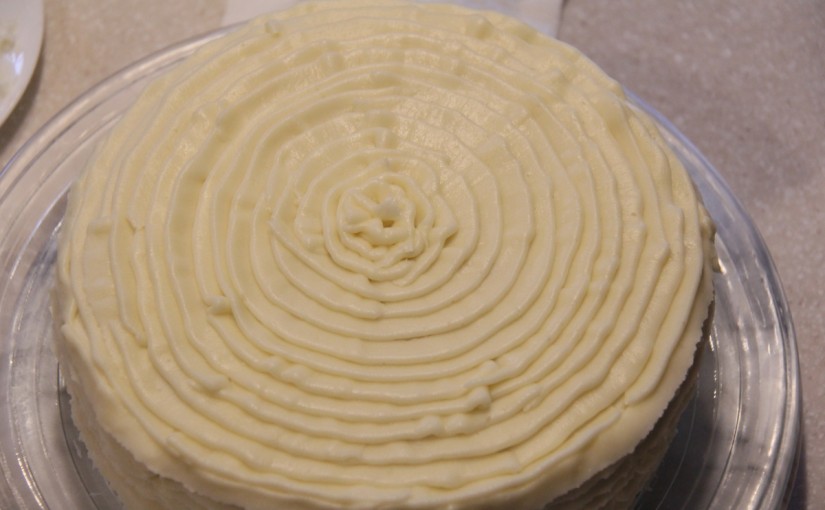
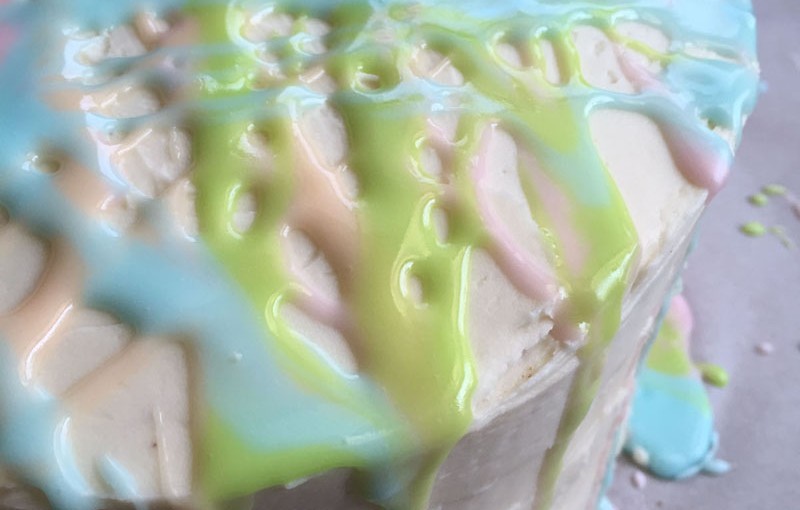
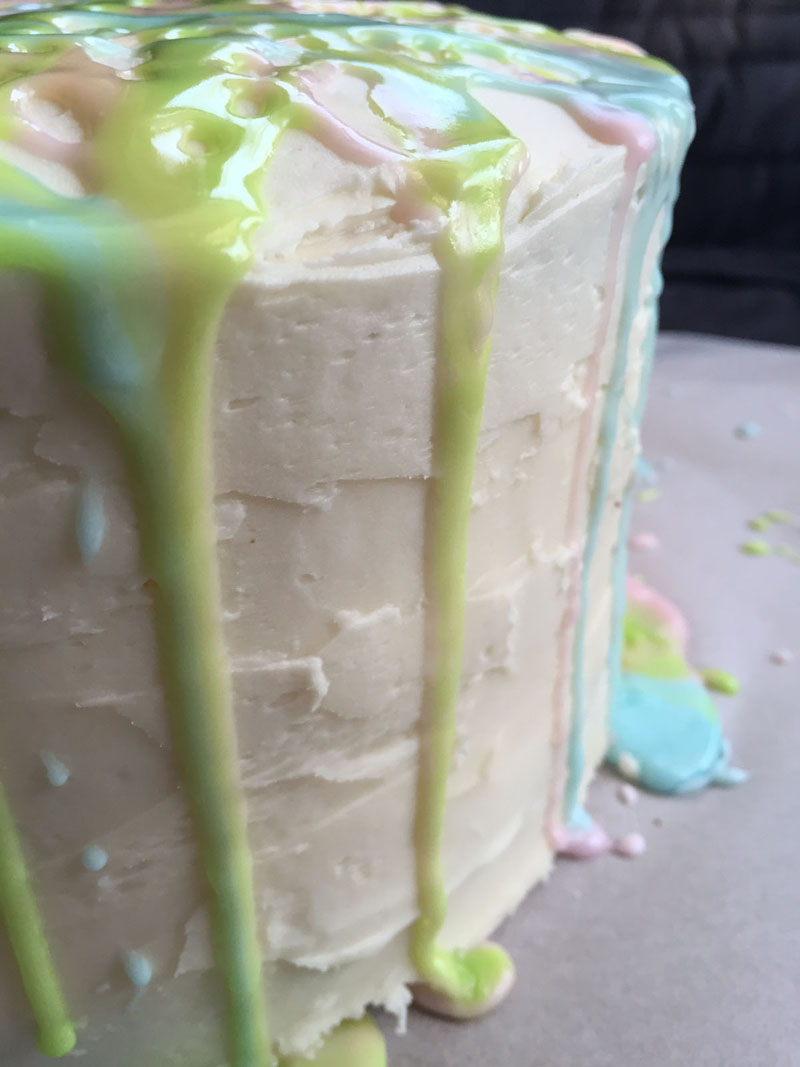
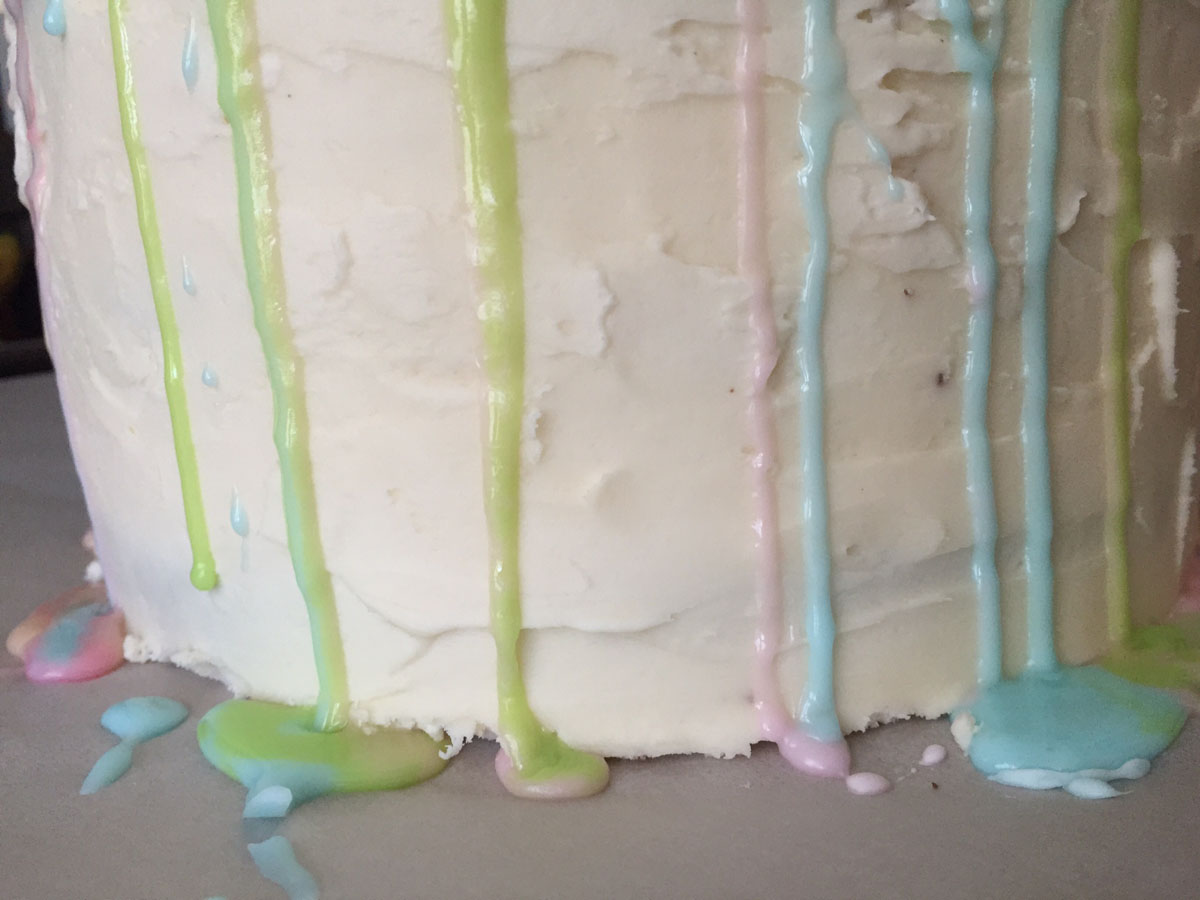
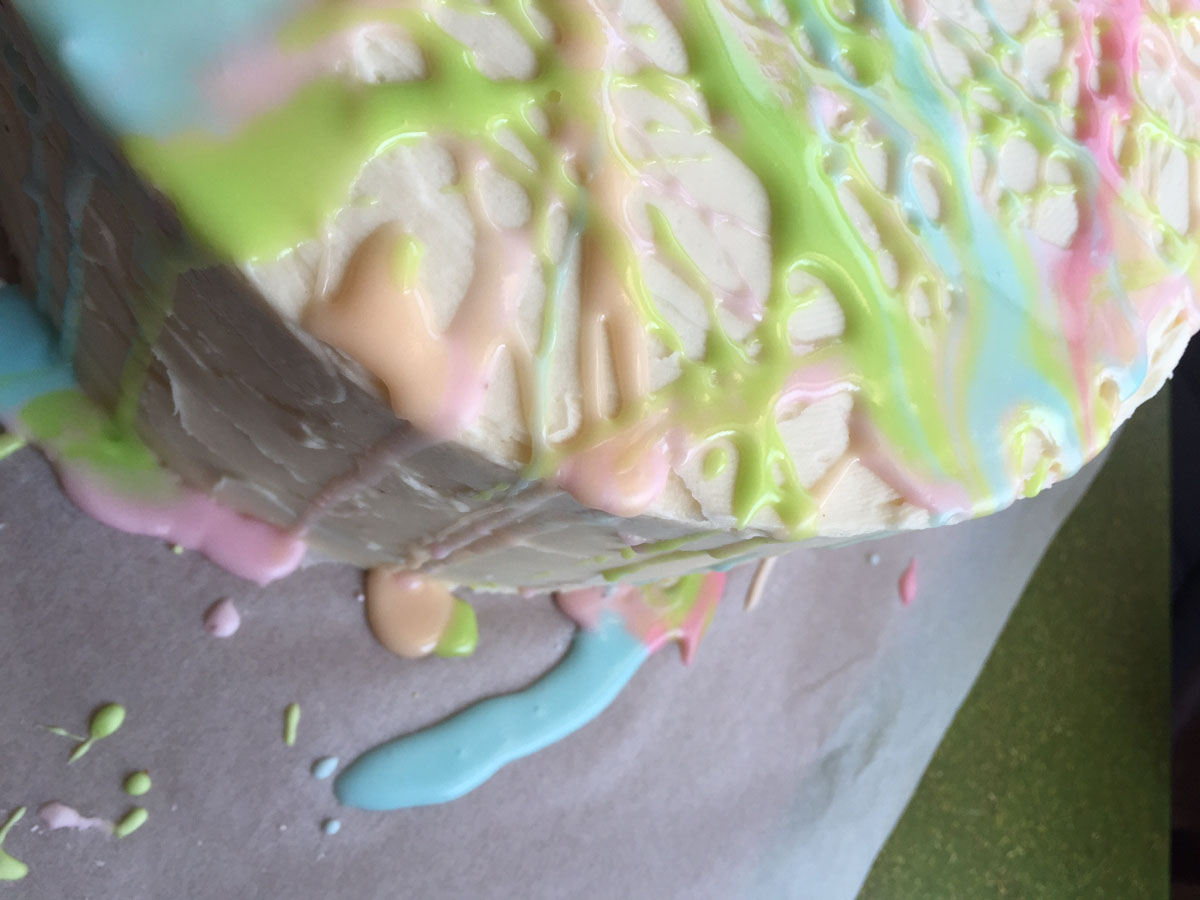
This cake is inspired by one of my favorite bloggers, Molly Yeh, and is basically one big art project. When I texted my dad a picture, he said it was too pretty to eat, but my friends had no problem digging in. They even devoured every last drop of ‘paint’ on the parchment:)
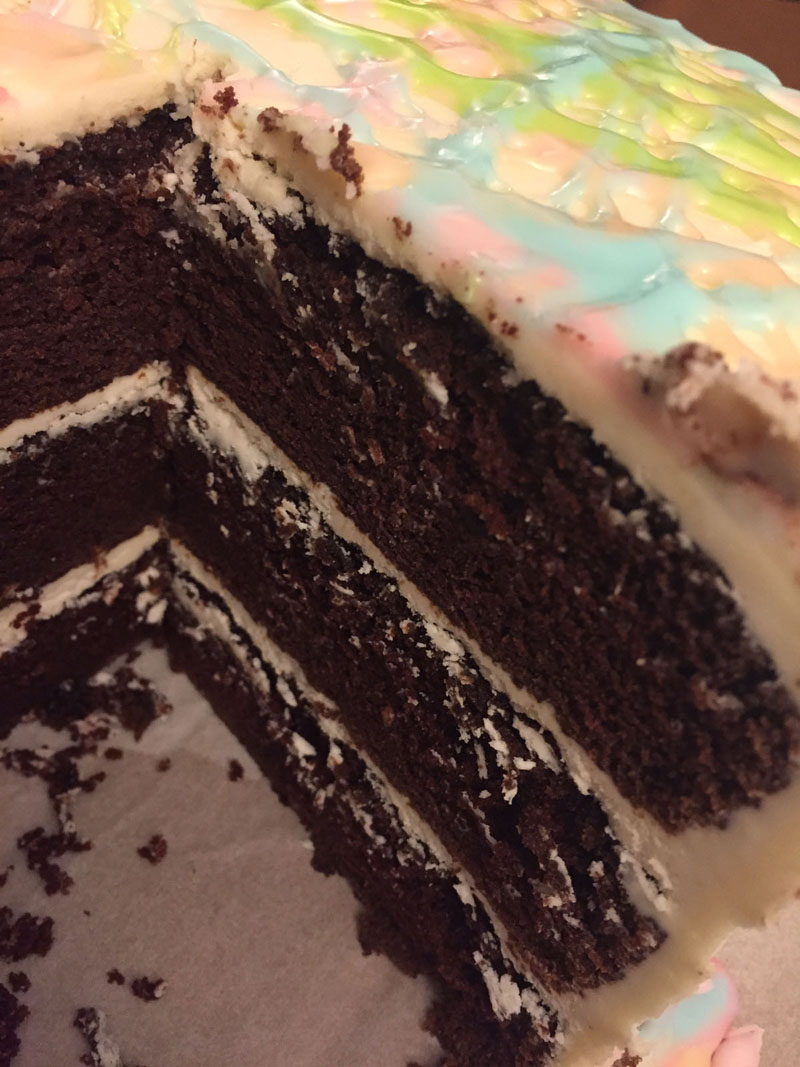
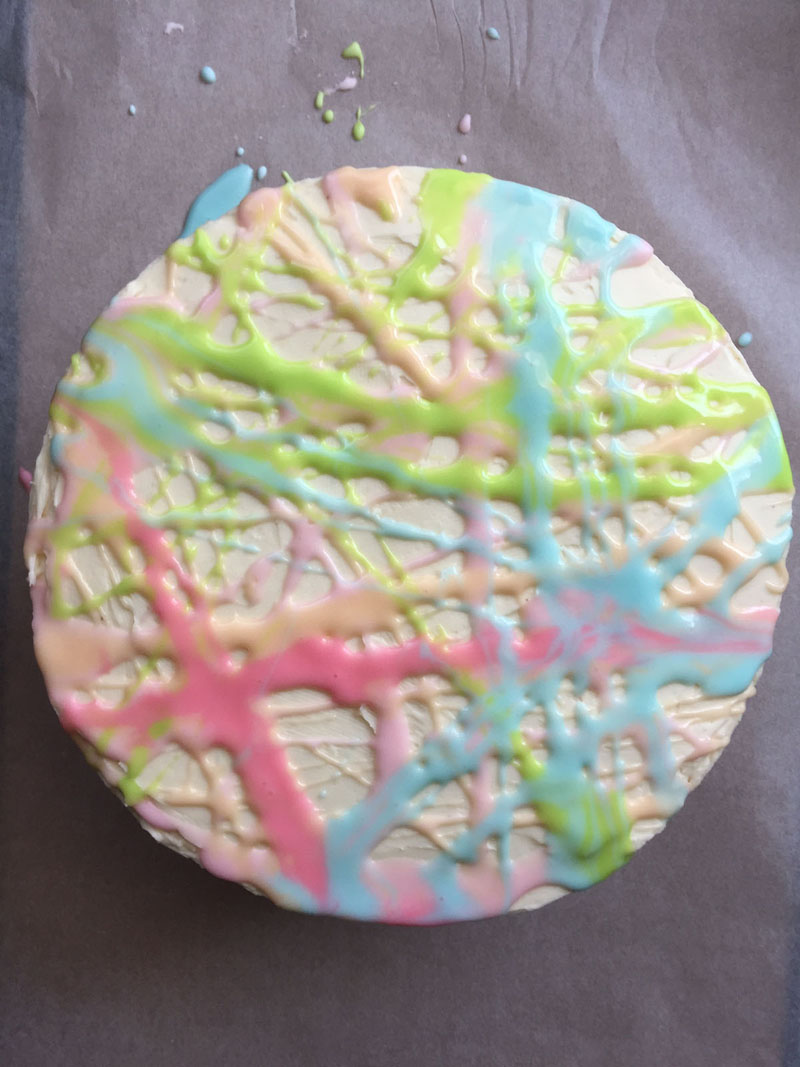
Combine a perfectly chocolaty cake x3 with creamy marscapone icing, plus a pretty top coat of springy colors, and you’re sure to have a winner!
Chocolate Cake
adapted from Molly Yeh’s Basil Marscapone Buttercream Frosted Cake
2 1/2 cups + 2 T granulated sugar
2 1/2 cups + 2 T all-purpose flour
1 1/2 cups cocoa powder
2 1/4 teaspoons baking powder
2 1/4 teaspoons baking soda
2 1/4 teaspoons salt
3 eggs
3/4 cup canola oil
1 1/2 cup buttermilk
1 1/2 T vanilla
1 cup + 2 T boiling water
Vanilla Marscapone Buttercream
3 sticks butter, softened
8 oz. marscapone, softened
5 cups powdered sugar
1 teaspoon vanilla
1/4 teaspoon salt
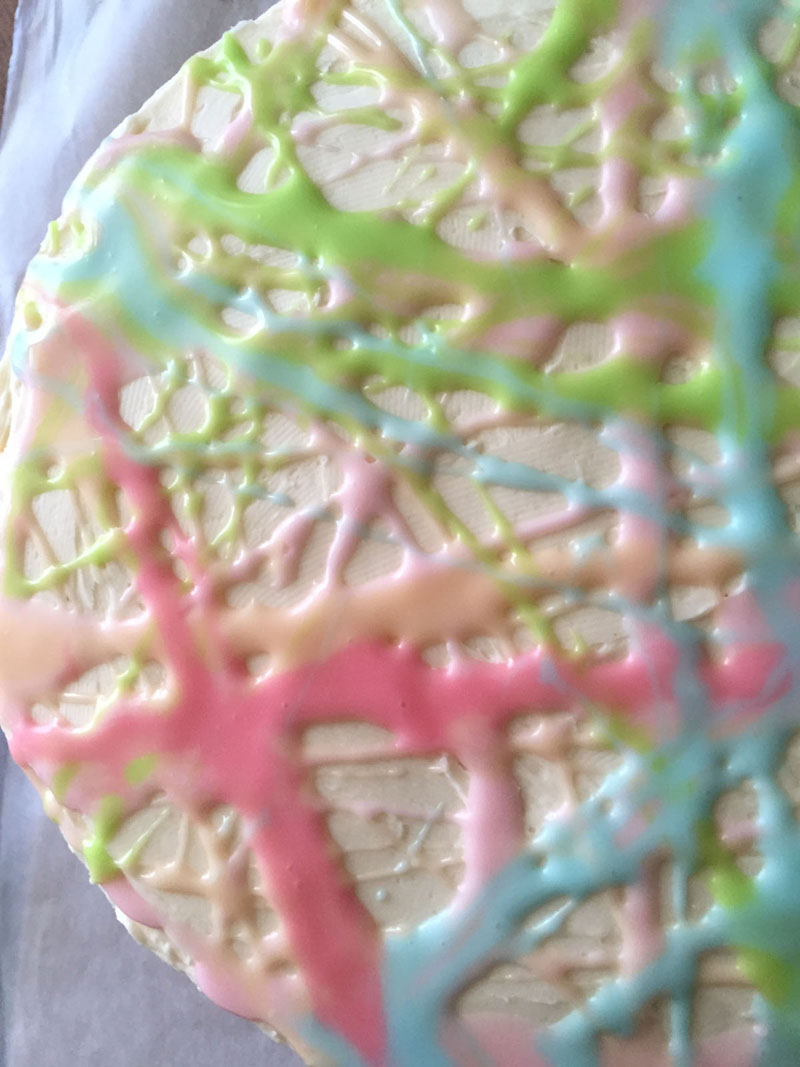
Splatter Paint
for each color:
1/4 cup powdered sugar
1 1/2 teaspoon milk
food coloring

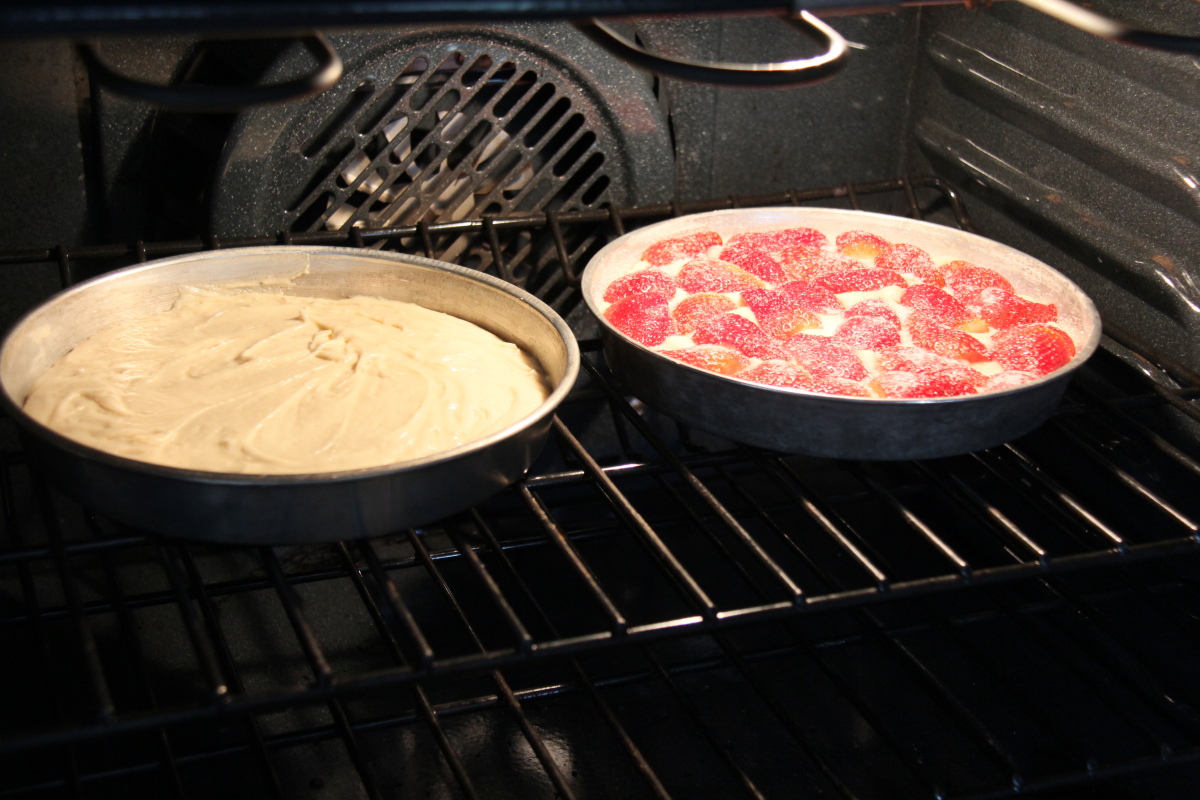
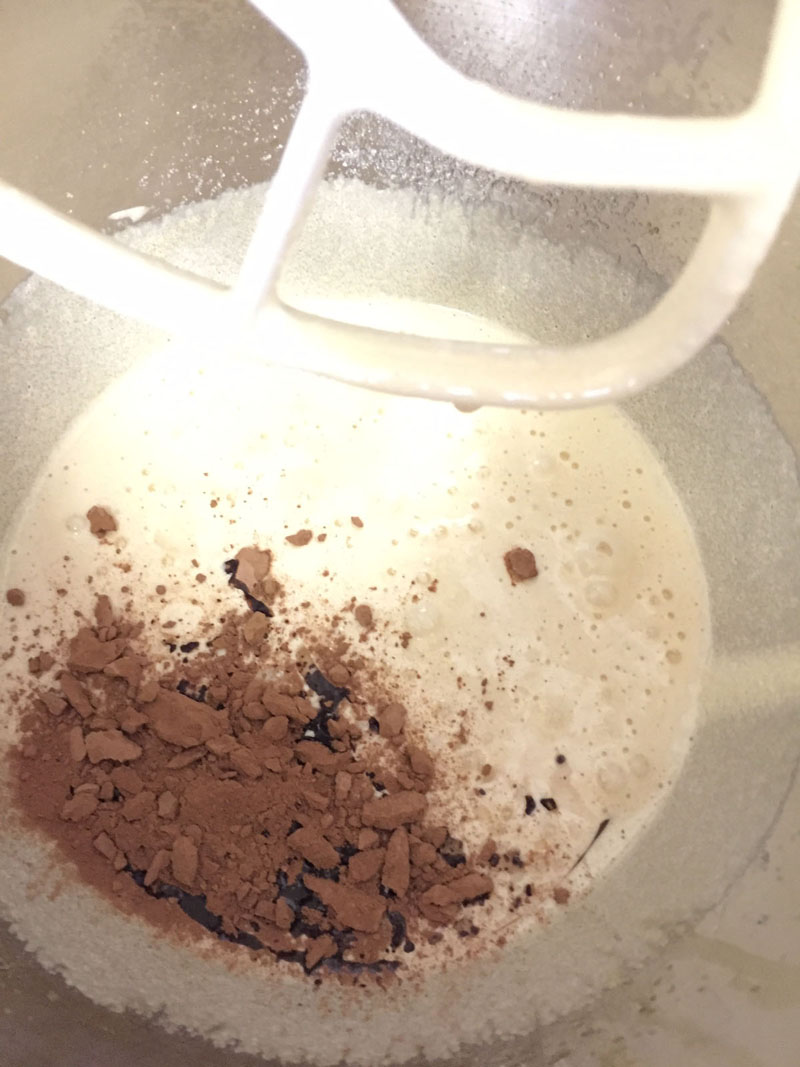
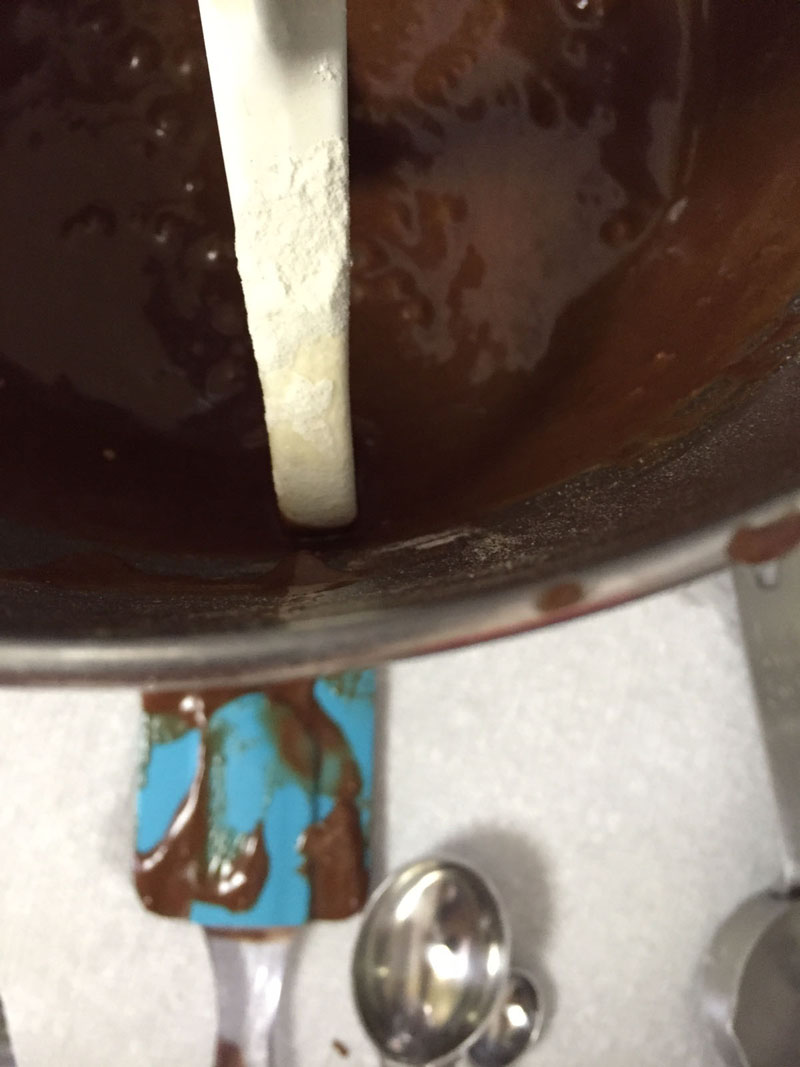
Preheat oven to 350F. Grease three 8 inch round cake plans and line with circles of parchment paper. In your stand mixer bowl, beat eggs and sugar. Add vanilla. Add cocoa and oil and mix until combined. Add baking soda, baking powder, salt, and flour, alternating with the buttermilk. Stir in the boiling water very slowly, as the batter will be quite thin at this point.
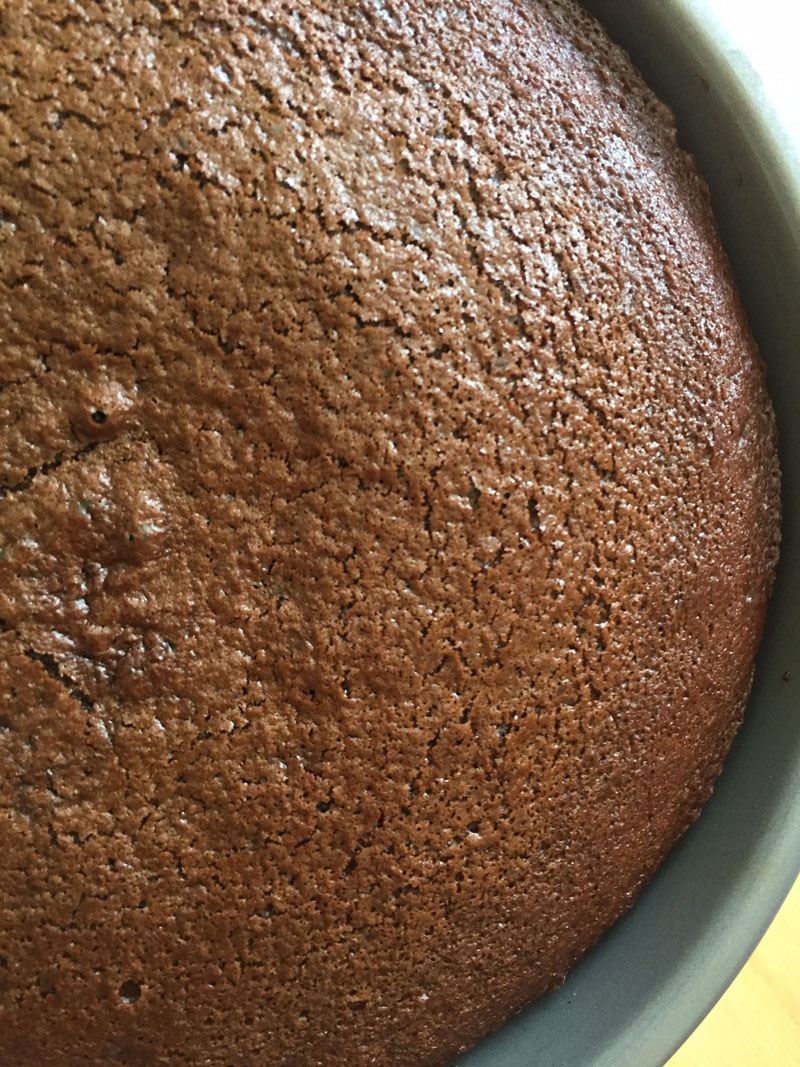
Distribute the batter evenly between the three cake pans and bake until the center of the cakes bounce back after a gentle poke. Begin checking them around 28 minutes.
Let the cakes cool in the pans for about 10 minutes. Flip onto cooling racks to cool completely.

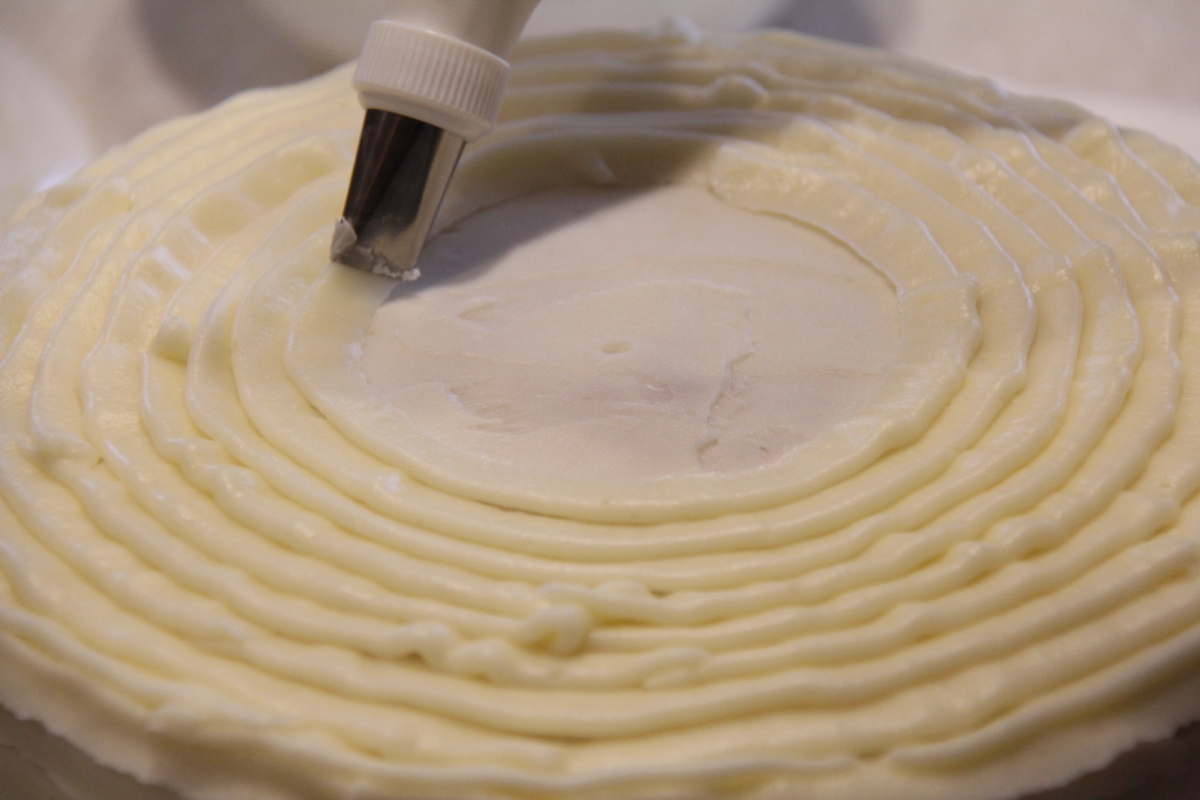
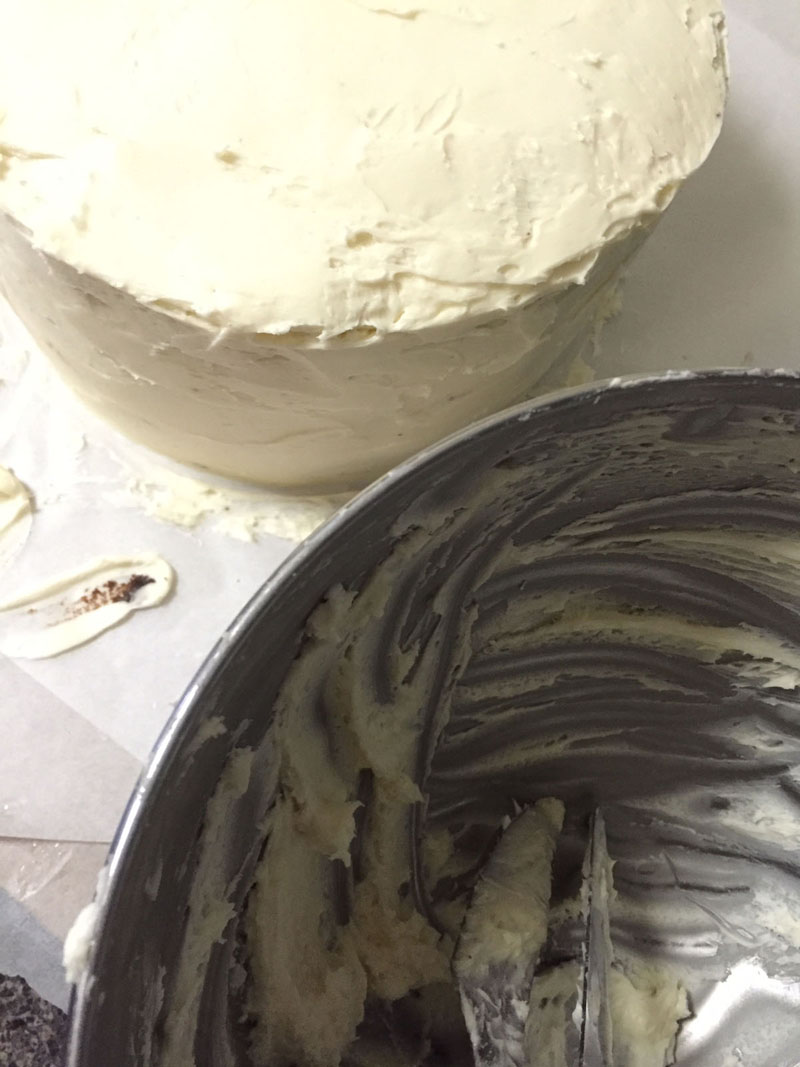
To make the icing, beat together the butter and marscapone until smooth. Add the vanilla and salt. Add the powdered sugar incrementally until the desired texture and taste are achieved.
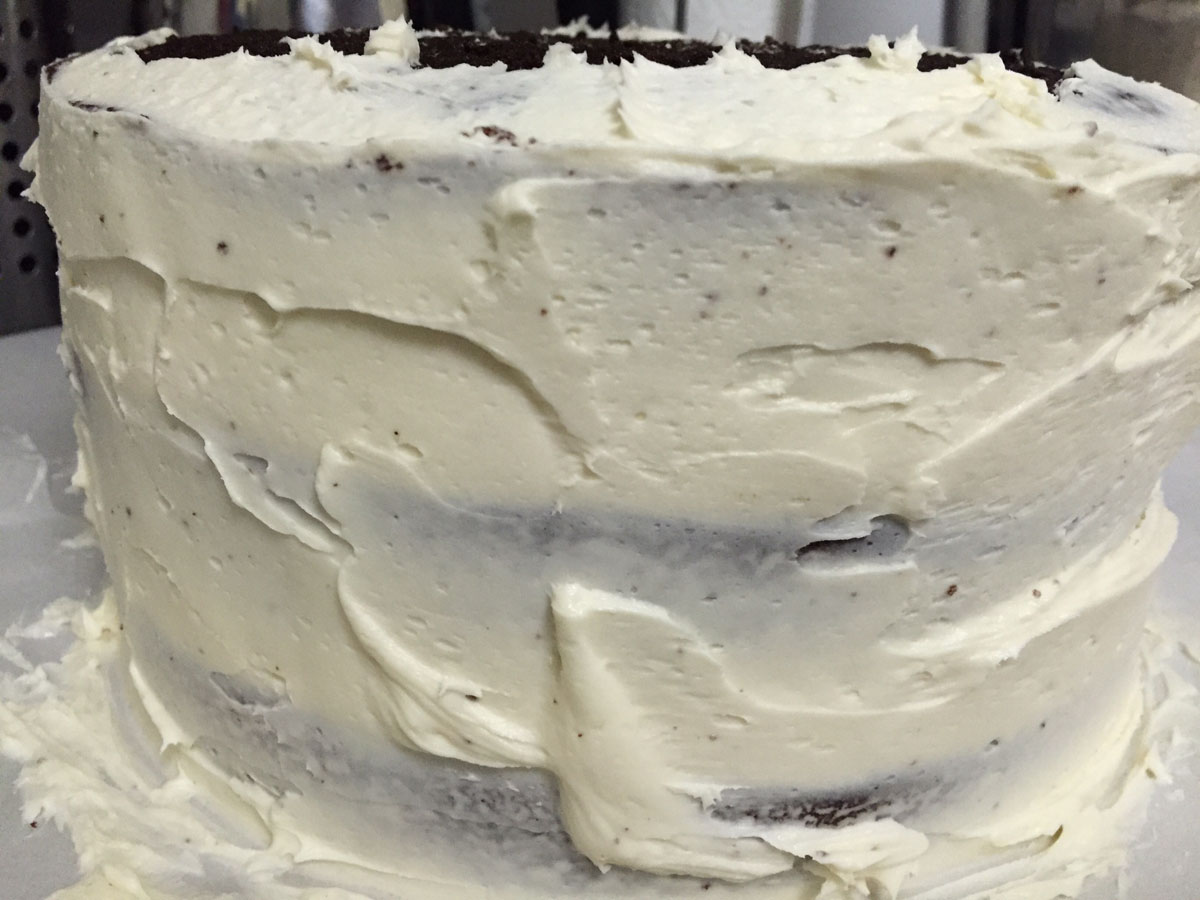
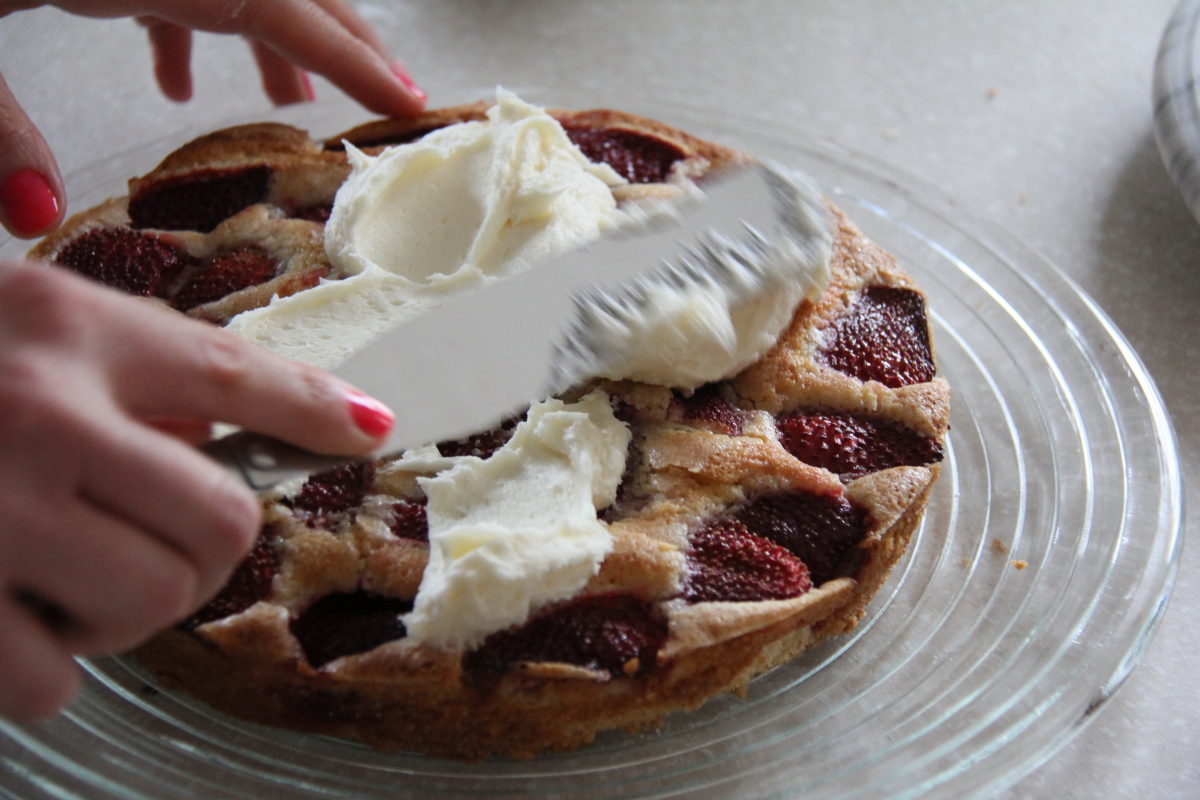
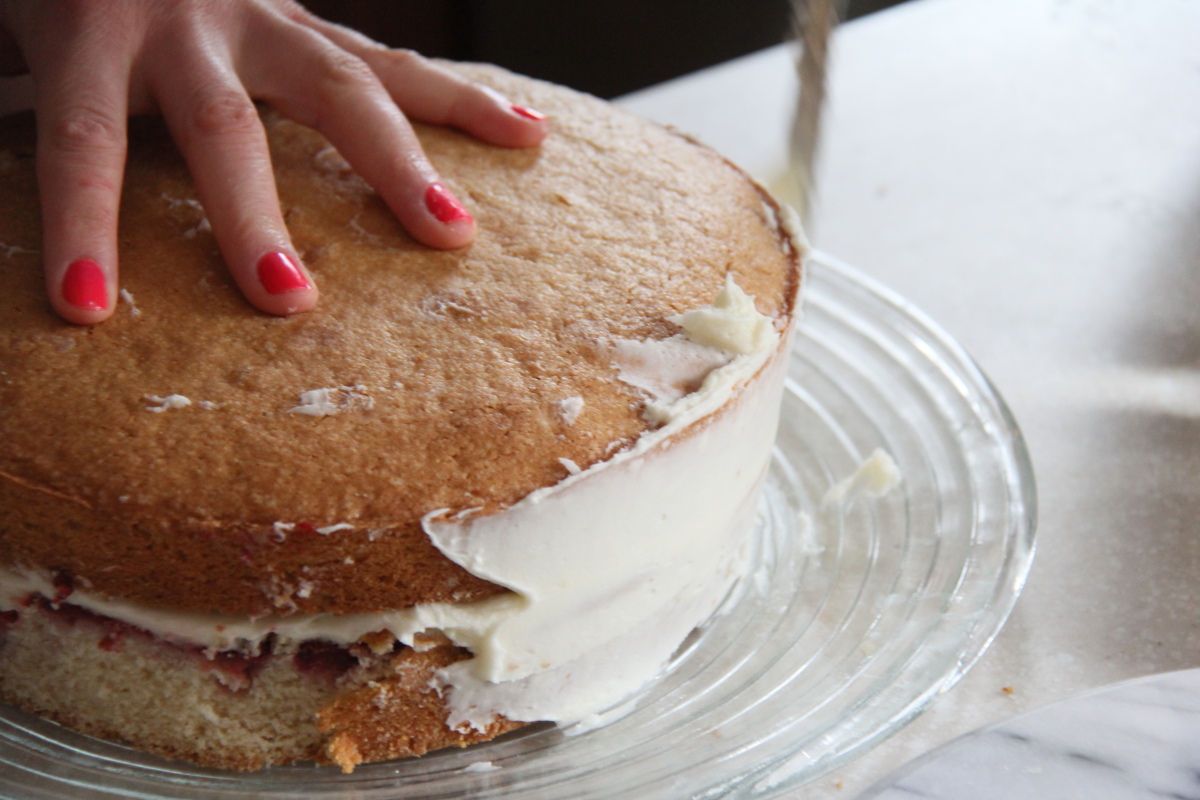
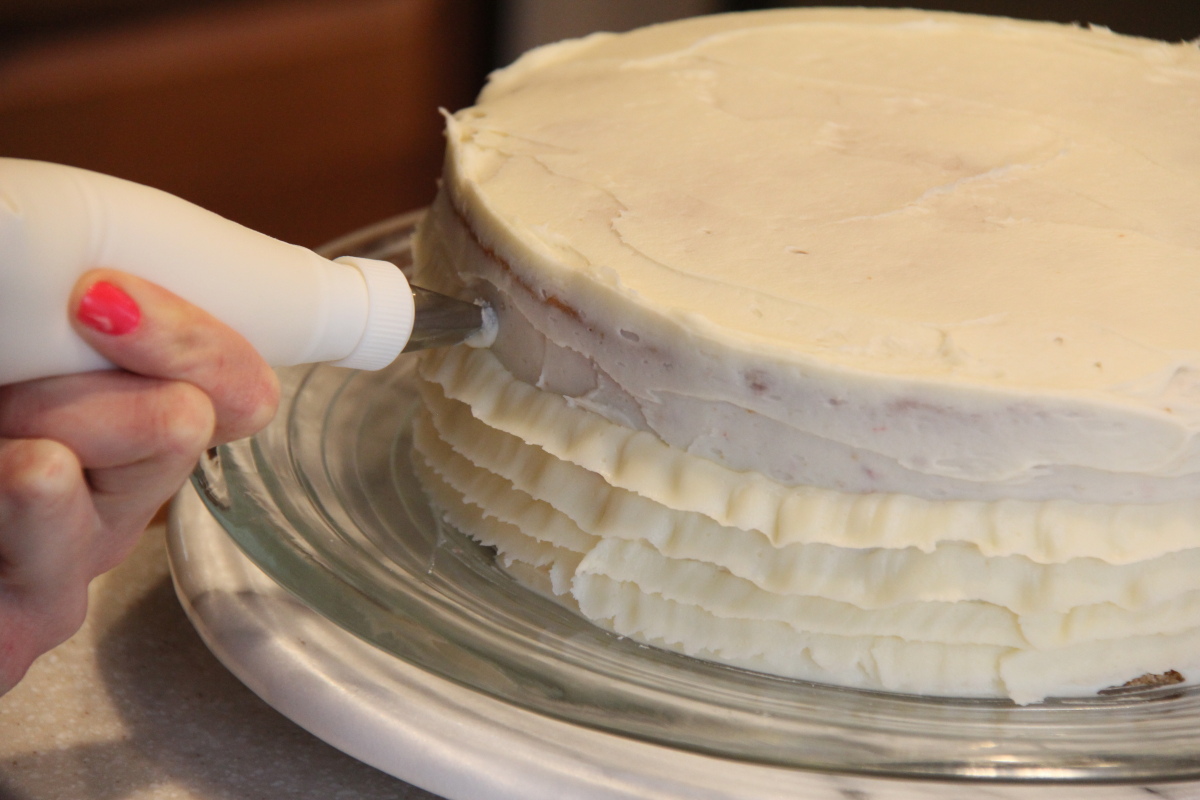
Once your cakes are totally cooled, level the tops with a knife to make them as flat as possible. Spread a thick layer of frosting on the bottom cake, place the middle layer on, spread more frosting, and place the top layer on. Cover the entire cake in a crumb coat and refrigerate for about 15 minutes to set.

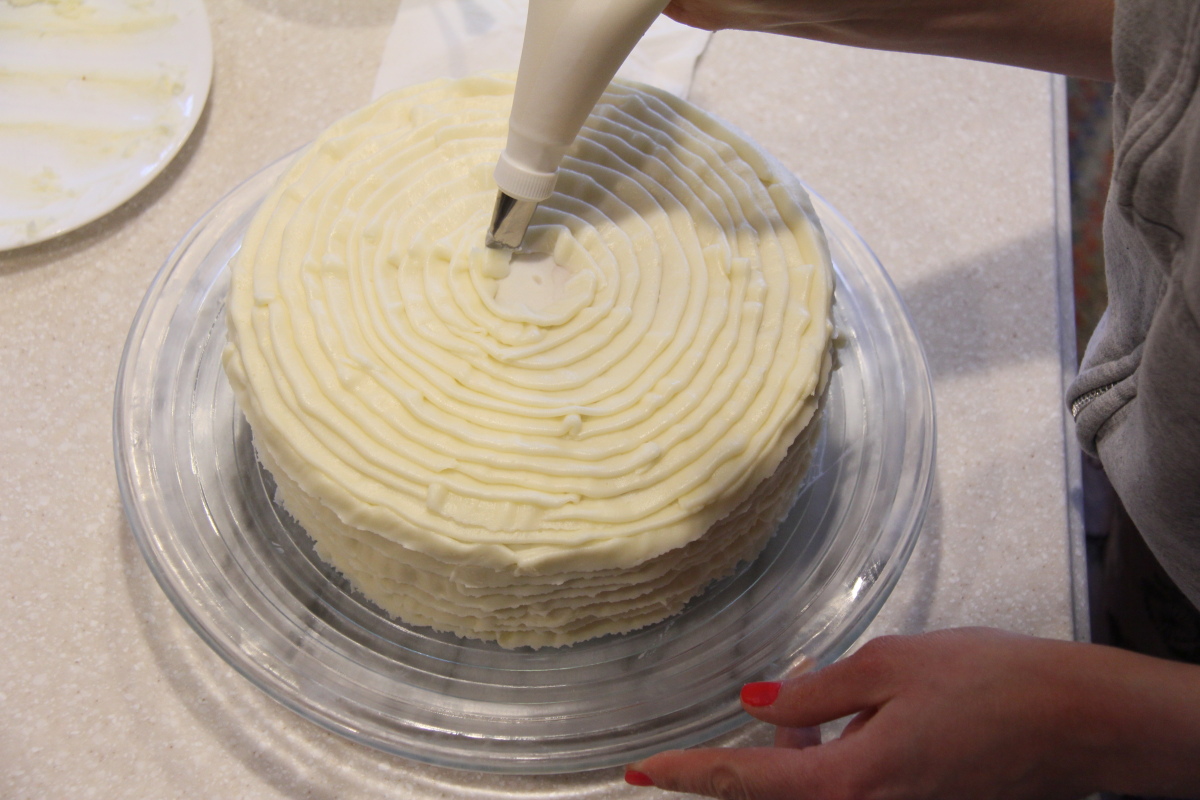
Frost the cake smoothly and generously. Refrigerate for about 20 minutes to firm up. Use a fork or spoon to drizzle your paint all over the cake!