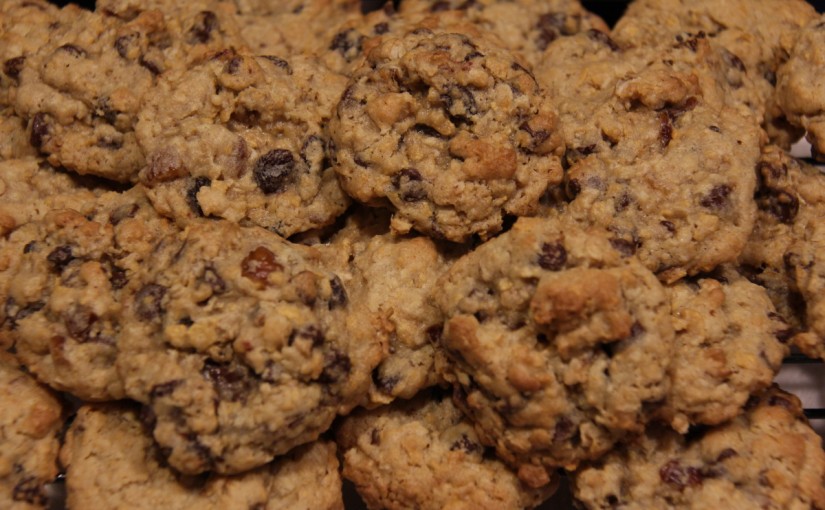
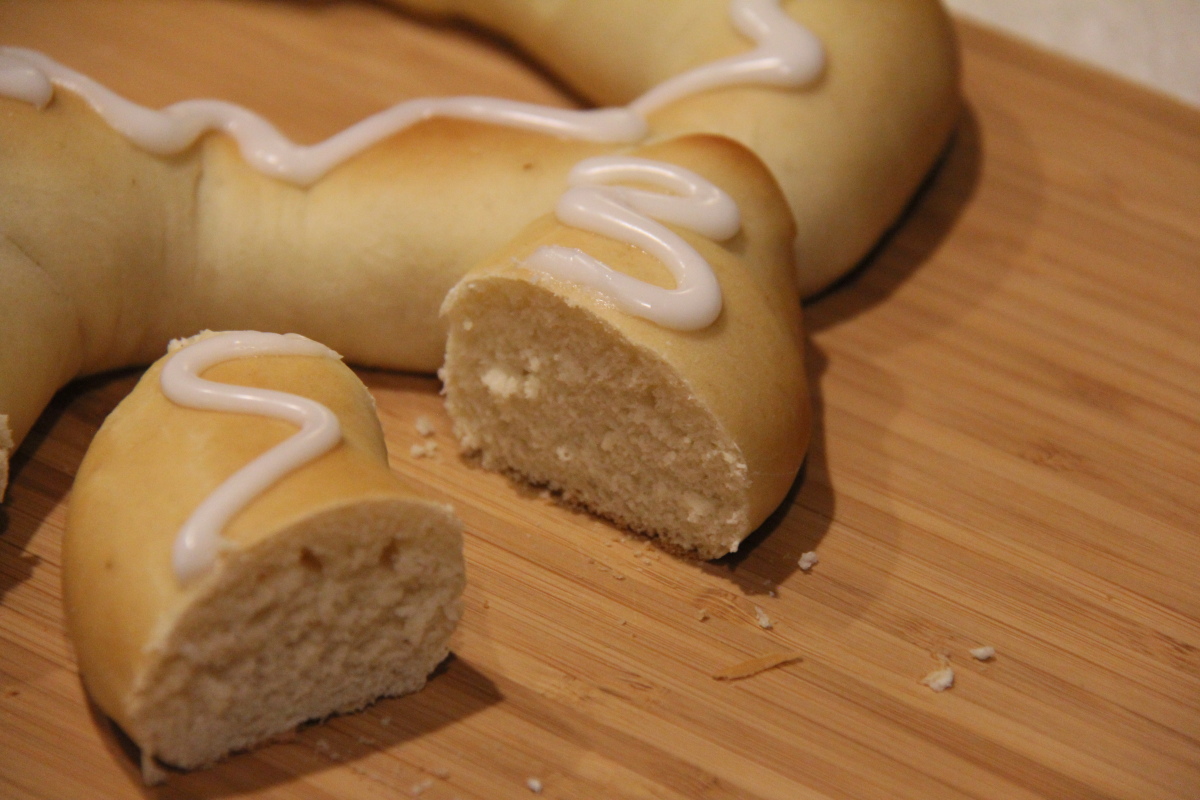
Baking is for experimenting and expressing, for sharing and enjoying. Baking generates delight and satisfaction, happiness and connection. That’s why I love to bake.

I’m usually inspired by a recipe, a craving, or an occasion. Sometimes I wish to cheer up a friend, show appreciation to a colleague, or attempt to combat my own stress.
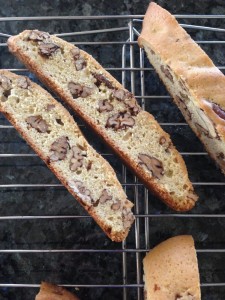
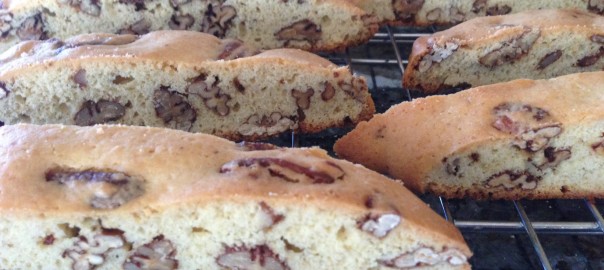
There were a few stipulations though, as this baked good needed to survive the journey across Pennsylvania and then pass TSA inspection on its way to California. It also needed to include pecans. But with a little inspiration from one of my favorite food blogs, and my dad’s tried and true biscotti recipe base, these scrumptious cookies were born.

I’m pleased to report that the biscotti survived the trip unscathed… but didn’t last very long after arriving on the west coast. They were enjoyed with espresso and lattes, savored in the morning and munched on in the afternoon. I even made a second batch to replace the dwindling supply.

Baking really is all about cherishing and making memories.
Candied Pecans
inspiration from Joy the Baker
Warning: The candied pecans are perfect on their own and truly sing as the lead player in these biscotti. You actually might want to make more nuts.. once these little guys come out of the oven, they are insanely irresistible. Plus, you have to perform some quality control tests before you add them to the biscotti dough, right?
- 2 cups pecans, halves and pieces
- 1 large egg white
- 1/4 cup granulated sugar
- 1/4 cup brown sugar
- 1 teaspoon cinnamon
- 1 teaspoon nutmeg
- 1/2 teaspoon salt
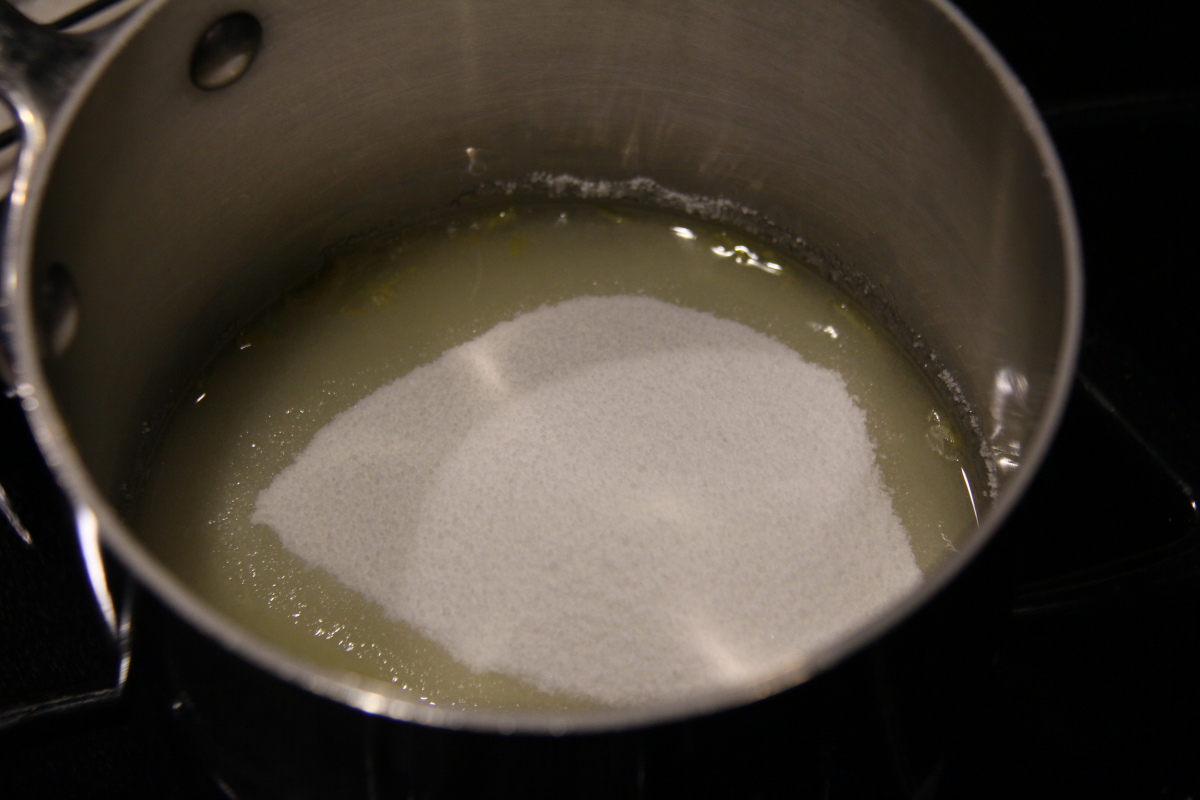
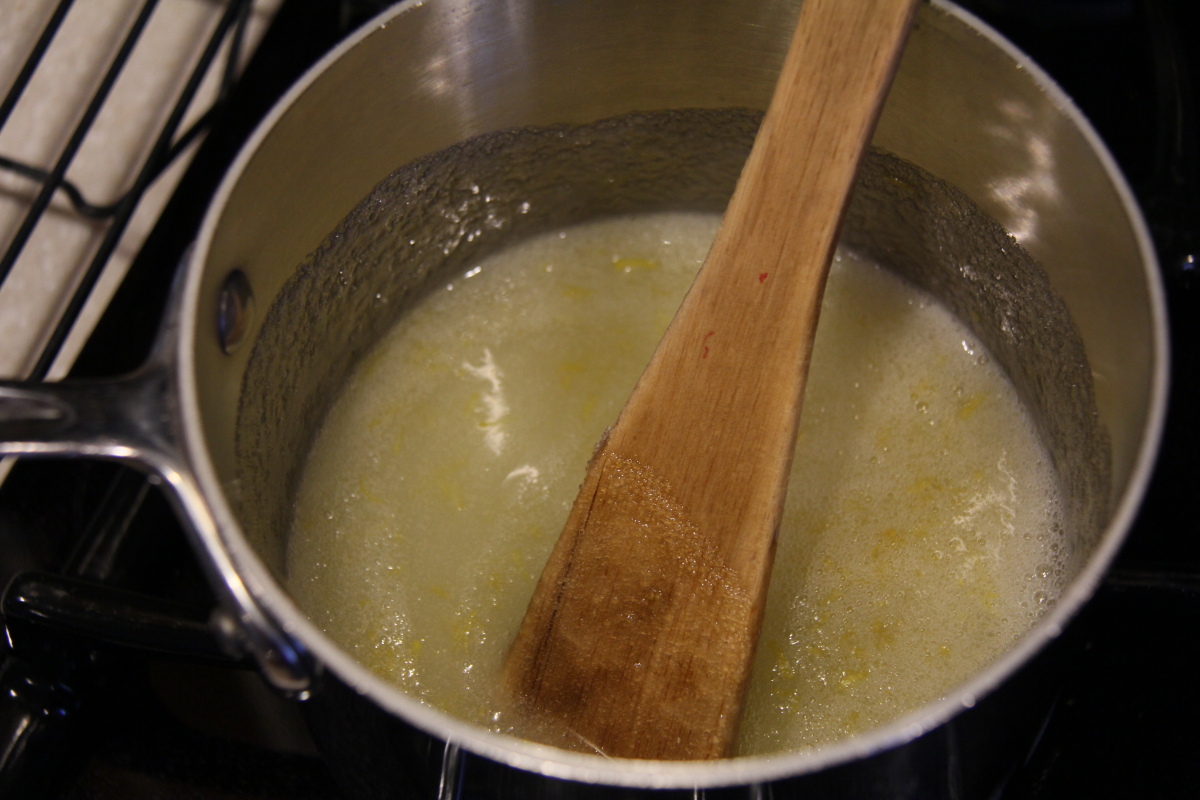
Preheat your oven to 300F. In a medium bowl, whisk the egg white until frothy. Add the sugars, spices, salt. Whisk everything together until it becomes thick and opaque. Add the pecans and toss to thoroughly coat. Spoon pecans onto prepared baking sheet, spreading them out as much as possible.
Bake for 30-35 minutes until the nuts are golden brown and fragrant. After removing from the oven and allowing them to cool slightly, break the nuts apart.
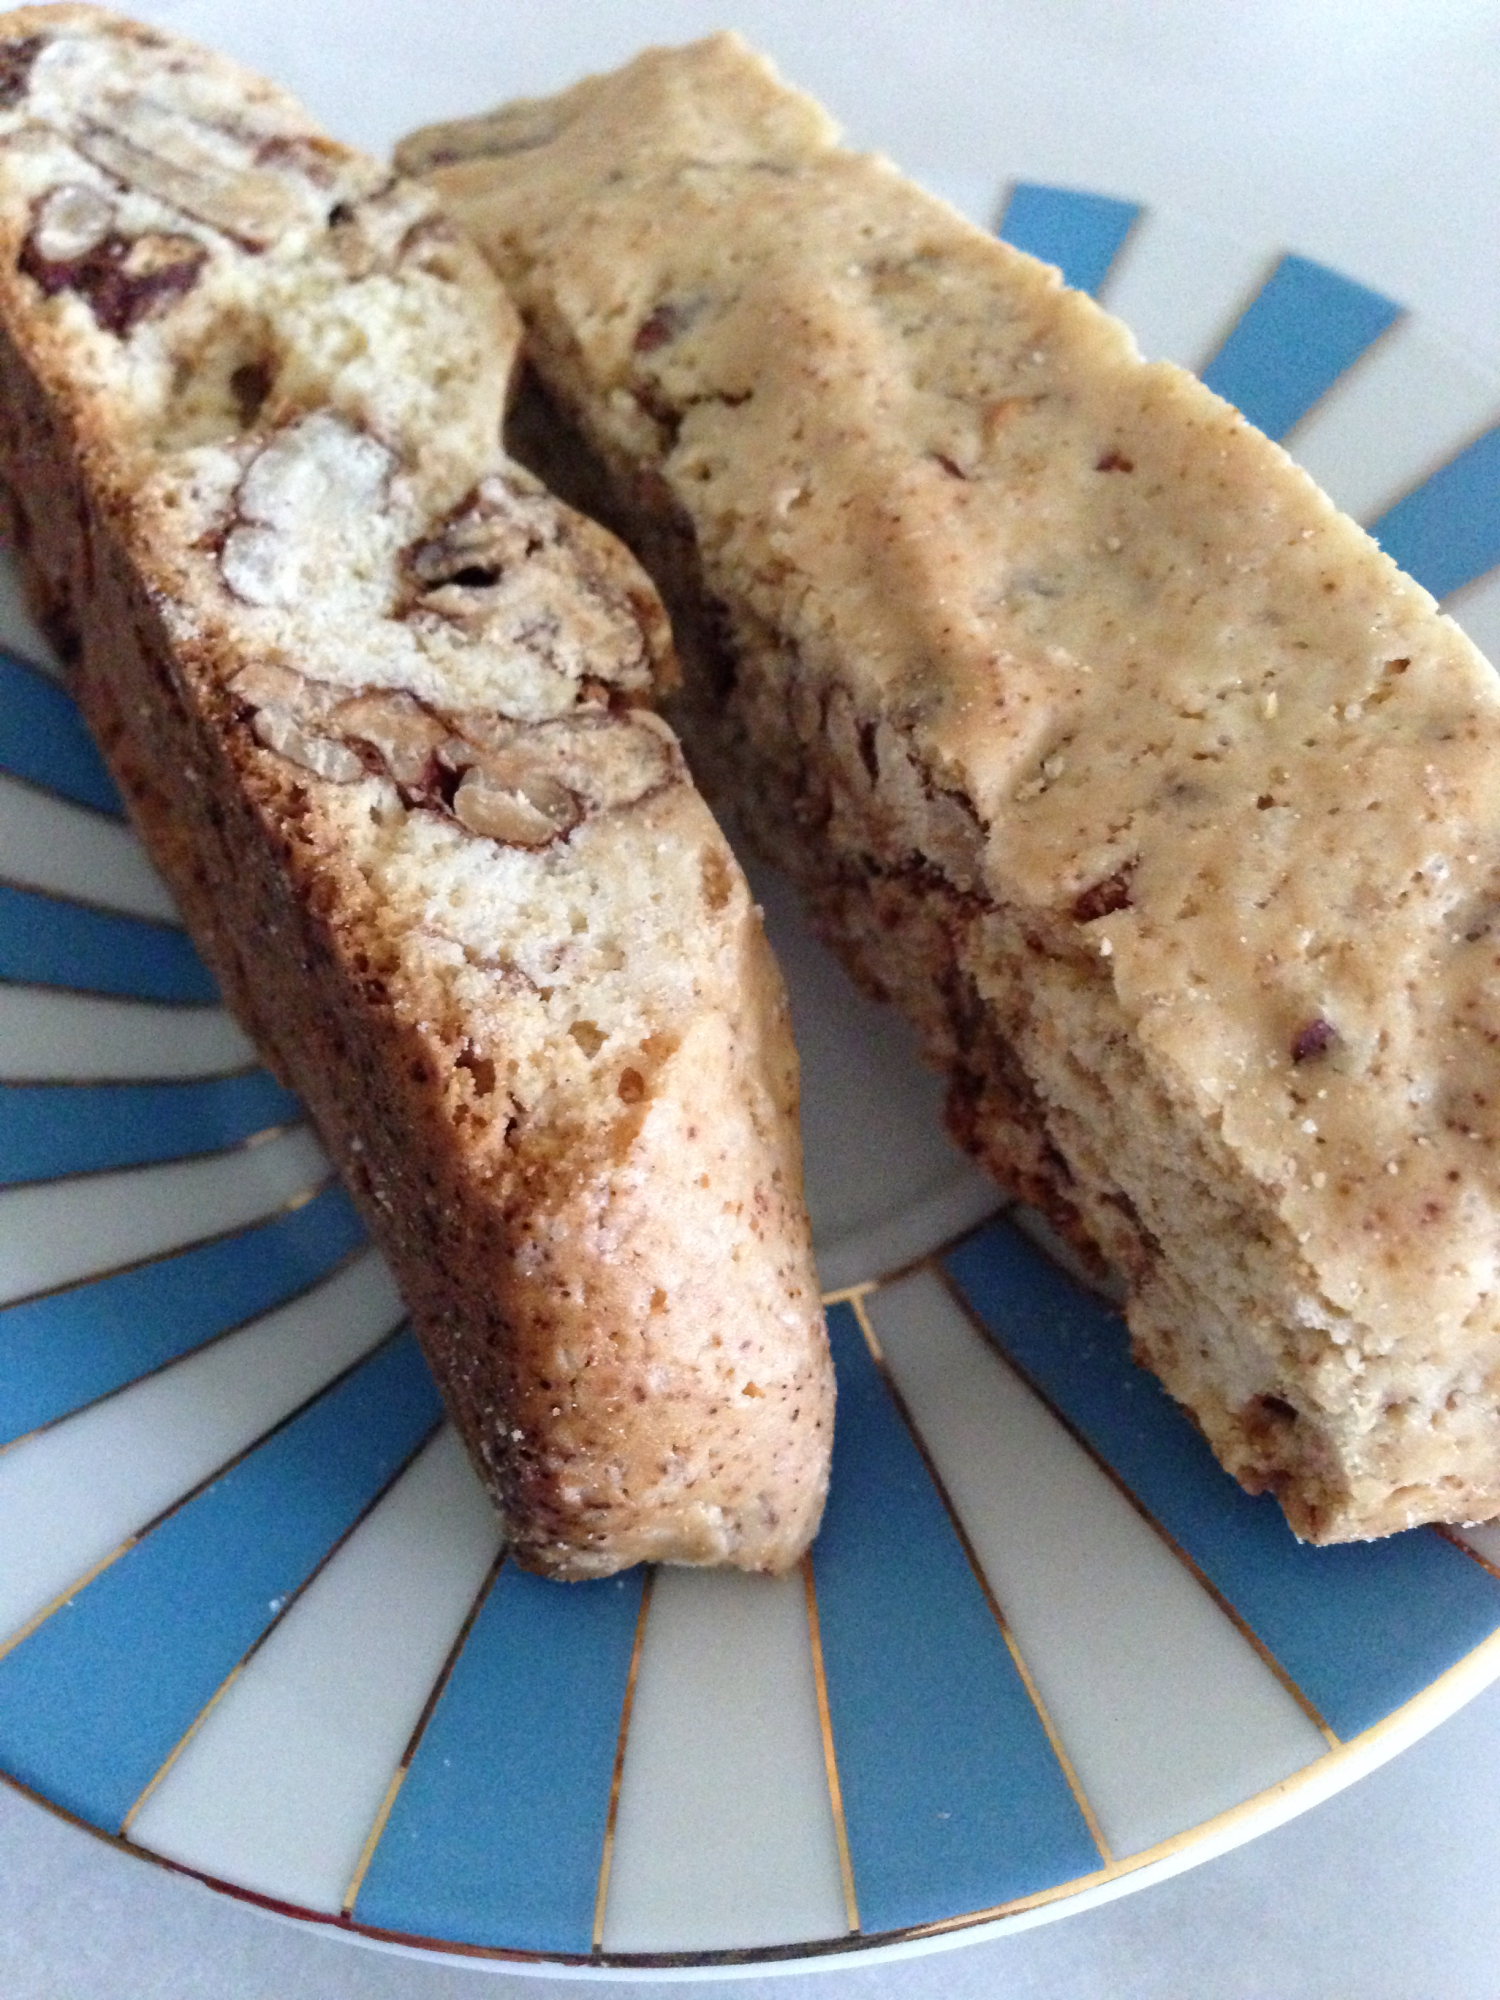
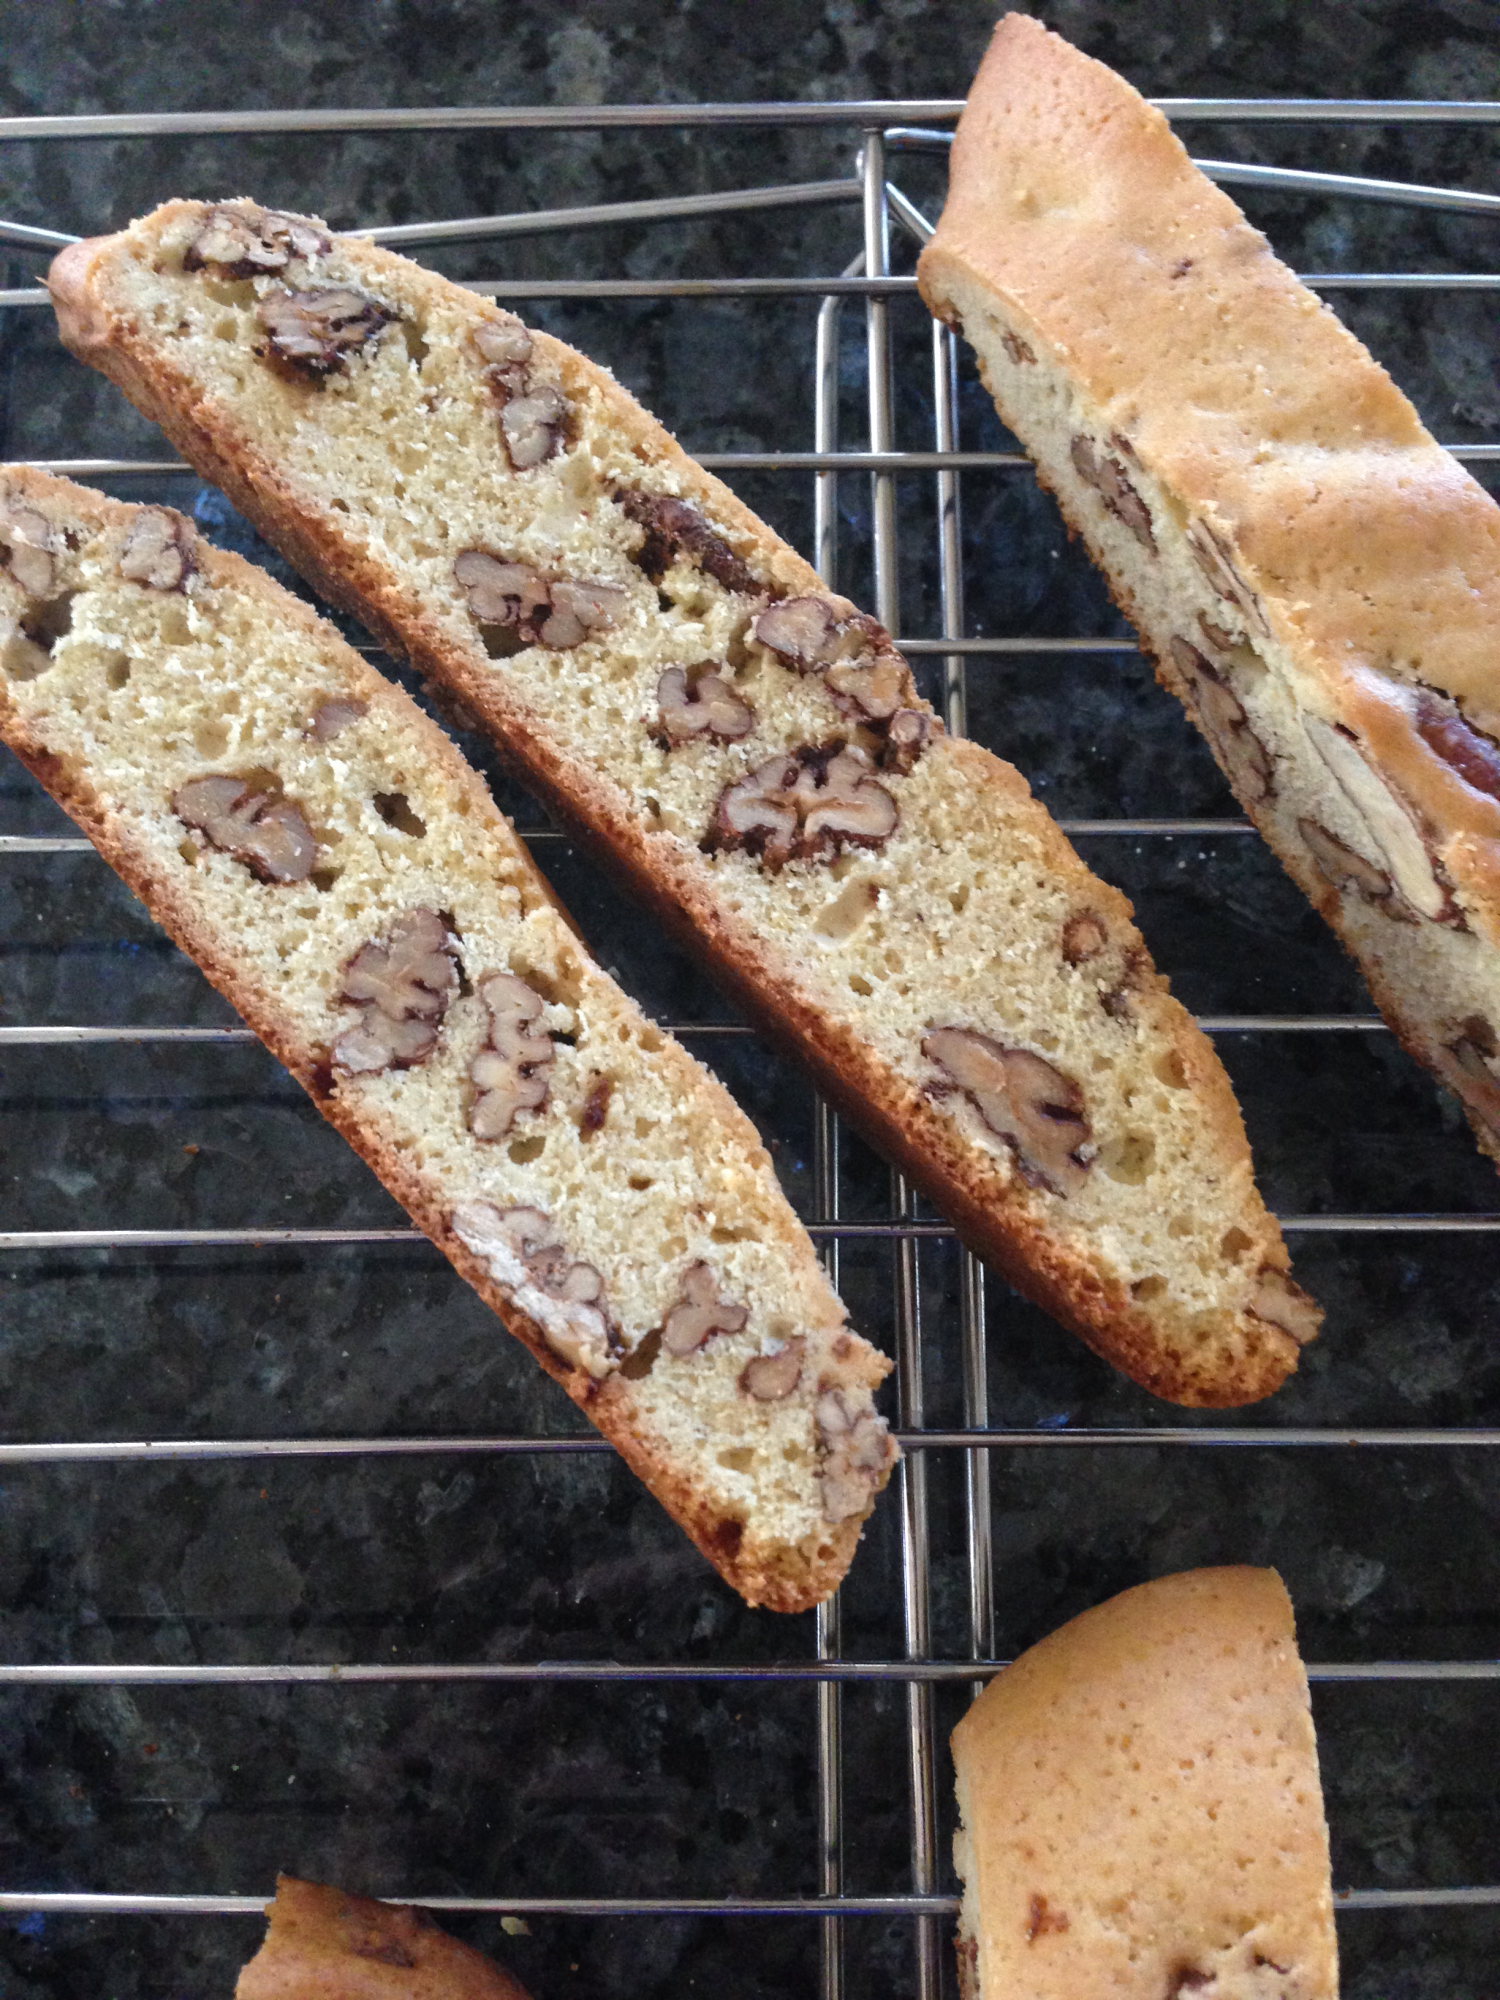
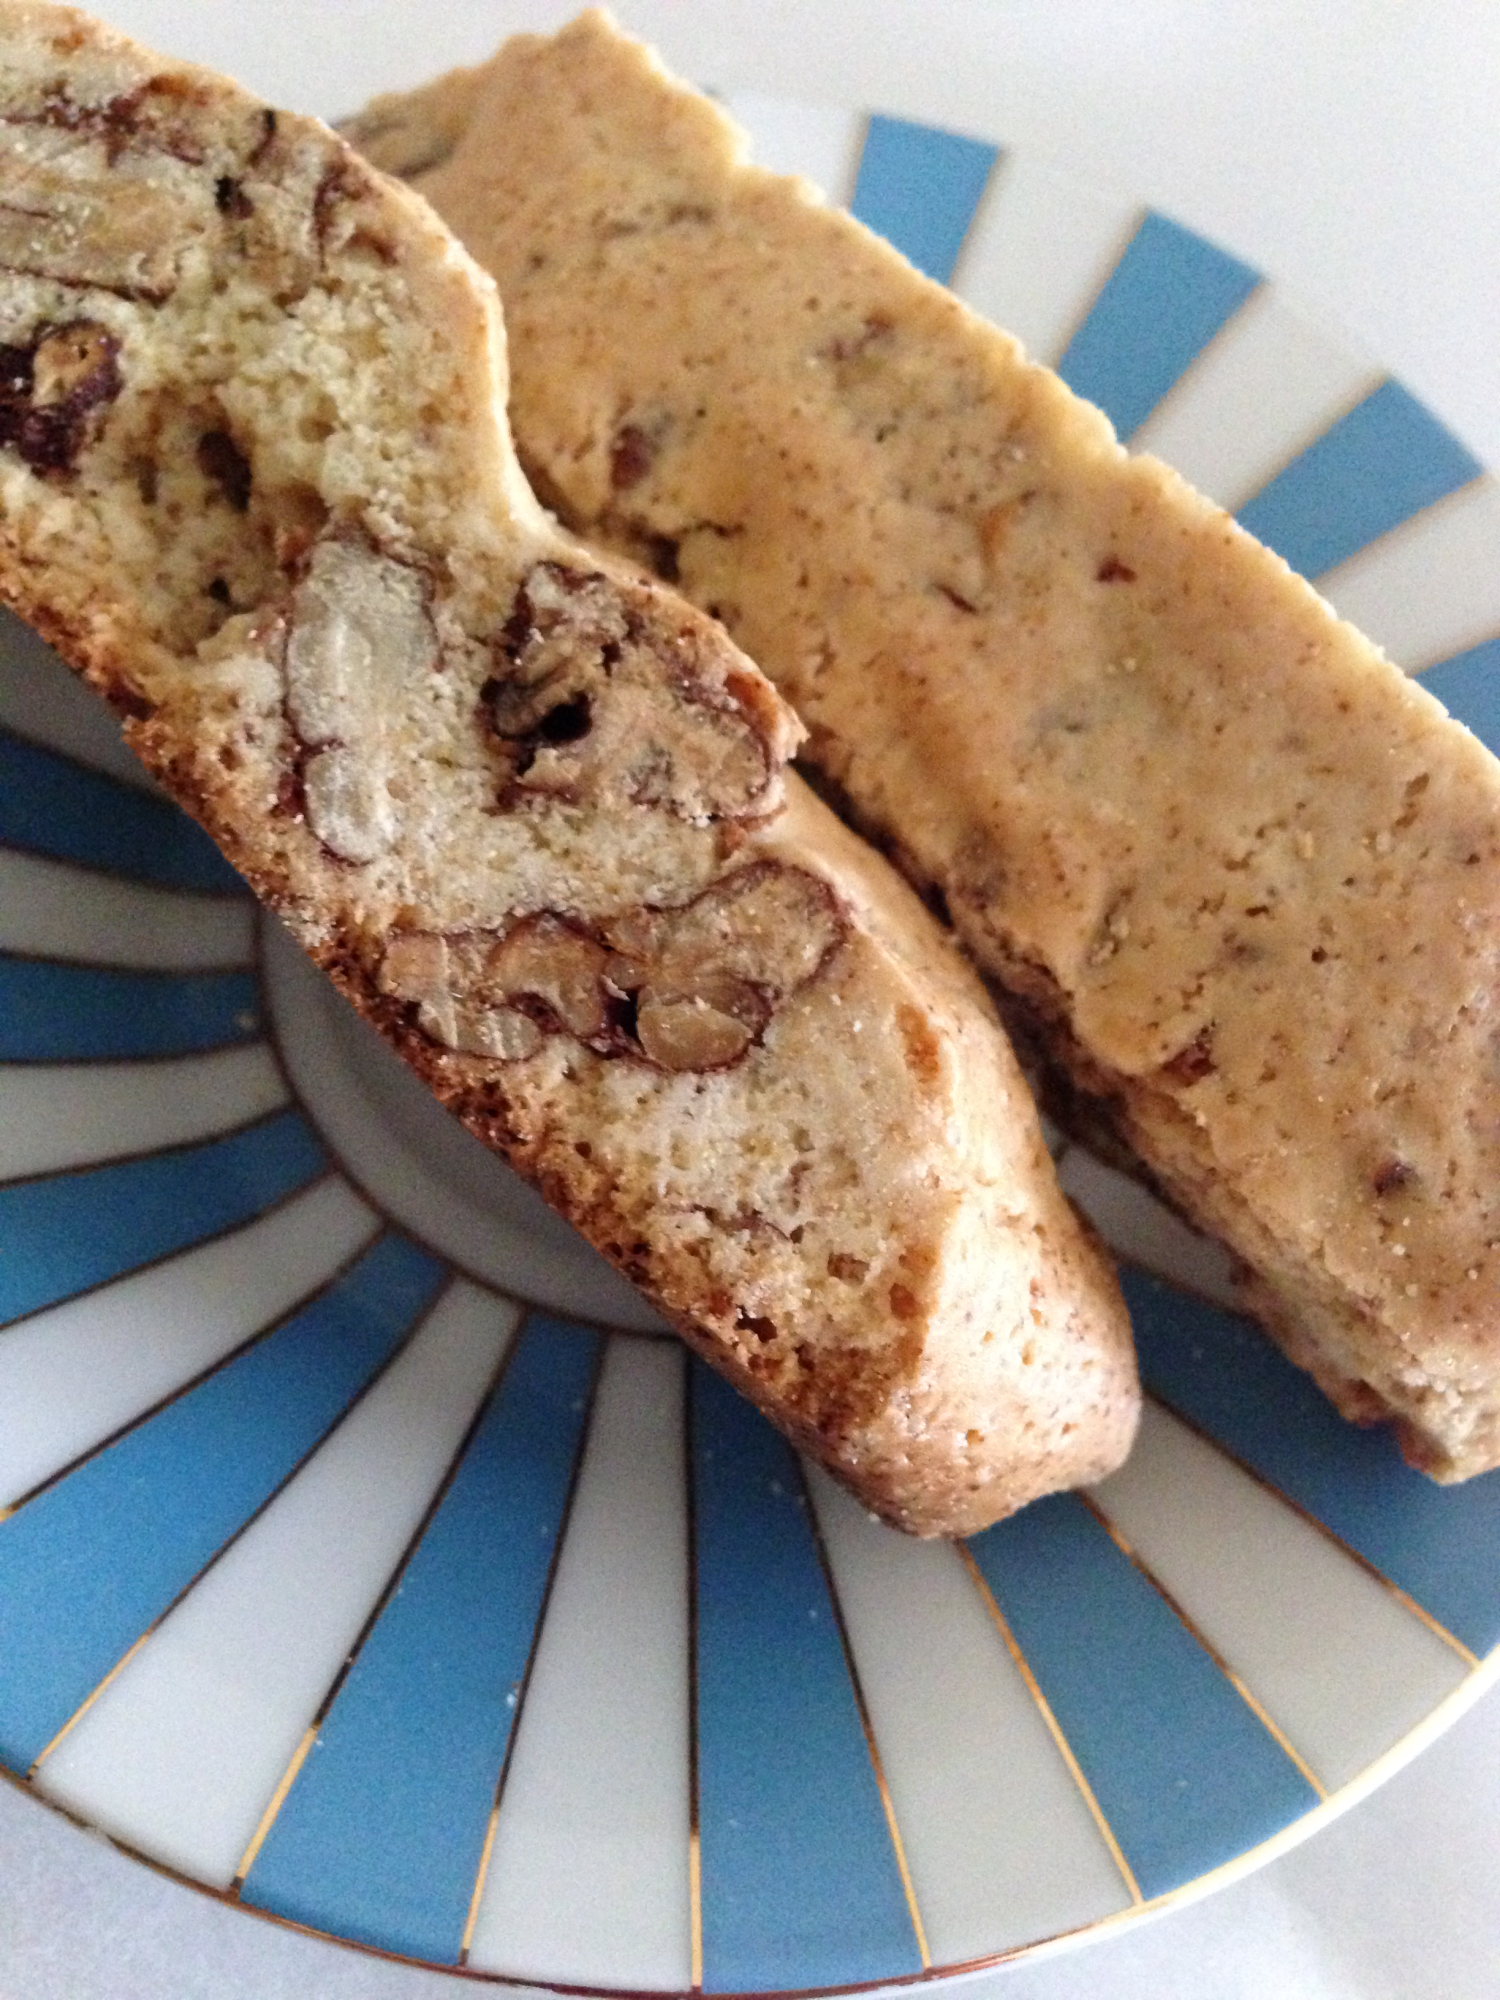
Candied Pecan Biscotti
- 6 tablespoons butter, at room temperature
- 1 1/4 cups granulated sugar
- 4 eggs
- 1 teaspoon vanilla extract
- 3 1/4 cups all-purpose flour
- 2 teaspoons baking powder
- 1/4 teaspoon salt
- 2 cups candied pecans
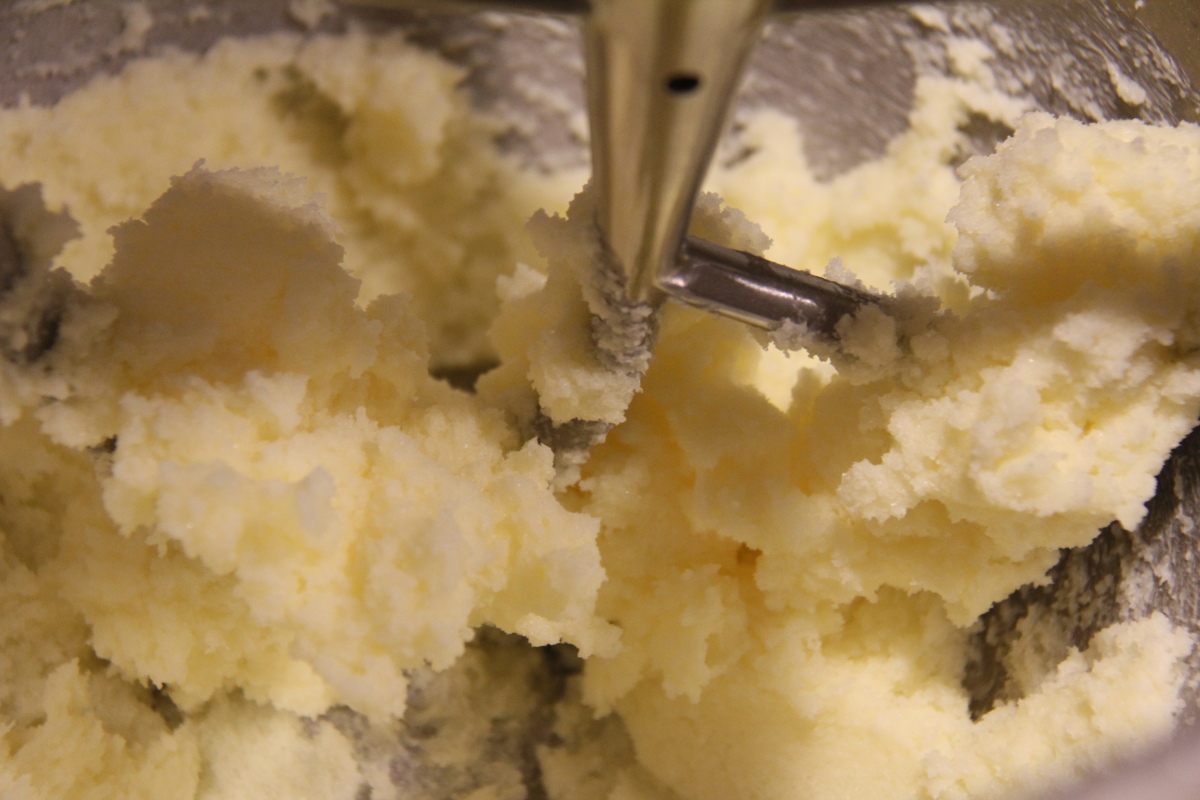
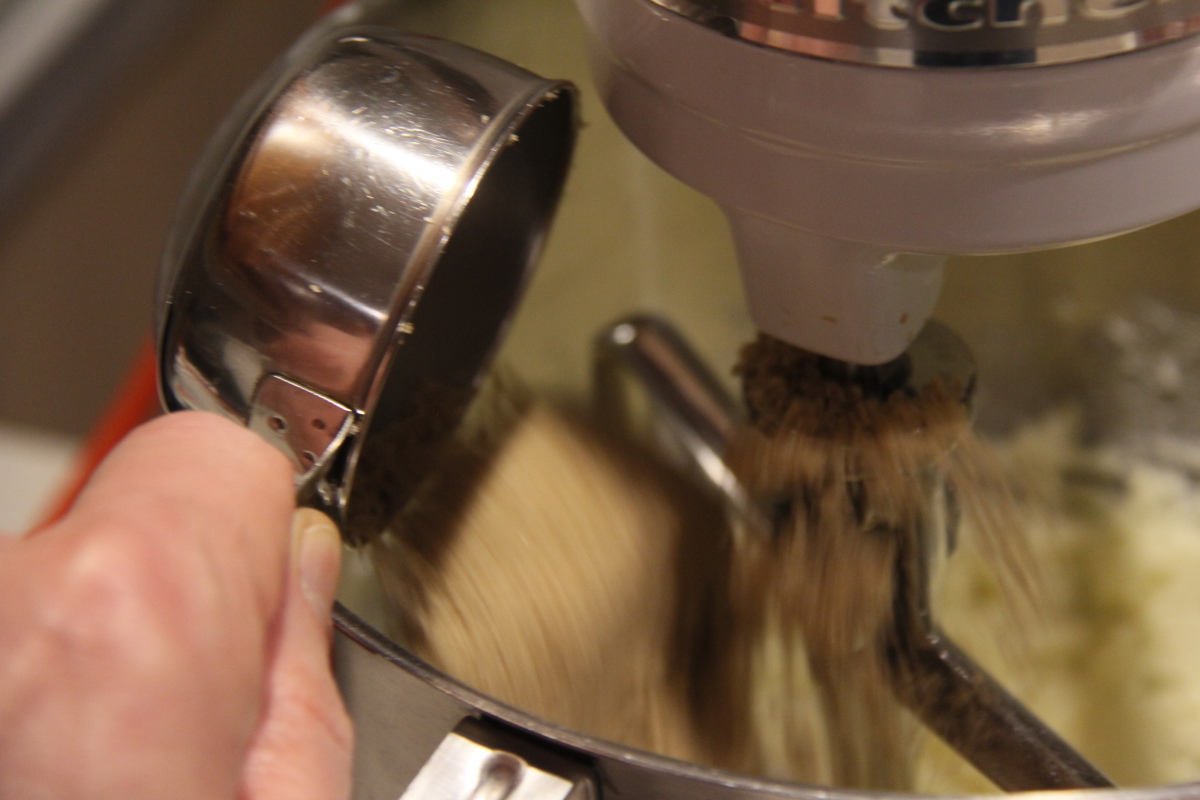
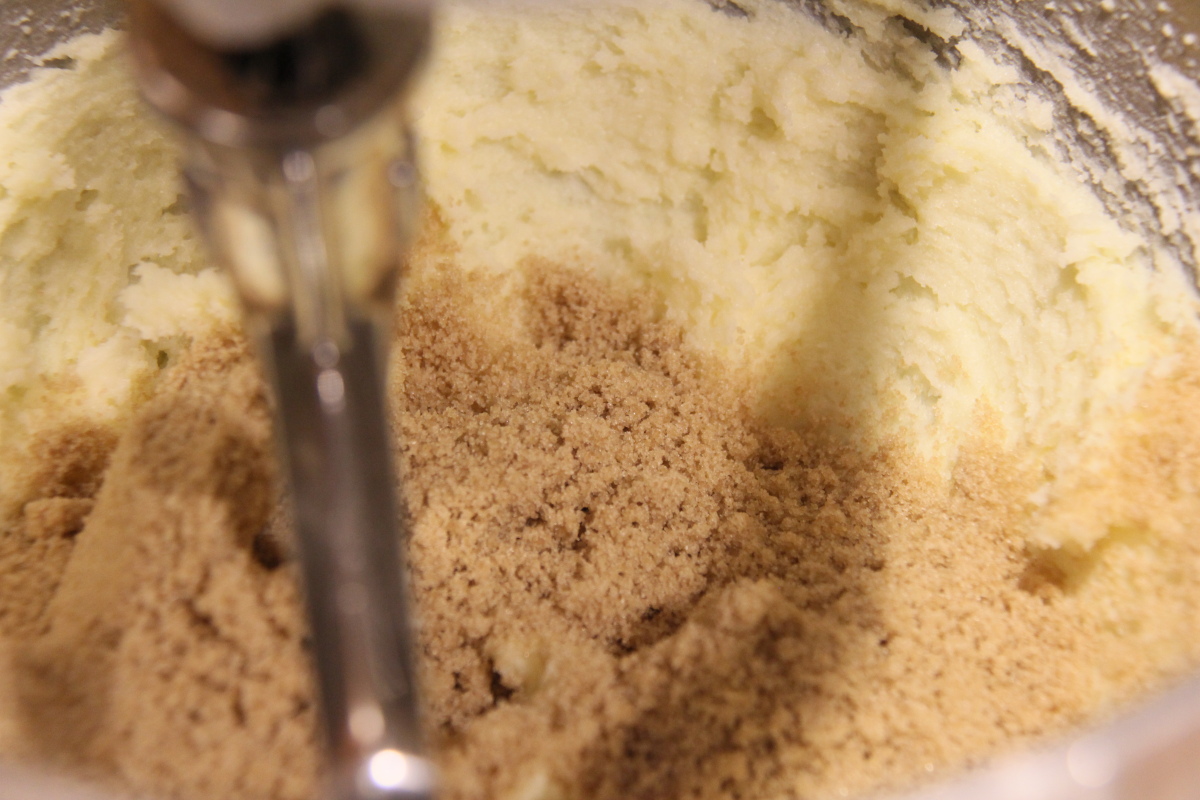
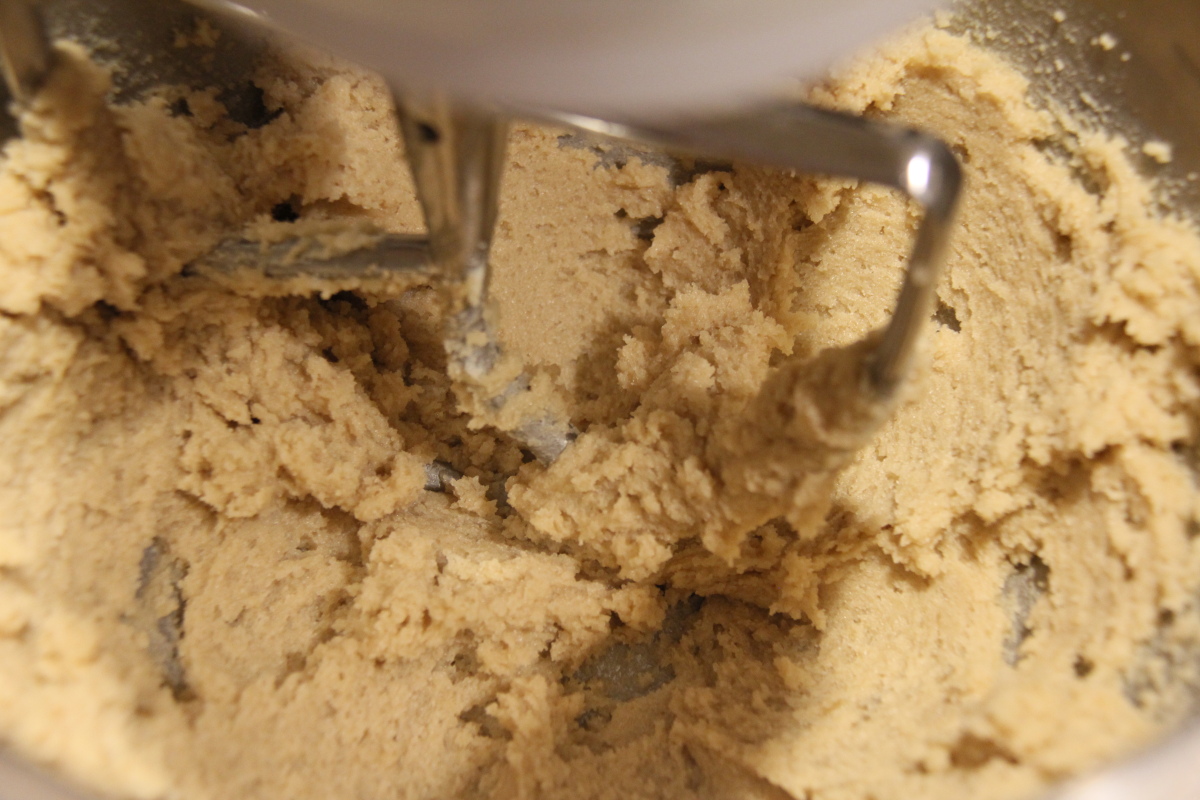
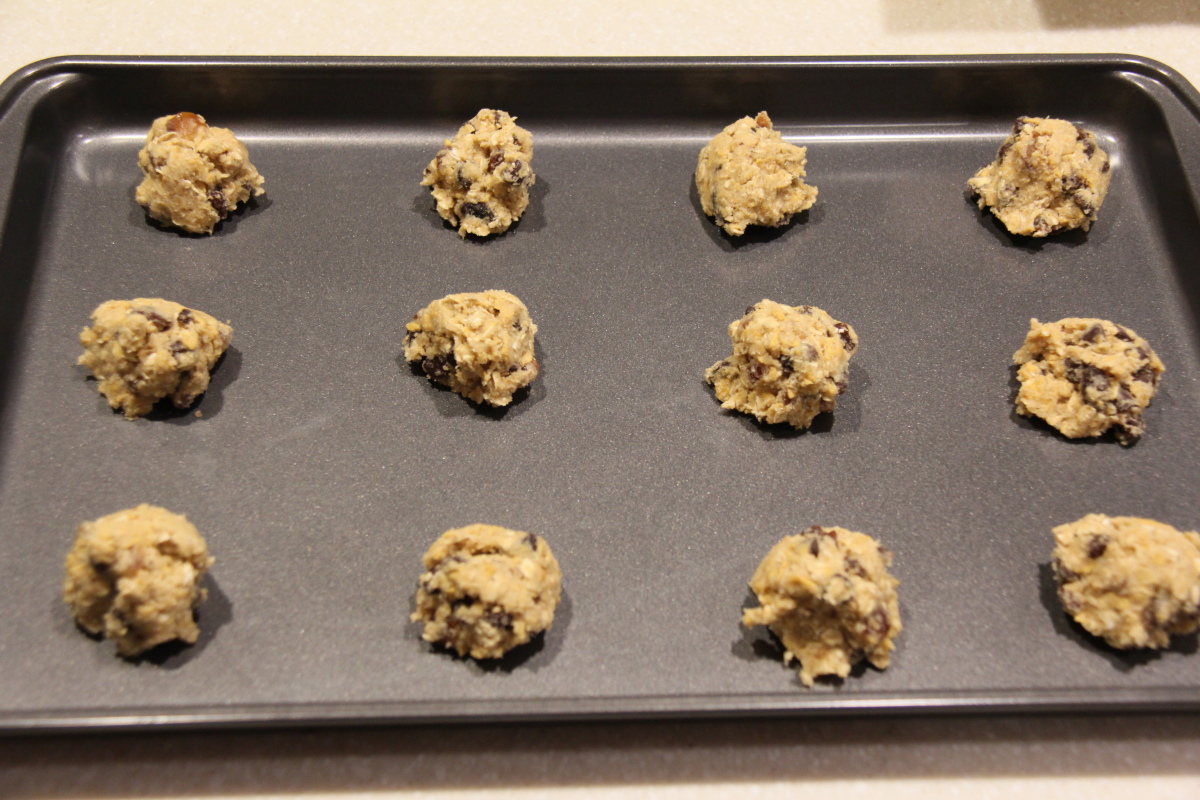
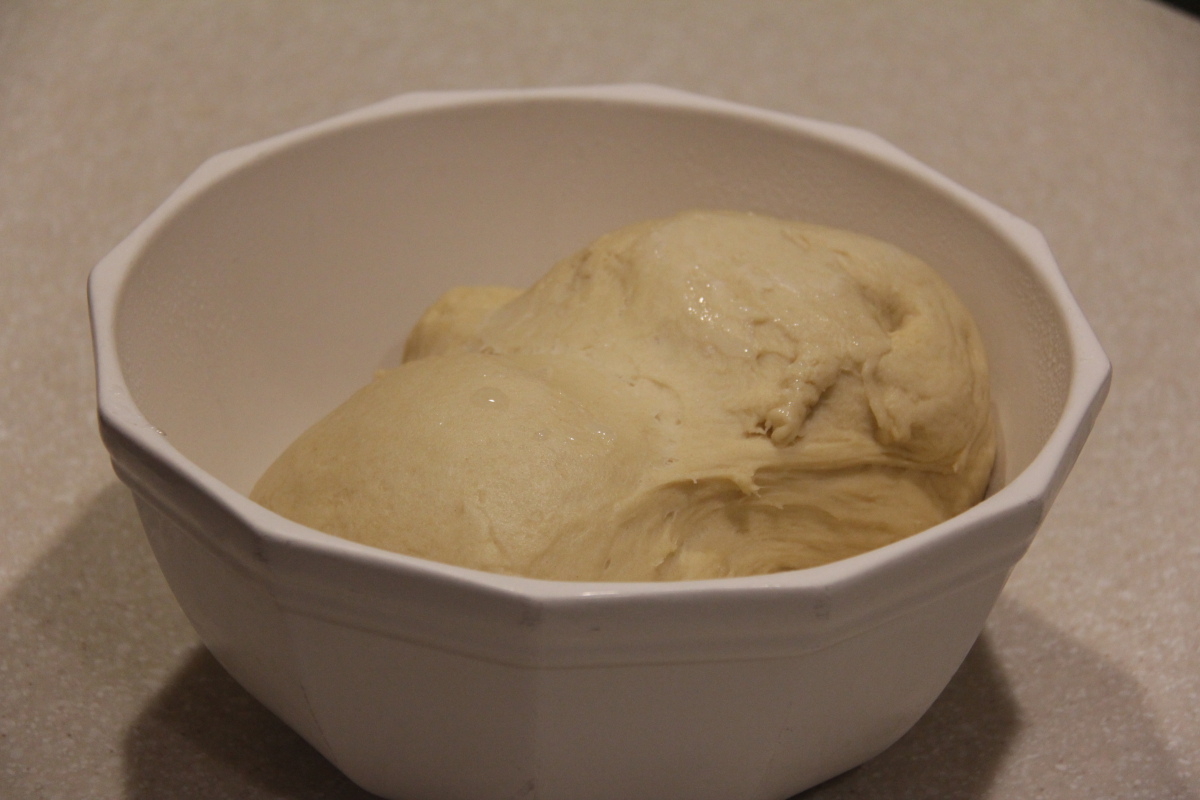
Preheat your oven to 350F. Cream the butter and sugar. Add in the eggs one at a time until you have a nice yellow batter. Add the vanilla extract. Add in one cup of flour, along with the baking powder and salt and mix thoroughly. Then, add in the remaining flour. The mixture will be fairly thick. Add in your candied pecans or stir by hand.
Place two equal globs of the dough on your baking sheets lined with parchment paper. With wet hands (to prevent the sticky dough from sticking to your hands!), form each of the blobs into a flat log about 14″ long, 4″ wide, and 3/4″ thick. Bake in a 350F oven for about 30 to 35 minutes until the logs are a nice golden brown.
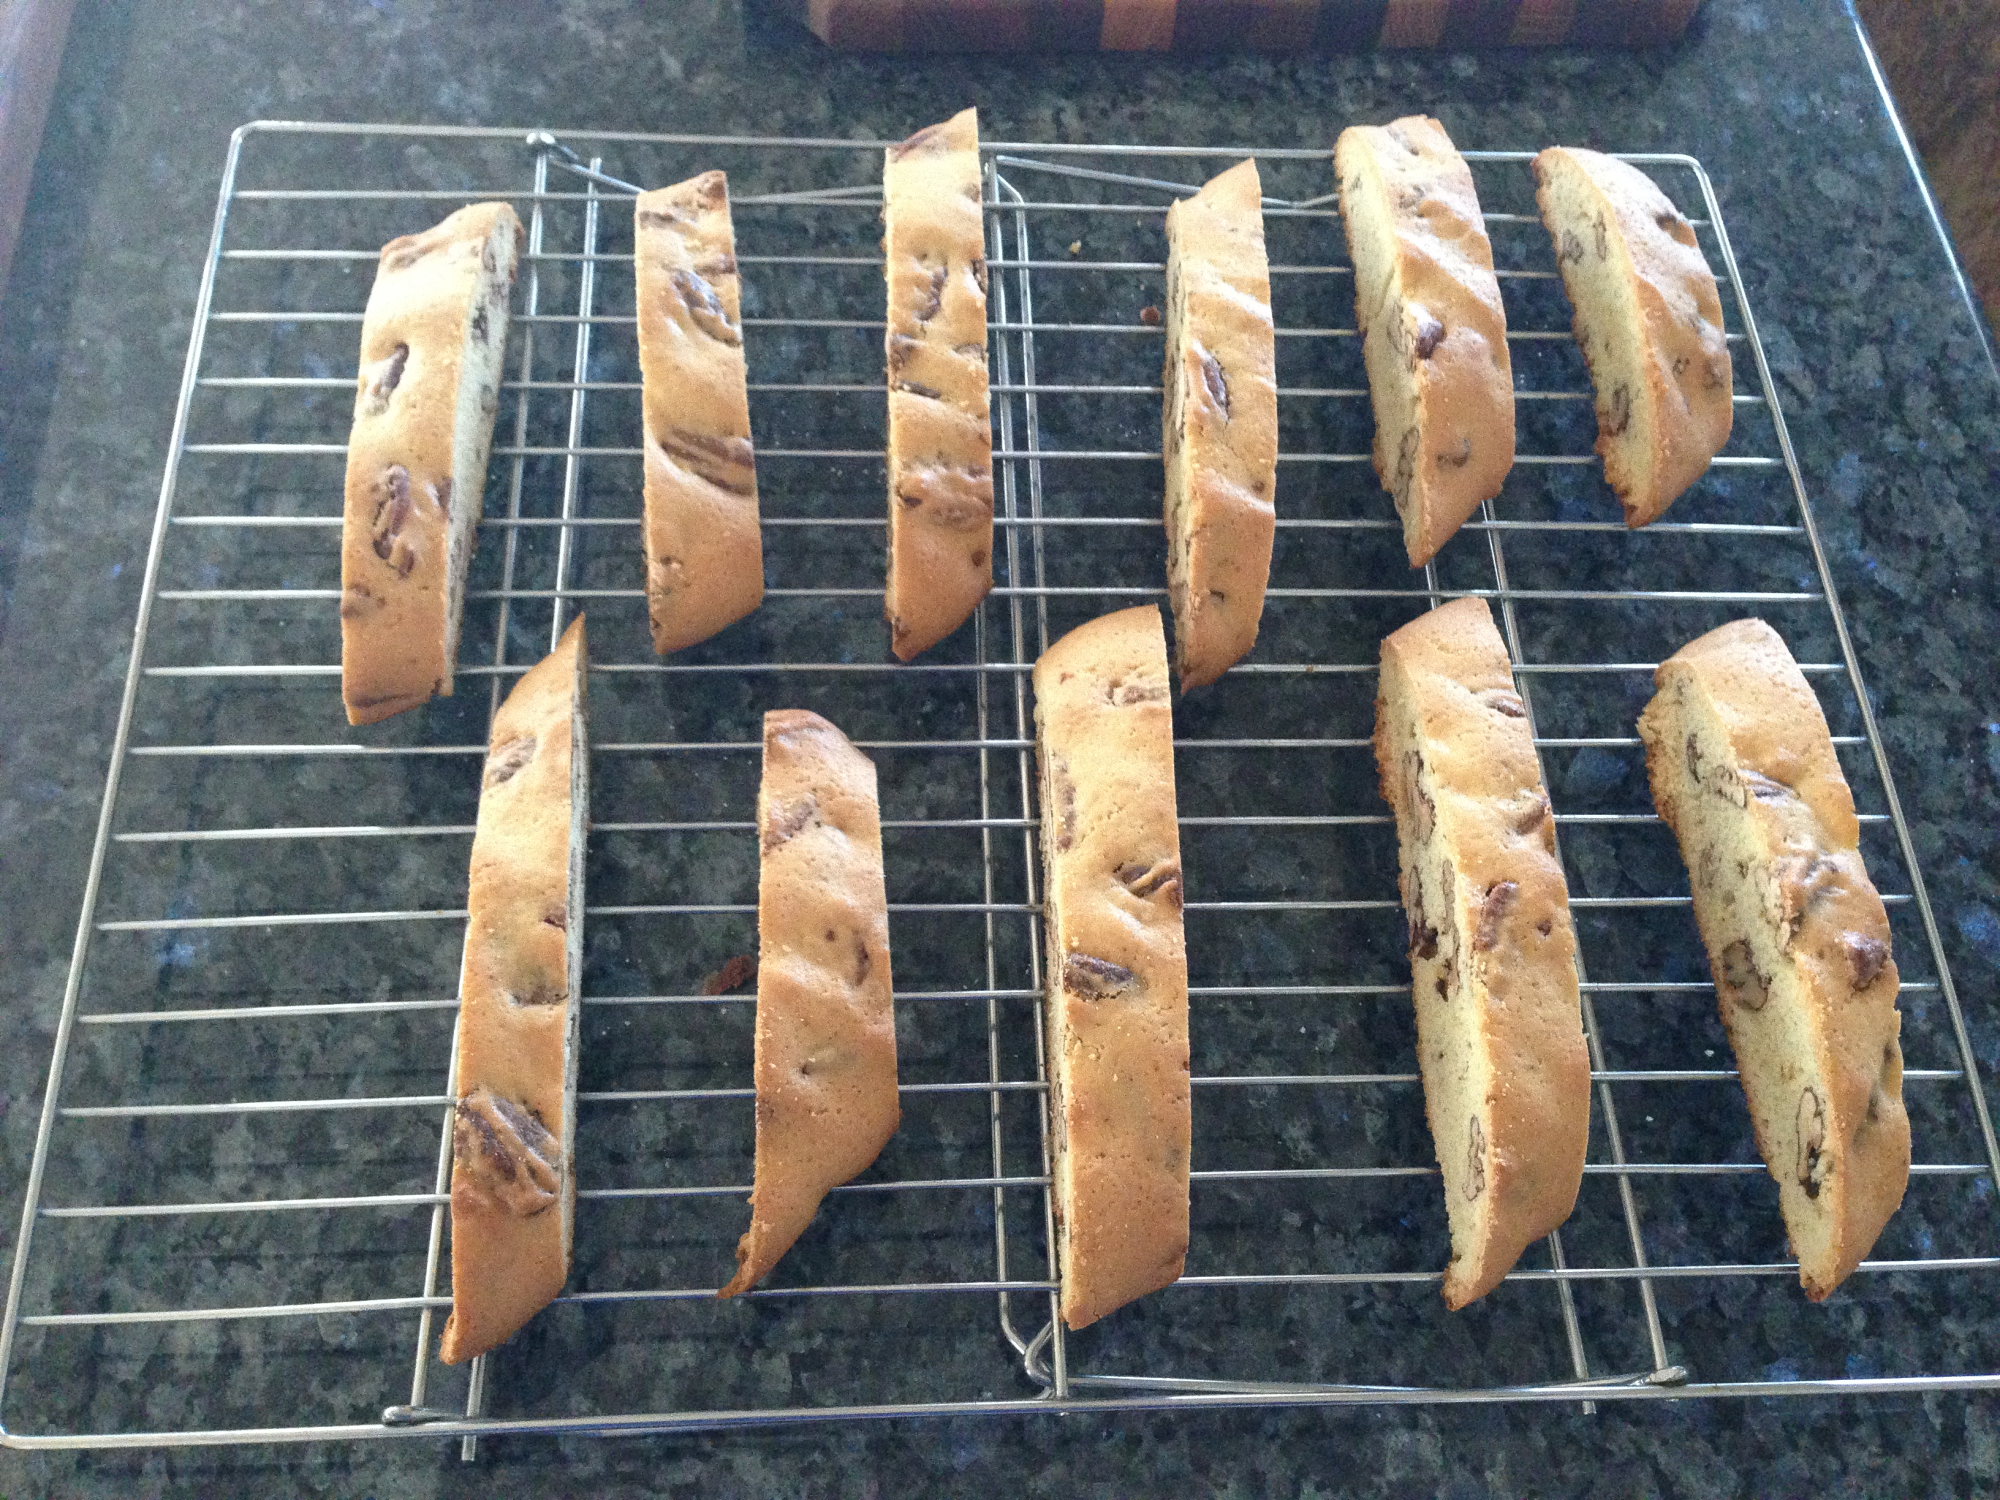
Let the logs cool on the tray for about 10 minutes and then transfer to cooling racks to cool for another 20 to 30 minutes. Once the logs are almost completely cooled, use a sharp serrated knife to saw the logs into slices. I like to cut them at an angle. Use a back and forth sawing motion so you don’t rip the whole almonds out of the soft loaf. Once sliced, place the biscotti back on the cookie sheet.
For the second bake, transfer back to the parchment covered baking sheet with bottom side down and bake for about 7-10 minutes. Bake for more time if you like them crispy or less time if you prefer them softer.
Finally, place your biscotti on a cooling rack for 30 to 60 minutes. They will keep in an airtight container for 1 – 2 weeks or in the freezer for up to 3 months.