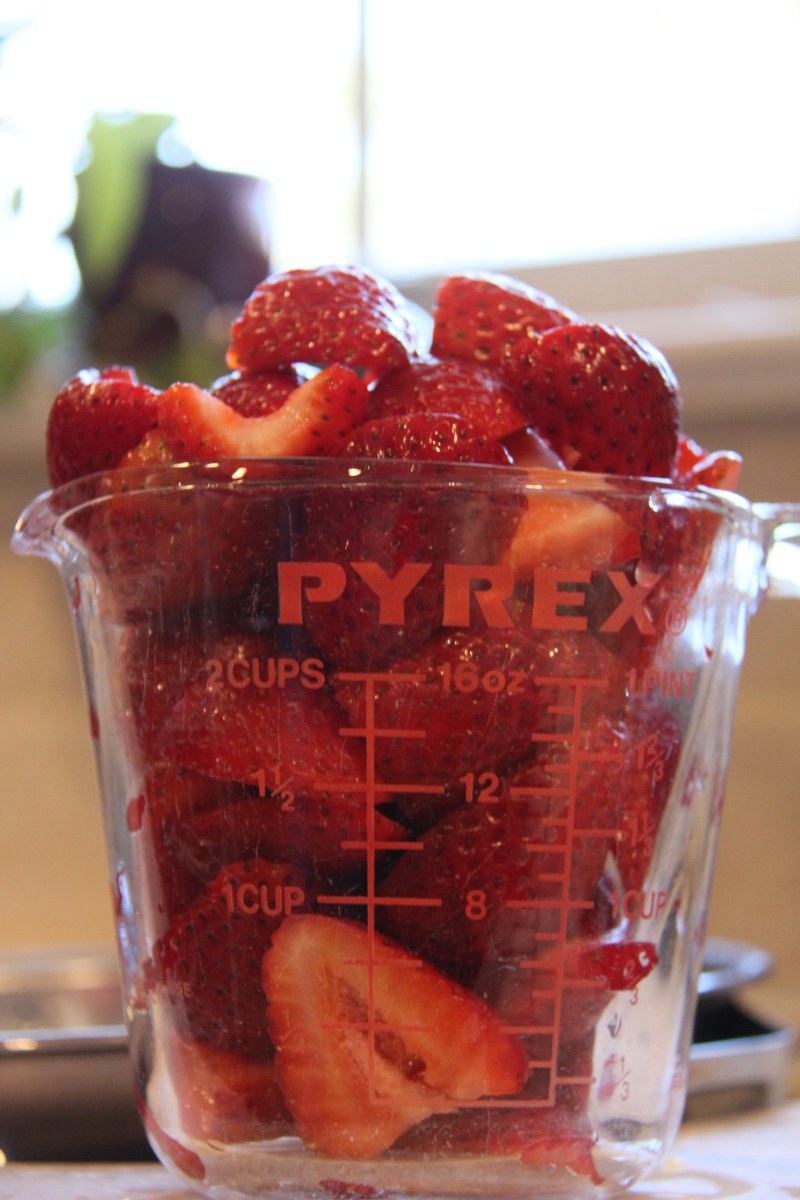
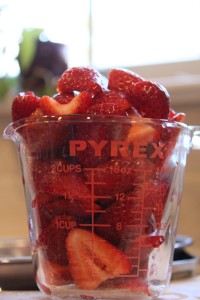
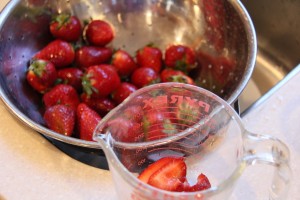
Spring is in the air, and I’m more than ready for warm weather produce. Say hello to these beautiful, juicy strawberries:)

After eating my fill of a BIG box from Costco, I needed to transform these lovlies into something delicious before they went bad. JAM was the answer!
I decided to make two versions – a small batch with less sugar and lemon zest and the other regularly sweetened plus lemon juice. The one with the zest had a slight lemony kick, and the second is your classic strawberry jam.
Here are some of the tools and equipment you’ll need if you plan on canning the jam:
- 8 – 10, 8oz canning jars and lids
- 2 big pots
- ladle
- funnel
- candy thermometer
- canning tongs
Strawberry Jam Version 1: Lemon Zest + reduced sugar
2 cups sugar
1 lemon – zest and juice (about 1/4 cup)
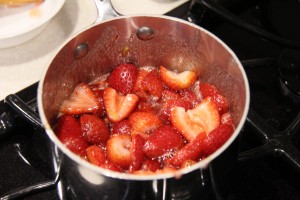
3 cups strawberries -halved
Strawberry Jam Version 2: Classic
7 cups sugar
1/4 cup lemon juice
5 cups strawberries
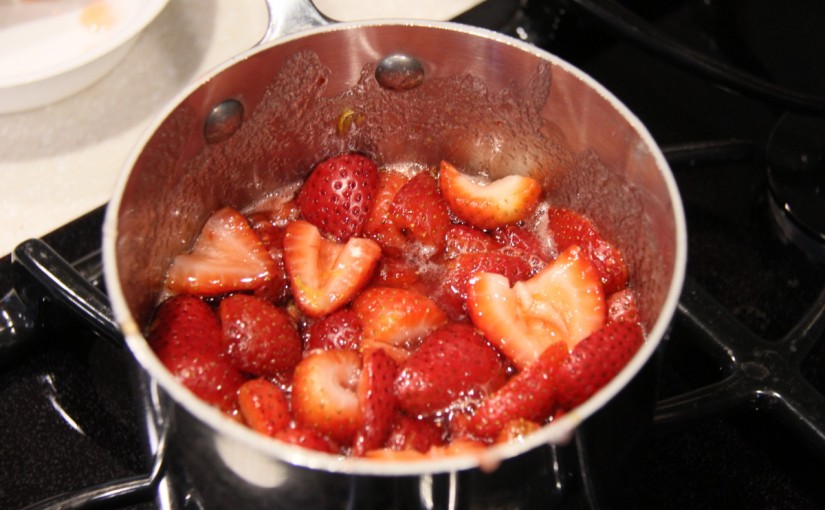
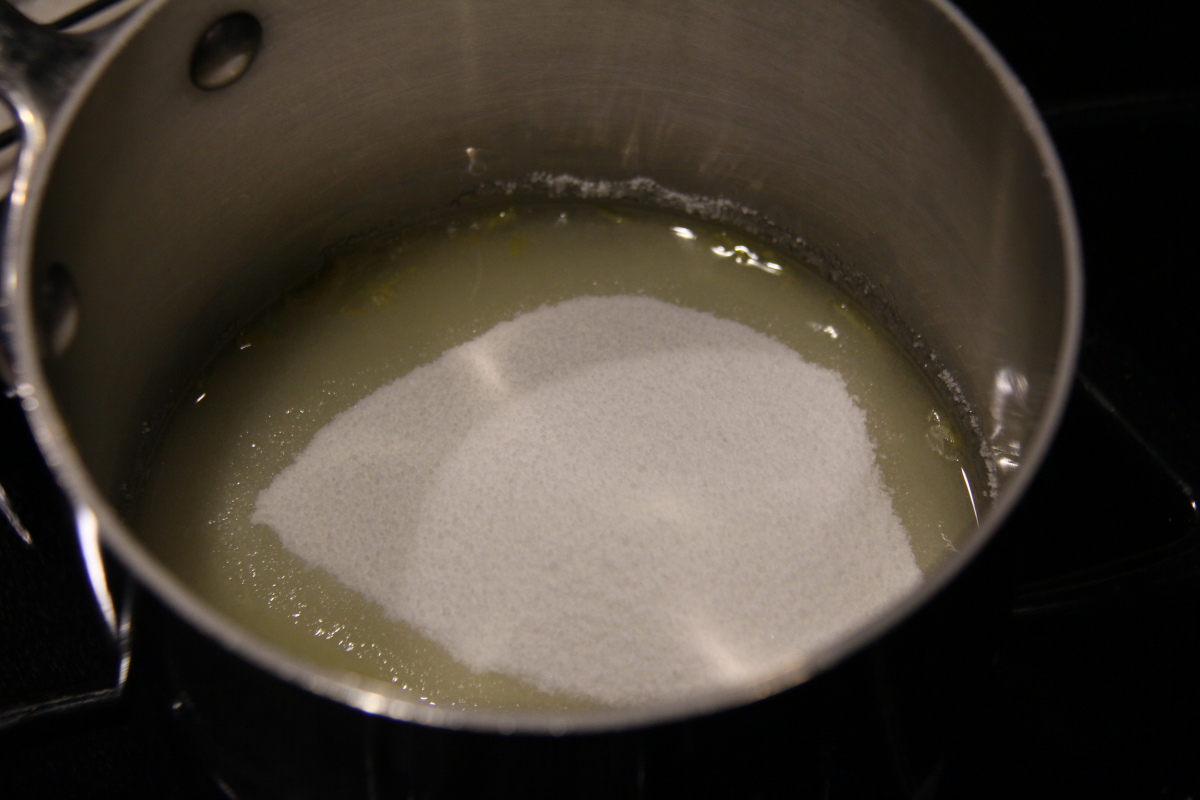
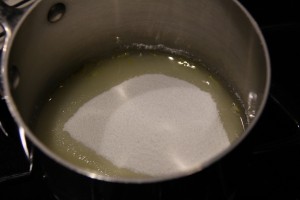
Cook the lemon and sugar for about 10 minutes.
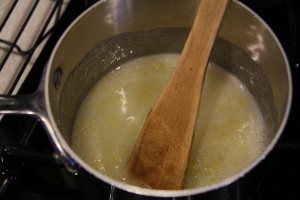
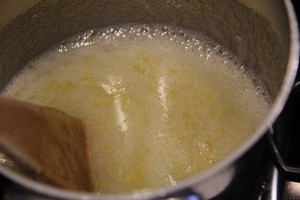
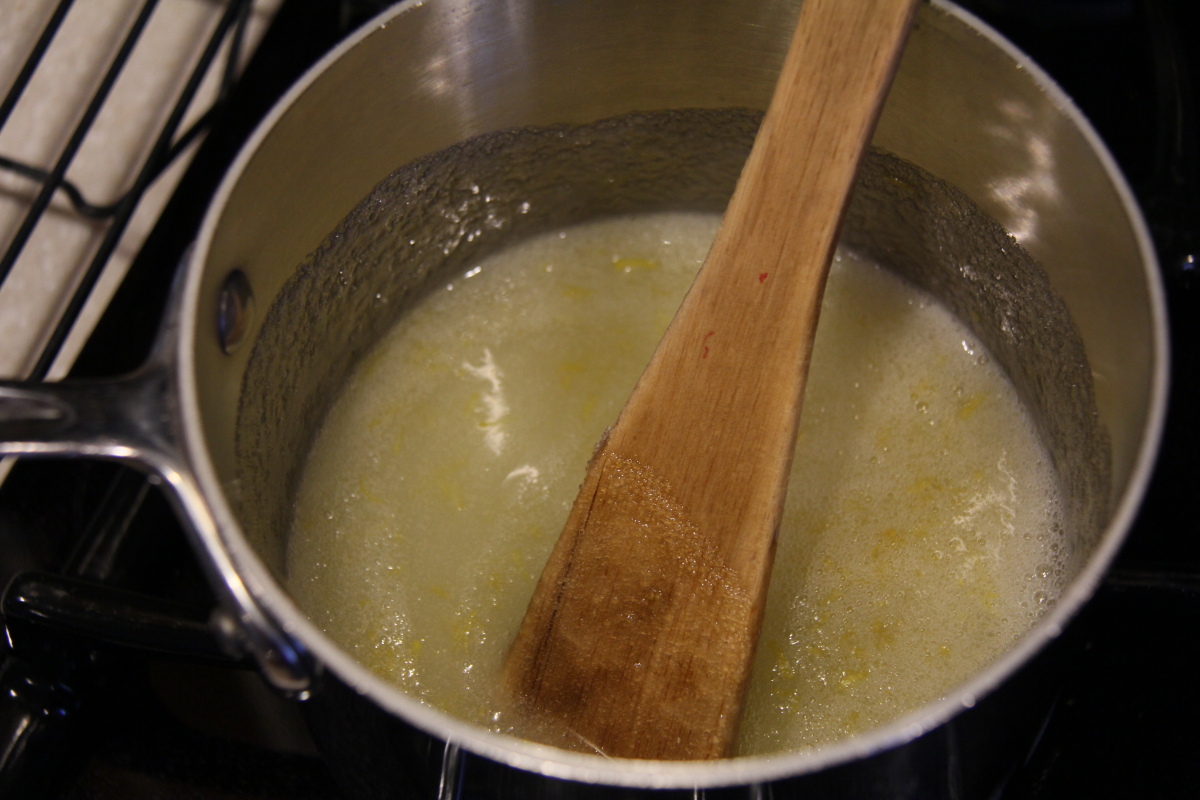
Then, add the strawberries and cook for another 20 minutes, stirring every 30 to 60 seconds.
Place a candy thermometer into the mixture, making sure it does not touch the bottom of the pan. The one I use has an adjustable clip on the side so it can attach to the side of the pot and stay in the mixture as it cooks.
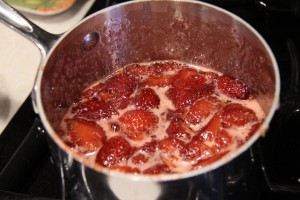
Stir the mixture every 30 to 60 seconds and cook until the temperate reaches 230 degrees F and jam is thick when placed on a cold plate. (FYI: The temperature will sit at about 210F for a long time and then slowly increase, so don’t get discouraged! Make sure you keep your eye on the thermometer because the temperature will rise faster as it approaches the final temperature.)
While the berries are cooking, prepare your canning pot by filling a second large pot with water, leaving enough room for the jars so the water does not overflow when they are added. This pot should be large enough to hold 8 to 10 canning jars with about 1 inch of water above the tops of the jars. Place a small rack or even a piece of cloth at the bottom of the pot so the jars don’t come into direct contact with the bottom of the pot while canning. To sterilize the jars, place the clean, open jars (no lids) into the water along with a ladle and funnel that you’ll be using to fill the jars. Boil the jars for about 10 minutes. Turn off the heat and add the lids. Let them sit until you’re ready to can.
About 15 minutes or so before the jam is done cooking, use your canning tongs to remove the jars and lids from the canning pot and place them upside down on a clean dish towel. Turn the heat back on the canning pot so that the water is boiling when the jam is ready.
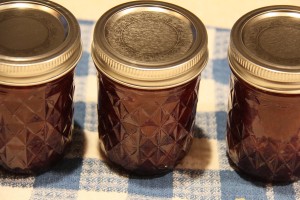
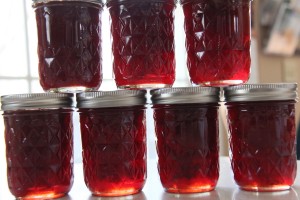
Once the jam reaches 230F, remove the pot from the heat. Fill each of the canning jars with the jam to about 1/4″ from the top. Wipe the top edge of the jar with a damp paper towel to remove any jam that may have dripped. Place the lid on the jar (gasket side down) and screw on the band – medium tight.
With your canning tongs, place the jars standing up onto the grate or towel in the boiling water in the canning pot. Make sure the jars have about 1″ of water covering the lids. Boil for 10 minutes. Then, remove each jar and place back on your counter to cool. In about 5 to 20 minutes, each of the lids will snap inwards, indicating that the jars are sealed and the vacuum has formed. Write the date on top and enjoy!