Strawberry Jam

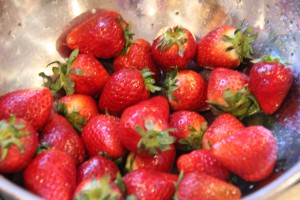
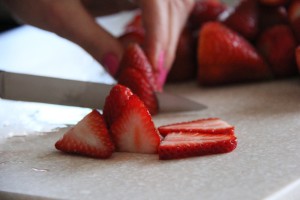
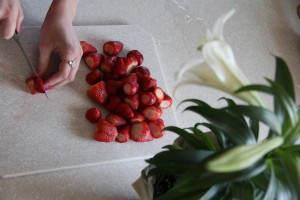
Spring is in the air, and I’m more than ready for warm weather produce. Say hello to these beautiful, juicy strawberries:)

IMG_4445 small

After eating my fill of a BIG box from Costco, I needed to transform these lovlies into something delicious before they went bad. JAM was the answer!

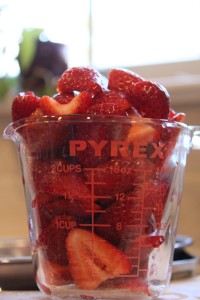
IMG_4448 small

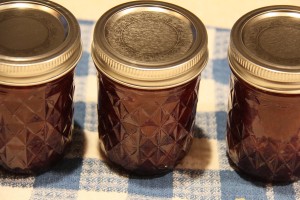
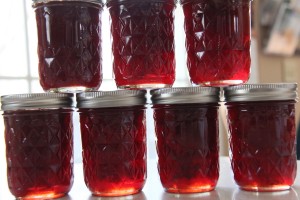
I decided to make two versions –  a small batch with less sugar and lemon zest and the other regularly sweetened plus lemon juice.  The one with the zest had a slight lemony kick, and the second is your classic strawberry jam.

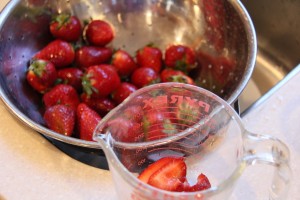
IMG_4447 small

Here are some of the tools and equipment you’ll need if you plan on canning the jam:

  • 8 – 10, 8oz canning jars and lids
  • 2 big pots
  • ladle
  • funnel
  • candy thermometer
  • canning tongs

Strawberry Jam Version 1: Lemon Zest + reduced sugar

2 cups sugar
1 lemon – zest and juice (about 1/4 cup)
3 cups strawberries -halved

Strawberry Jam Version 2: Classic

7 cups sugar
1/4 cup lemon juice
5 cups strawberries

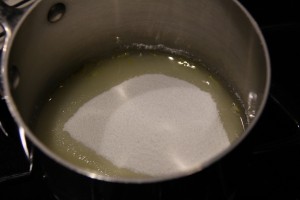
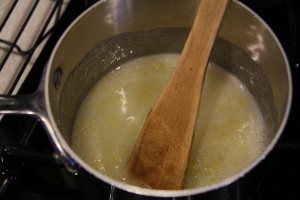
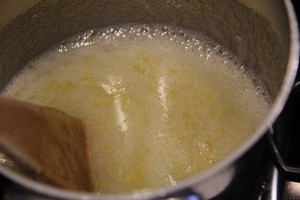
Cook the lemon and sugar for about 10 minutes.

IMG_4446 small

IMG_4453 small

IMG_4454 small

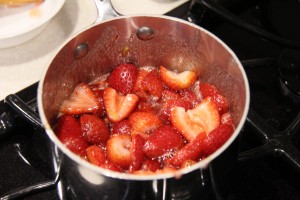
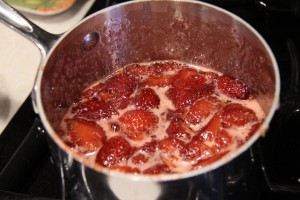
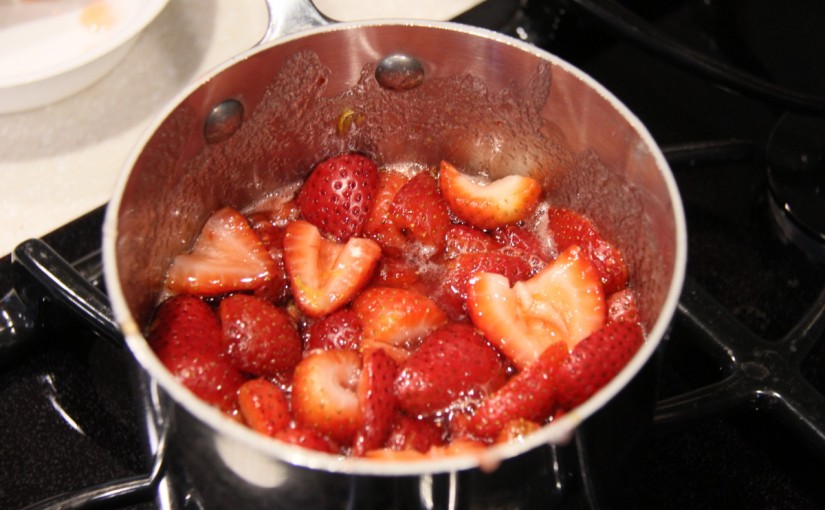
Then, add the strawberries and cook for another 20 minutes, stirring every 30 to 60 seconds.

IMG_4455 small

Place a candy thermometer into the mixture, making sure it does not touch the bottom of the pan. The one I use has an adjustable clip on the side so it can attach to the side of the pot and stay in the mixture as it cooks.

IMG_4456 small

Stir the mixture every 30 to 60 seconds and cook until the temperate reaches 230 degrees F and jam is thick when placed on a cold plate. (FYI: The temperature will sit at about 210F for a long time and then slowly increase, so don’t get discouraged! Make sure you keep your eye on the thermometer because the temperature will rise faster as it approaches the final temperature.)

While the berries are cooking, prepare your canning pot by filling a second large pot with water, leaving enough room for the jars so the water does not overflow when they are added. This pot should be large enough to hold 8 to 10 canning jars with about 1 inch of water above the tops of the jars. Place a small rack or even a piece of cloth at the bottom of the pot so the jars don’t come into direct contact with the bottom of the pot while canning. To sterilize the jars, place the clean, open jars (no lids) into the water along with a ladle and funnel that you’ll be using to fill the jars. Boil the jars for about 10 minutes. Turn off the heat and add the lids. Let them sit until you’re ready to can.

About 15 minutes or so before the jam is done cooking, use your canning tongs to remove the jars and lids from the canning pot and place them upside down on a clean dish towel. Turn the heat back on the canning pot so that the water is boiling when the jam is ready.

IMG_4465 small

IMG_4849 small

Once the jam reaches 230F, remove the pot from the heat. Fill each of the canning jars with the jam to about 1/4″ from the top. Wipe the top edge of the jar with a damp paper towel to remove any jam that may have dripped. Place the lid on the jar (gasket side down) and screw on the band – medium tight.

With your canning tongs, place the jars standing up onto the grate or towel in the boiling water in the canning pot. Make sure the jars have about 1″ of water covering the lids. Boil for 10 minutes. Then, remove each jar and place back on your counter to cool. In about 5 to 20 minutes, each of the lids will snap inwards, indicating that the jars are sealed and the vacuum has formed.  Write the date on top and enjoy!
Strawberry Tart

I am so thankful that I was able to spend Easter at home with my family. As this may be my last break for quite some time, I soaked up the opportunities to see old friends, bum around the house, enjoy a holiday meal with family, and bake!

strawberry tart 0020

strawberry tart 0011

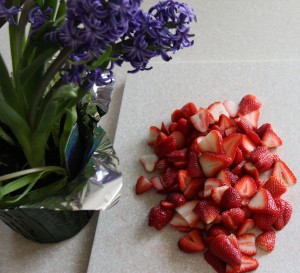
After what seemed to be the longest winter ever, the sight of bright pink strawberries in the grocery store makes me almost giddy! I knew they must be incorporated into this year’s Easter treat.

strawberry tart 0010strawberry tart 0004

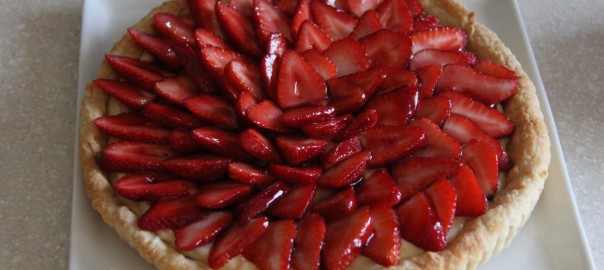
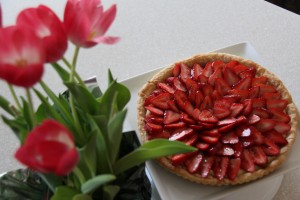
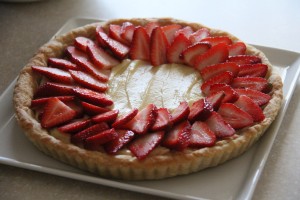
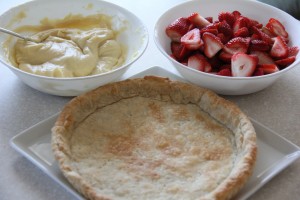
This strawberry tart keeps it simple and delicious. It showcases the beautiful berry and is full of texture and flavor! My dad’s famous flaky pie crust is filled with a luscious pastry cream, all topped off with sweet berries.

strawberry tart 0017strawberry tart 0021

This tart would also be delicious with any other spring/summer fruit like raspberries, peaches, or plums! Your friends and family will definitely be impressed:)

strawberry tart 0014strawberry tart 0015

strawberry tart 0016

Strawberry Tart

1 fully baked pie crust
pastry cream
about 3 cups fresh strawberries, sliced
glaze (2 Tablespoons jam + 1 Tablespoon water)

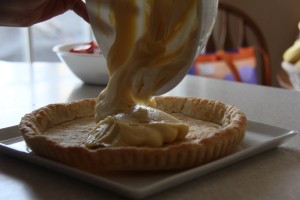
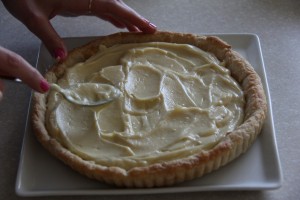
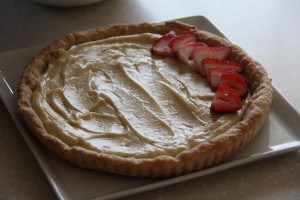
Shortly before you are ready to serve the tart, spread the pastry cream in the bottom of your baked pie crust shell and arrange the strawberries on top. Combine the jam and water together and heat (either in the microwave or a small saucepan) until combined. Using a pastry brush, spread the glaze over the strawberries to give your tart a shiny finish!

strawberry tart 0013

Pie Crust
  • 1 1/3 cups all-purpose flour
  • 1/2 teaspoon salt
  • 1 Tablespoon sugar
  • 1 stick cold butter, cut up into small chunks
  • 1/4 cup (+ 1 Tablespoons if necessary) ice water

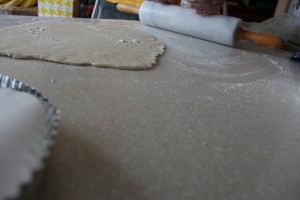
(We made the crust by hand with a pastry cutter. Using a food processor works wonderfully, as well.) Stir together the first three ingredients in a medium sized bowl. Add your small pieces of cold butter. Using a pastry cutter, cut the butter into the flour mixture until you have little bits of pea-sized butter pieces remaining. Pour in 1/4 cup of ice cold water and blend together with the pastry cutter and your hands until a nice dough forms. Add another tablespoon of water if it is still too crumby. Wrap the dough in plastic wrap and chill for a couple of hours before rolling it out.

strawberry tart 0003

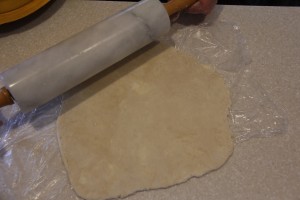
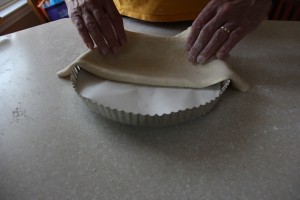
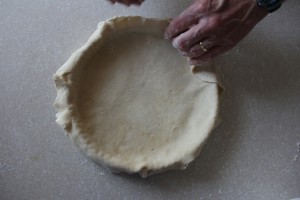
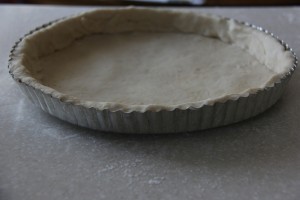
Put a piece of parchment in a circle to fit in the bottom of your pan. We used a tart pan with fluted edges, but any kind of pan (pie, tart, quiche, flan) will do! After your dough has chilled, it’s time to roll it out into a circle with a diameter a couple of inches bigger than your pan. Sometimes this is easier on top of the plastic wrap or a floured sheet of parchment paper. Keeping your dough sprinkled with flour will also help to prevent it from sticking. As you roll out the dough, occasionally turn, flip, and lift the dough to free it from the surface. After you’ve reached the desired size, turn the dough out into your pan. At the bottom edge, lift the dough up and press in to make sure it gets fully in there. Trim the overhang to 1/2 inch. Fold the overhang in to make double thick sides.

strawberry tart 0005strawberry tart 0006

Now, it’s time to blind bake! We’re going to bake the crust by itself, since the filling doesn’t need to be baked. This method also keeps the crust flaky and wonderful, protecting it from becoming soggy after we load it up with pastry cream and berries.

strawberry tart 0007strawberry tart 0008

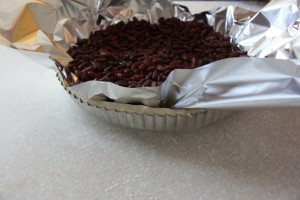
Preheat your oven to 425F.  Gently place a piece of aluminum foil on top of the crust. Then, place your pie weights or “baking beans” on top of the foil. You can purchase official pie weights, but we are totally happy using dried beans. (After they cool, you can store them in a bag and use them over and over again as pie weights!) Spread out the beans delicately and evenly.

strawberry tart 0012

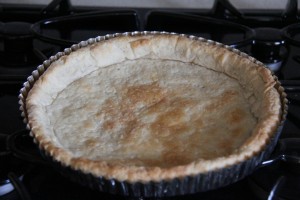
Bake your crust, filled with foil and weights/beans, for 15 minutes. Then, remove the weights and foil and bake for about 5 minutes more, until the crust is cooked through and turns light brown. Remove from the oven and allow the crust to cool in the pan.


Pastry Cream
modified from Smitten Kitchen and Williams-Sonoma Dessert
  • 1 1/2 cups whole milk
  • 3 large egg yolks
  • 1/2 cup granulated sugar
  • 3 Tablespoons cornstarch
  • pinch of salt
  • 1 teaspoon vanilla extract
  • 3 Tablespoons butter, room temperature

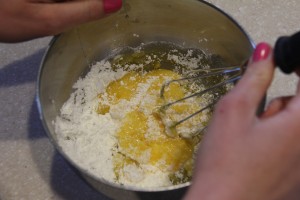
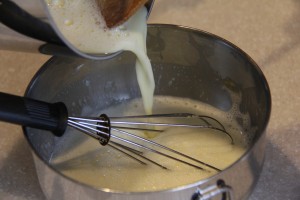
In a saucepan over medium heat, warm the milk until you see small bubbles form along the edges. Remove pot from the heat. In a medium bowl, whisk together the egg yolks, sugar, cornstarch, and salt. Slowly add about one quarter of the hot milk to the egg mixture, while whisking. Continue to add the milk very slowly until it is all incorporated. Pour the mixture back into the saucepan and place over medium-low heat.

strawberry tart 0001strawberry tart 0002

Cook, stirring constantly, until the mixture comes to a boil and thickens. Continue to cook, still stirring constantly, for about 30 seconds. Pour the mixture into a clean bowl. Add the vanilla extract and butter (cut into small chunks). Stir until smooth and combined. Press a piece of plastic wrap directly onto the surface to prevent a skin from forming. Refrigerate until cold, for at least 2 hours or up to 24 hours.


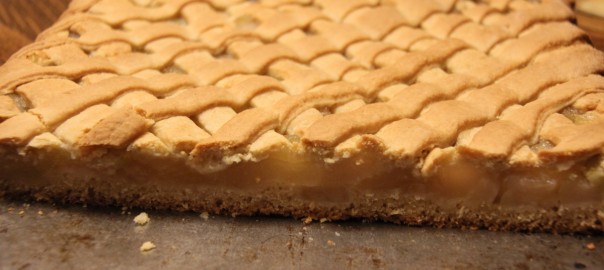
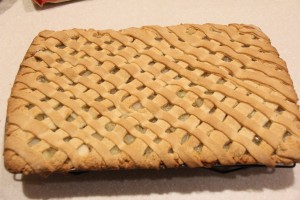
Mrs. Perotti’s Apple Pear Pie Cake

I have never met anyone yet who has eaten an apple pear pie cake. This dessert seems confused about its identity, but it is not exactly a cake and in many ways not like a pie!

apple pear piecake 0017

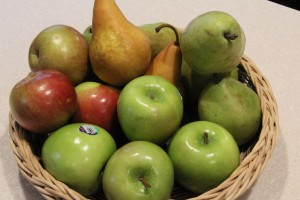
I believe this unique recipe originates from my childhood neighbor, Mrs. Perotti, and I’ve been making it ever since!  The apple-pear mixture combined with the layers of soft dough creates so many wonderful flavors.. I hope you’ll give it a try!

apple pear piecake 0001

Continue reading Mrs. Perotti’s Apple Pear Pie Cake

Orange Marmalade

orange marmalade 13 IMG_1823

Citrus fruits abound during the winter months, so let’s enjoy these seasonal beauties! Wondering what to do with a box of oranges from your church or the local high school marching band? I’m a big fan of orange-flavored sweets and baked goods, so there are many recipes in my arsenal that utilize oranges! Some of my favorites (that will definitely be included on the blog soon) include cranberry-orange-pecan biscotti, “Aunt Sally’s” orange cookies (an essential holiday cookie in our family), orange scones, and orange marmalade! There is nothing better than this sweet and slightly tangy goodness to slather on a hot, flaky croissant or a fresh slice of our honey wheat bread! Continue reading Orange Marmalade