Christmas Eve Confection

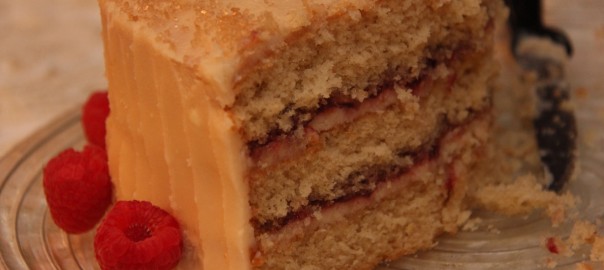
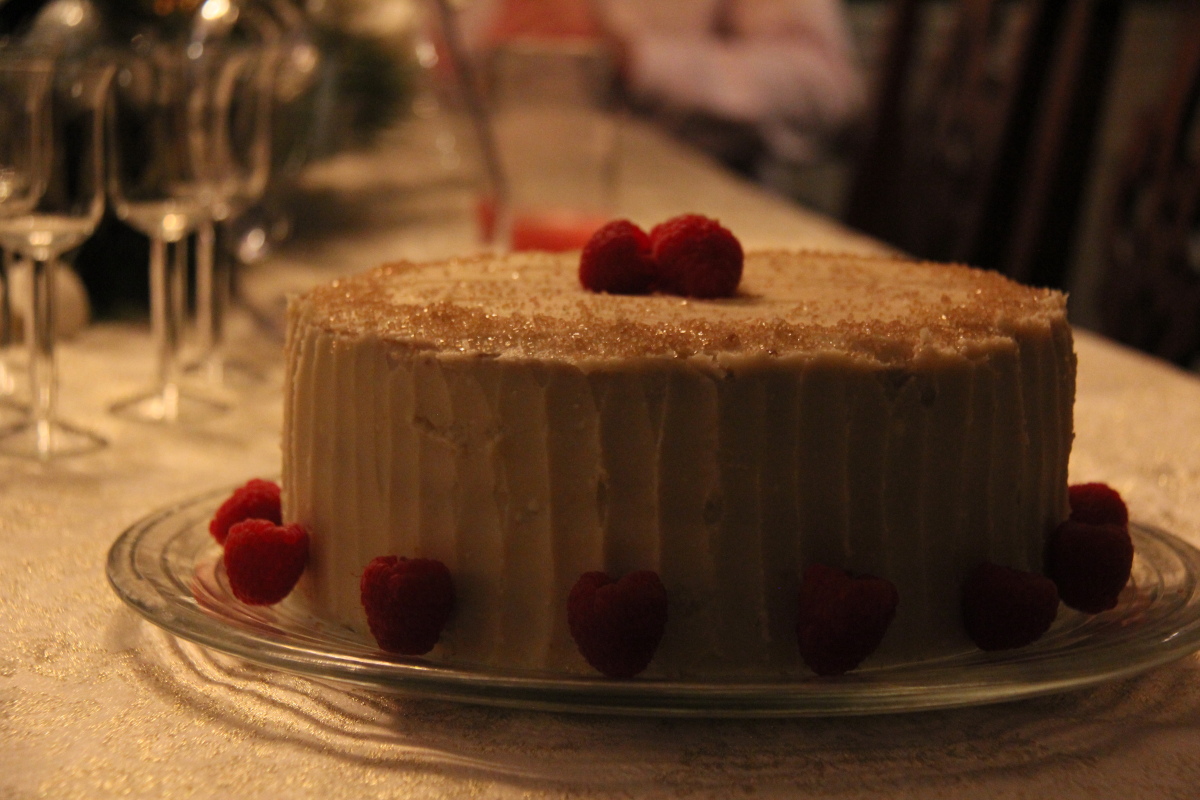
Happy holidays to all! I love creating a special dessert to bring to my aunt’s annual Christmas Eve feast of the seven fishes. This vanilla and raspberry cake with mascarpone frosting was my contribution to the party this year.

raspberry cake 0013

Last year, I had a so much fun assembling a croquembouche, which was actually our very first post on the blog. (Happy birthday to you Baking Genes!) I’ve made quite a few Christmas Eve Buche de Noels in the past, but I decided to mix it up a little bit this time. The flavors in this cake are simple but blend magically together. I promise it tastes even better than it looks!

raspberry cake 0008

Inspired by the gift of a beautiful antique cake knife, I actually made a version of this cake a few months ago. But other than being shared via Instagram, that beauty pretty much stayed in my apartment, with no opportunity to be devoured by family and friends at a party. When my family saw the photographs, they not so secretly hinted that I should bake it for them in the near future. Looks like their wish came true! I thought the festive colors and sparkle of this cake would be perfect for the holidays:) It may just become a new tradition… I hope you and your loved ones enjoy it, too!

raspberry cake 0011

Vanilla cake with raspberry preserves and mascarpone frosting

(adapted from Molly Yeh’s Pony Cake)

Vanilla cake

2  1/2 + 1/8 cups cake flour*
3/4 teaspoon salt
2  1/4 teaspoon baking powder
3/4 teaspoon baking soda
6 Tablespoons butter, softened
1  1/2 cups granulated sugar
3 eggs
1  1/2 Tablespoons vanilla extract
1/2 cup plain yogurt
3/8 cup vegetable oil
1 cup milk

*I didn’t have cake flour, so I substituted the above with 2 1/4 + 1/8 cups all-purpose flour plus 4 Tablespoons of corn starch. Make sure you sift it well!

Frosting

8 oz. mascarpone cheese, softened
18 oz. butter, softened
2 teaspoons vanilla extract
3 1/2 cups powdered sugar
1 Tablespoon milk

For assembly

~3/4 cup raspberry preserves
fresh raspberries for garnish
turbinado sugar for garnish

Preheat the oven to 350F. Grease three 8″ round cake pans with butter. Cut out a circle of parchment paper to line the bottom of the pan and grease again with butter.

raspberry cake 0005

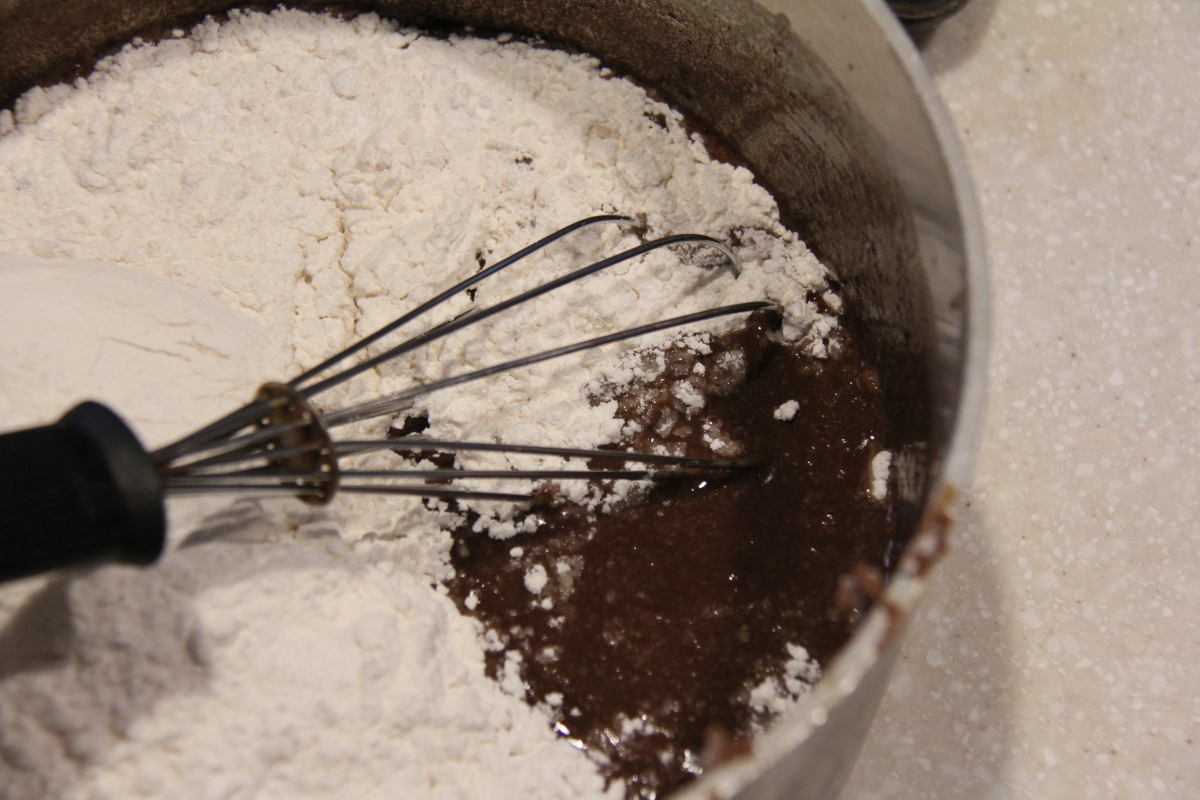
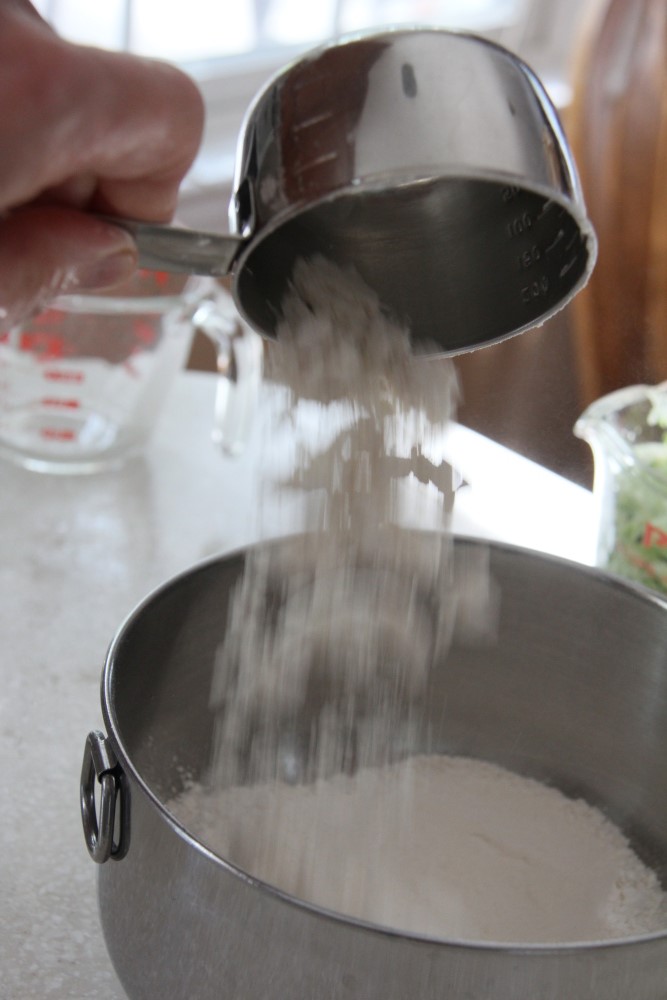
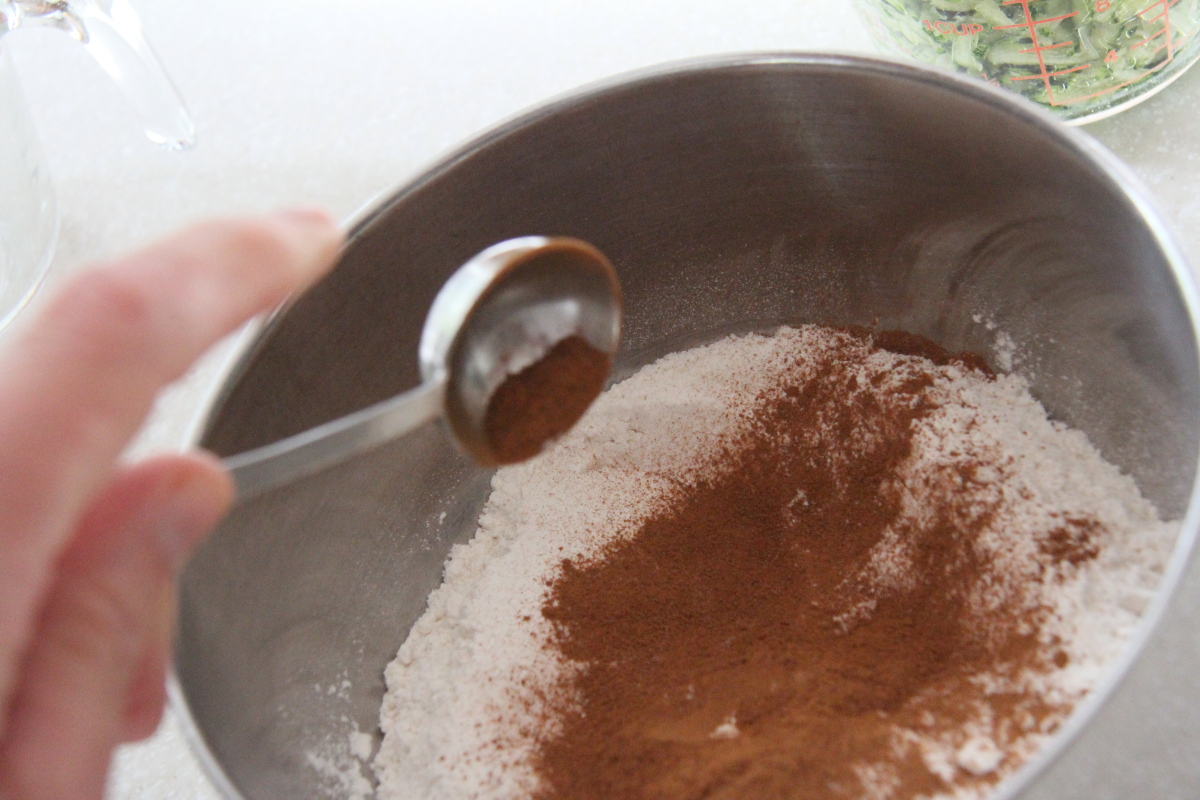
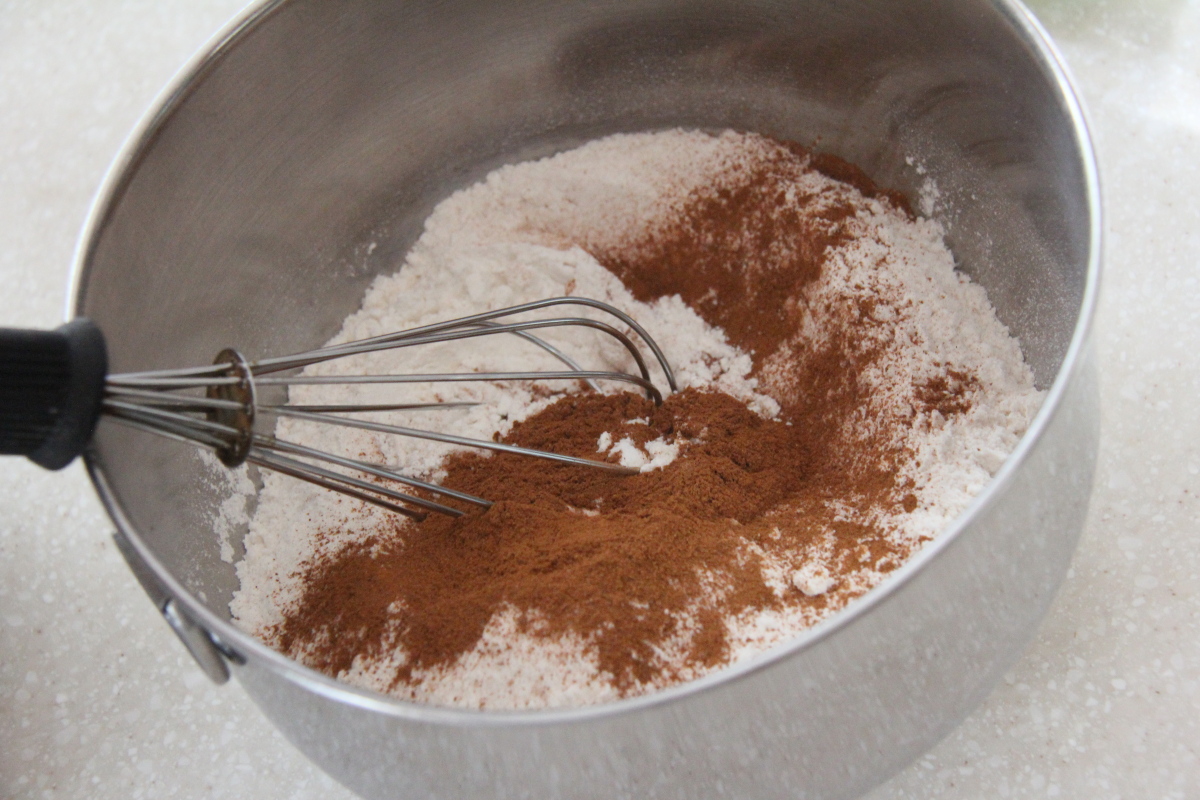
Sift together the cake flour (or your substitute mixture), salt, baking powder, and baking soda into a bowl. In a stand mixer or separate bowl, beat together the butter and sugar for a few minutes. Add in the eggs one at a time; mix until pale and fluffy. Then, add in the vanilla extract, yogurt, and oil. Alternate adding in some of the dry ingredient mixture and pouring in the milk. Beat until smooth.

raspberry cake 0001 raspberry cake 0002

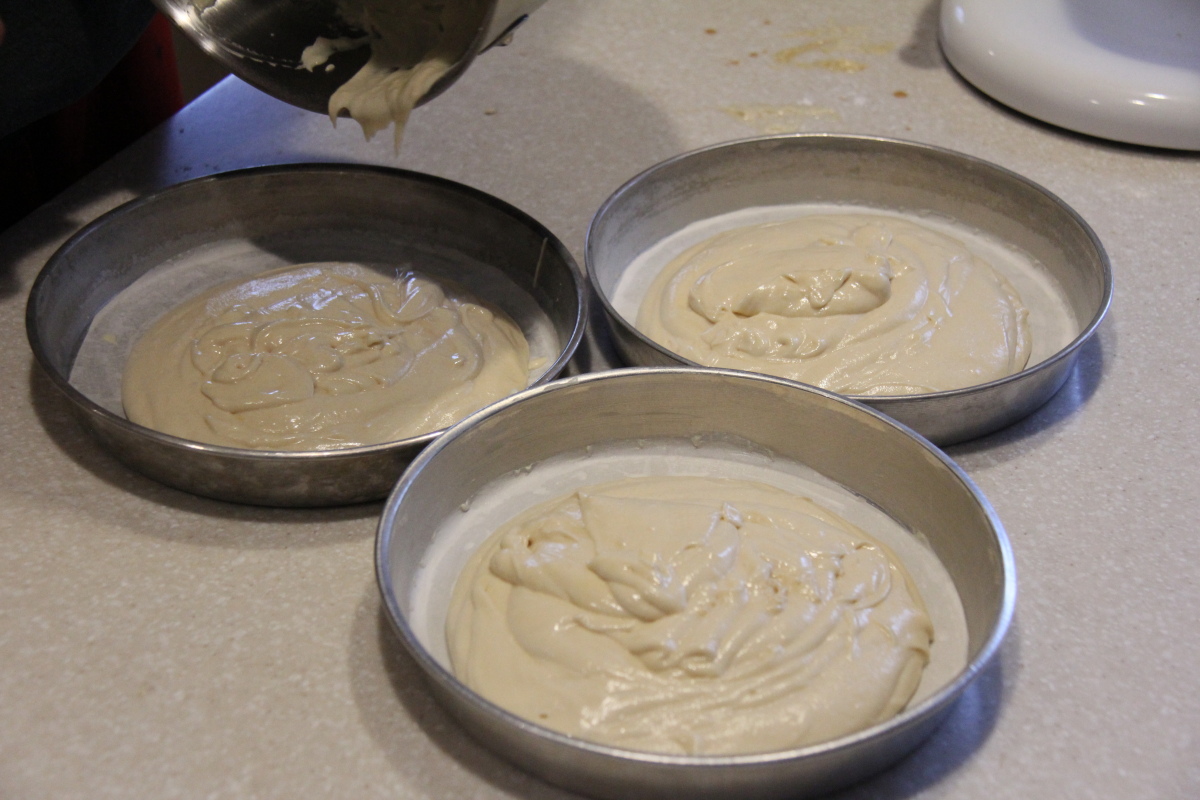
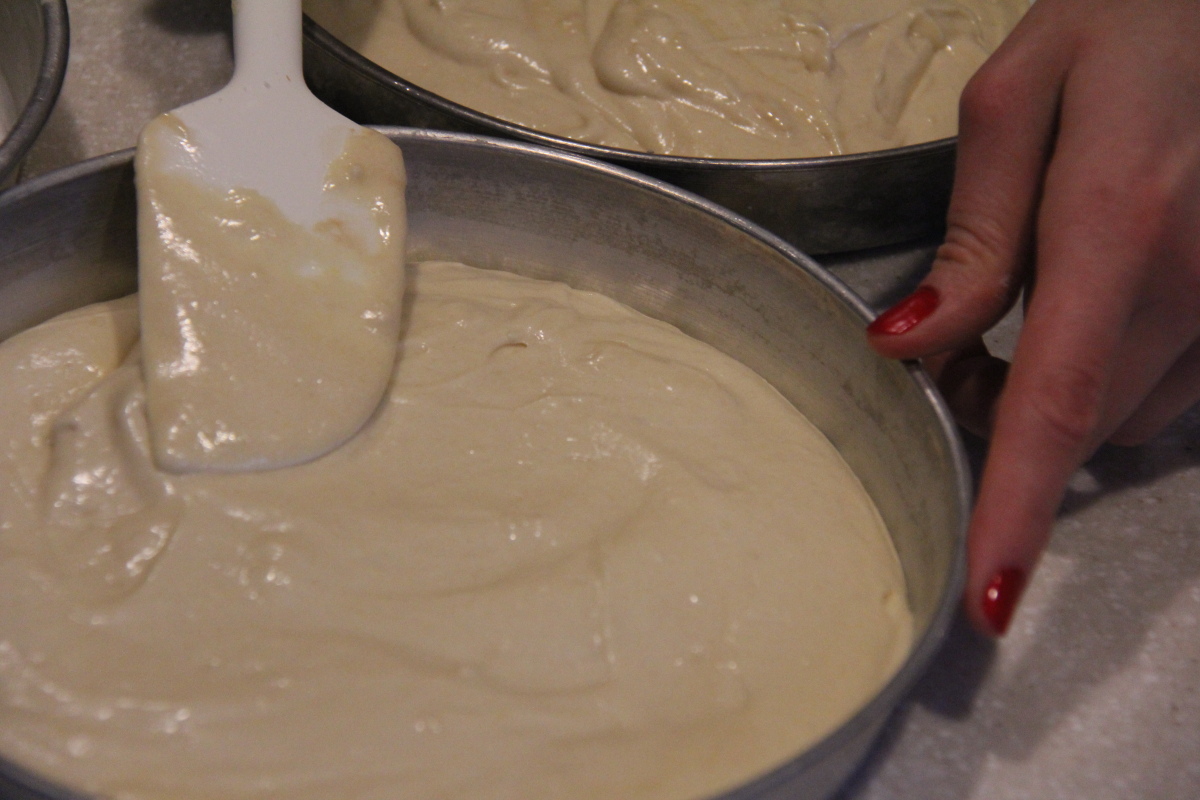
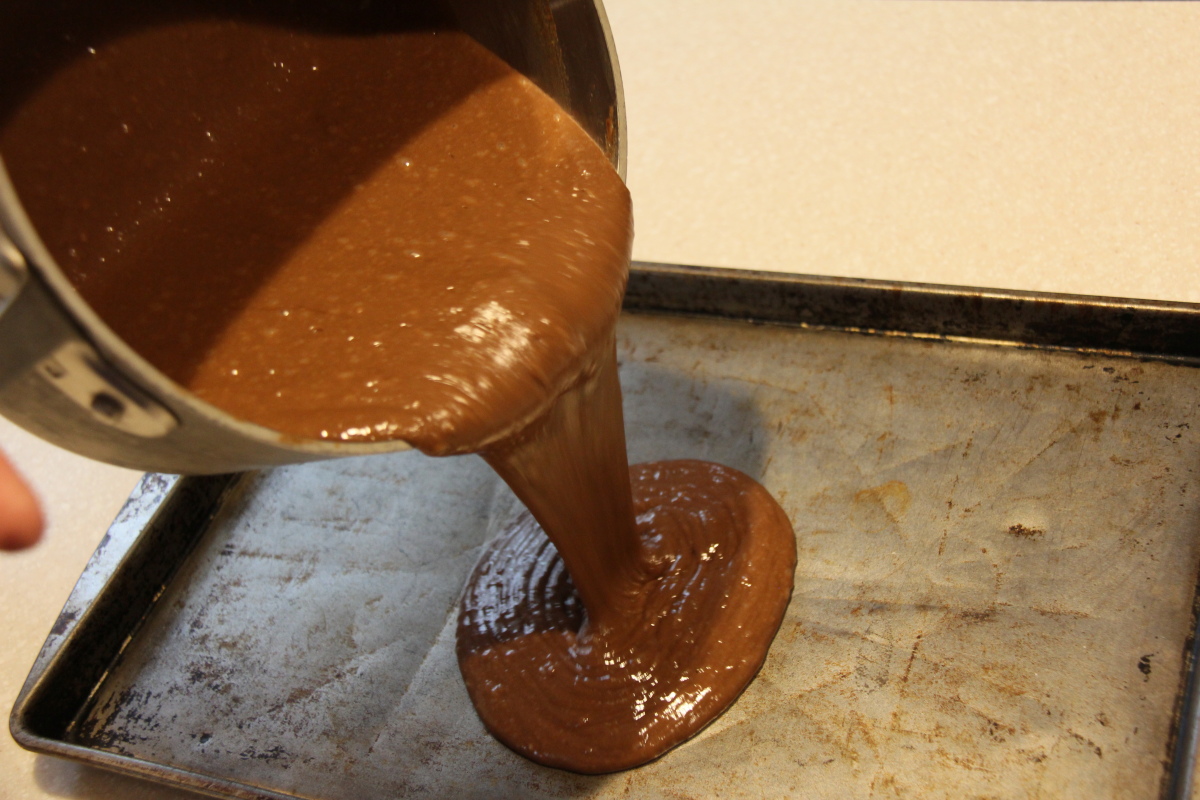
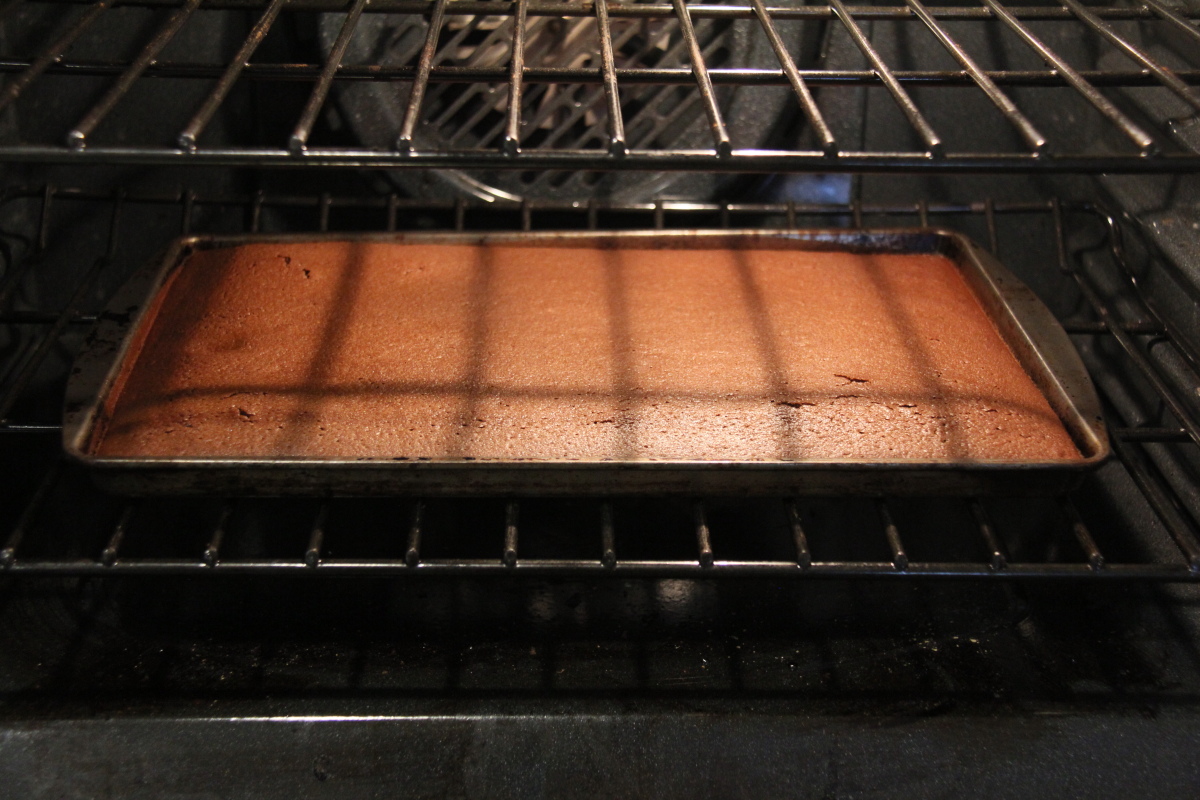
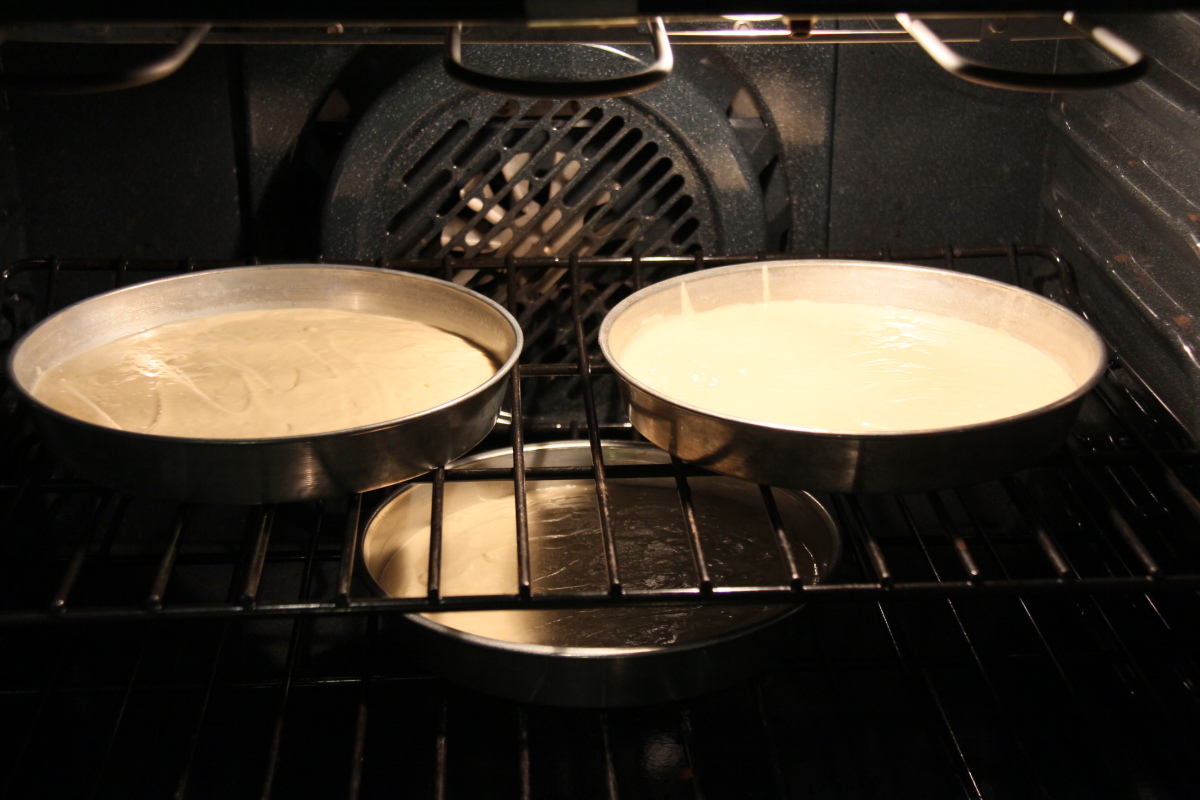
Divide the batter evenly between the three pans. Bake the cakes, rotating halfway through for about 18-24 minutes. When done, a toothpick inserted in the center should come out clean or if you lightly press down in the center, it should easily bounce back up. Let the cakes cool in their pans for 5 minutes then allow to cool completely on racks.

raspberry cake 0003 raspberry cake 0004

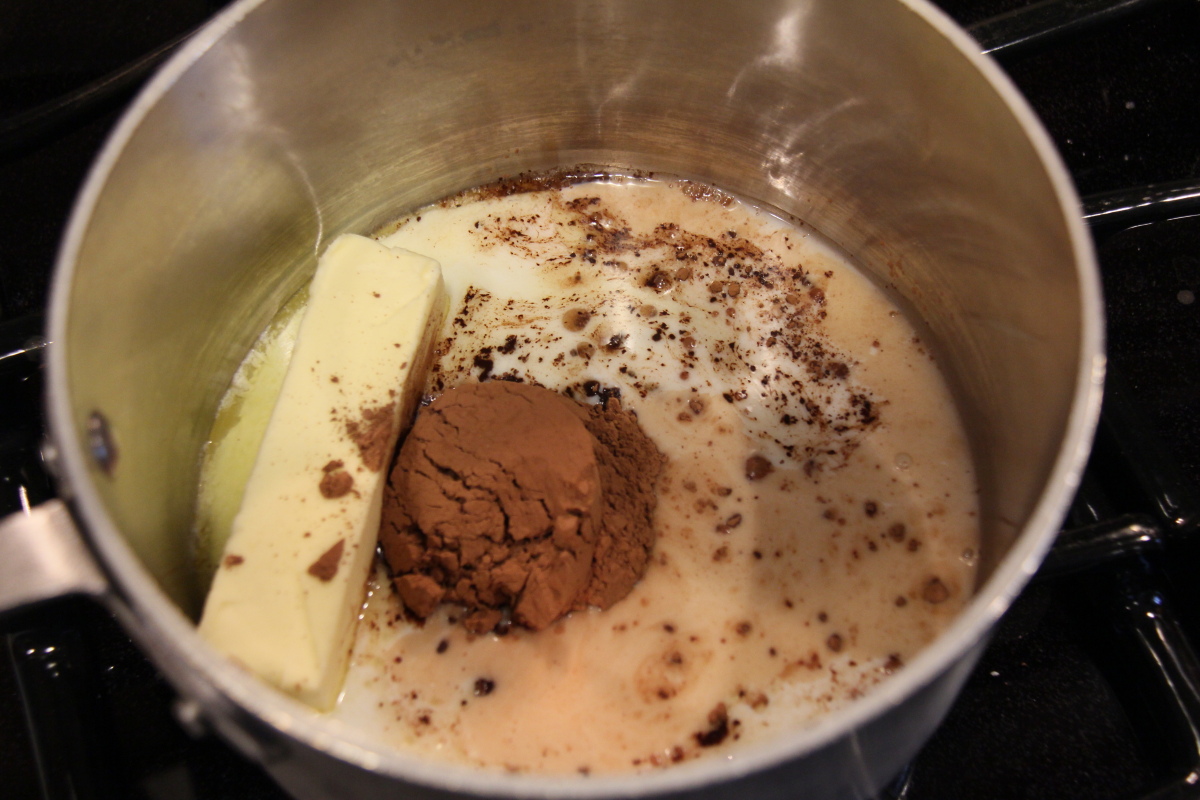
For the frosting, beat the butter, mascarpone, and vanilla in a stand mixer bowl until well combined. Add in the powdered sugar and beat until the frosting is light and fluffy. Add in a little bit of milk until you achieve the desired consistency. I made my frosting on the thicker side so it would be more pliable for decorating the outside of the cake.

raspberry cake 0006 raspberry cake 0007

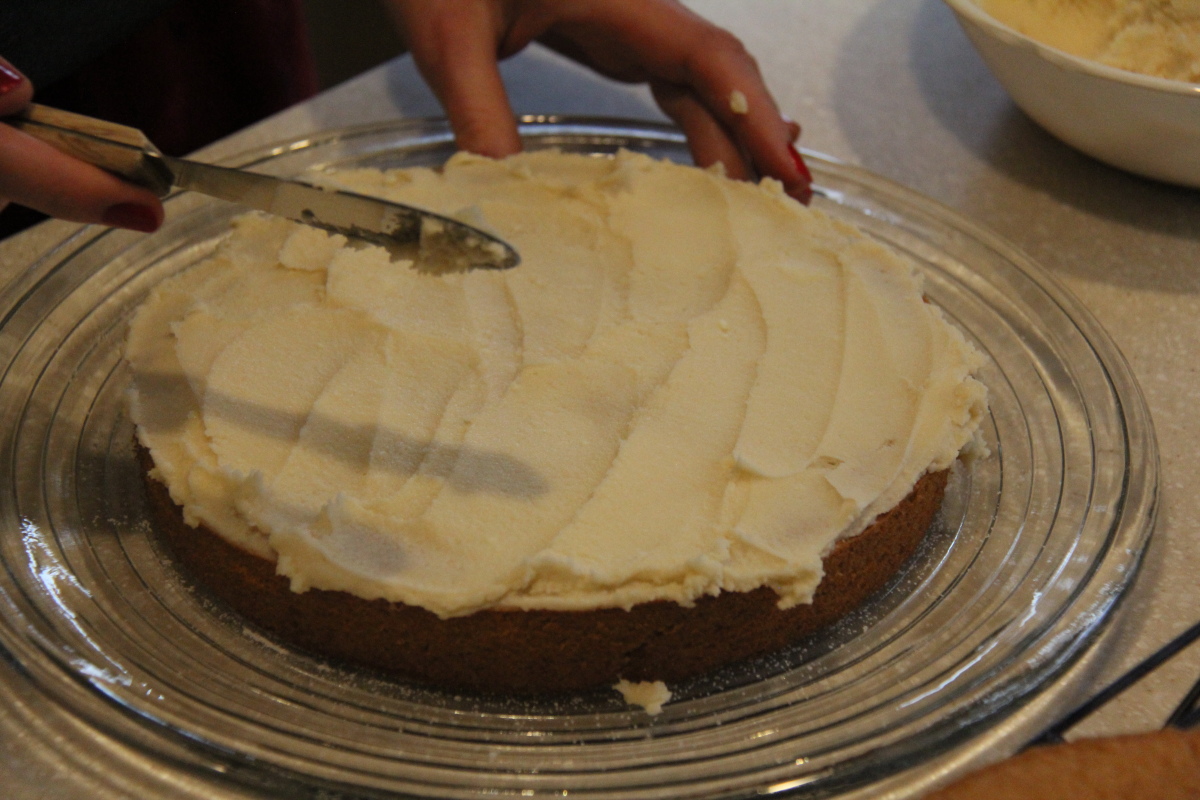
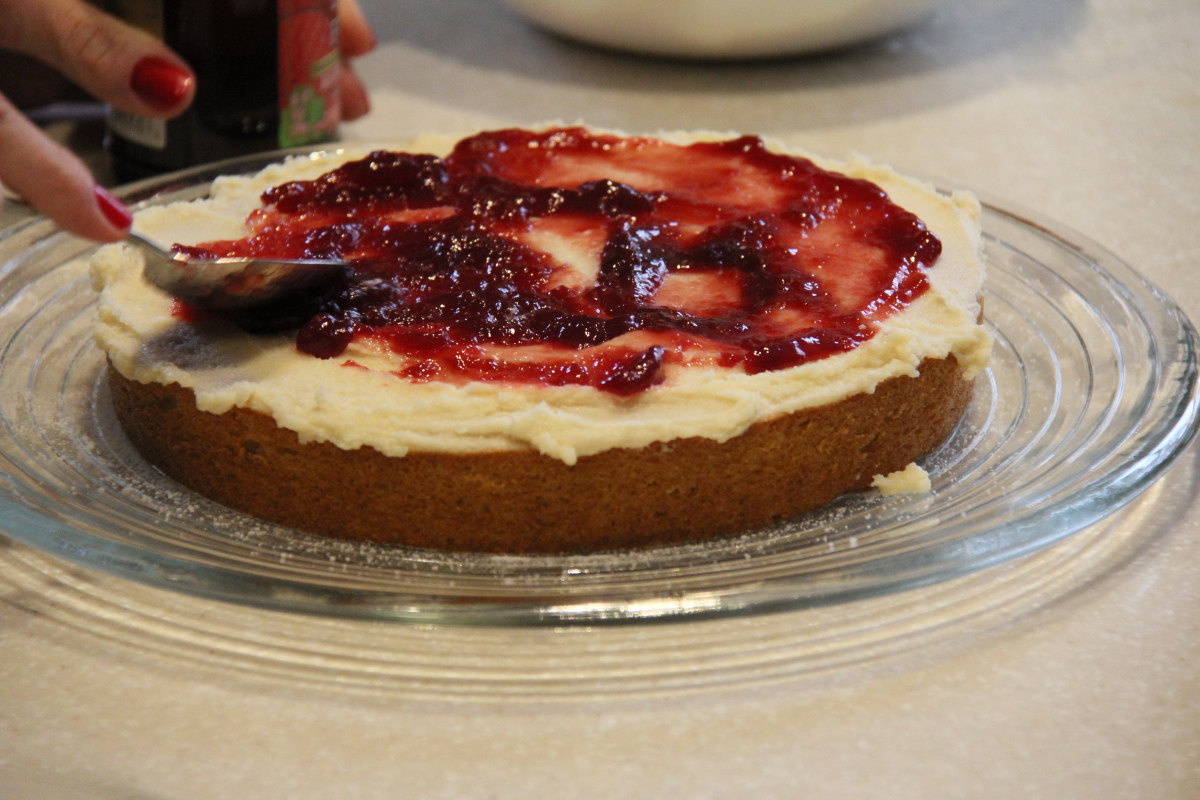
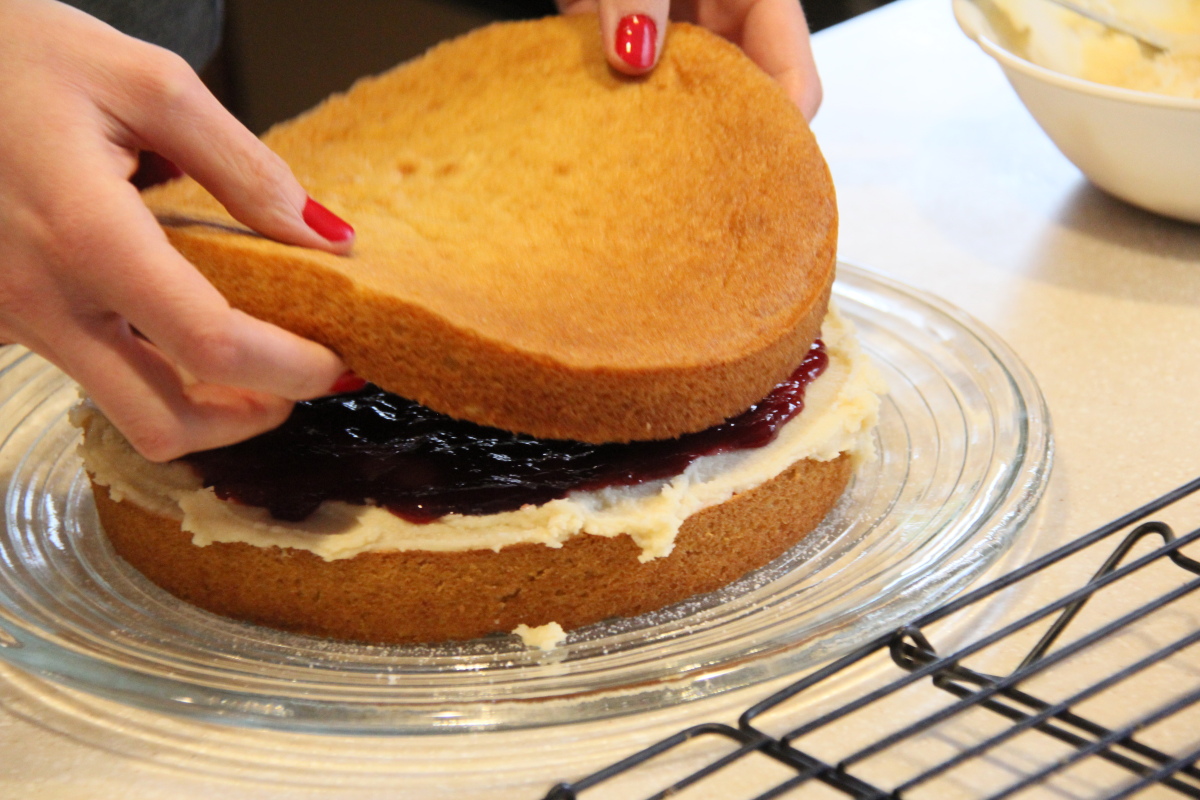
For assembly, place one cake layer on a cake plate. Spread a thick layer of frosting on top and a thin layer of the raspberry preserves on top of that. I spread the frosting to the edge but left a little 1/2 inch margin when I spread the preserves so that the red color wouldn’t leak out the sides. Repeat the same procedure with the second layer cake and then place the third layer on top.

raspberry cake 0009 raspberry cake 0010

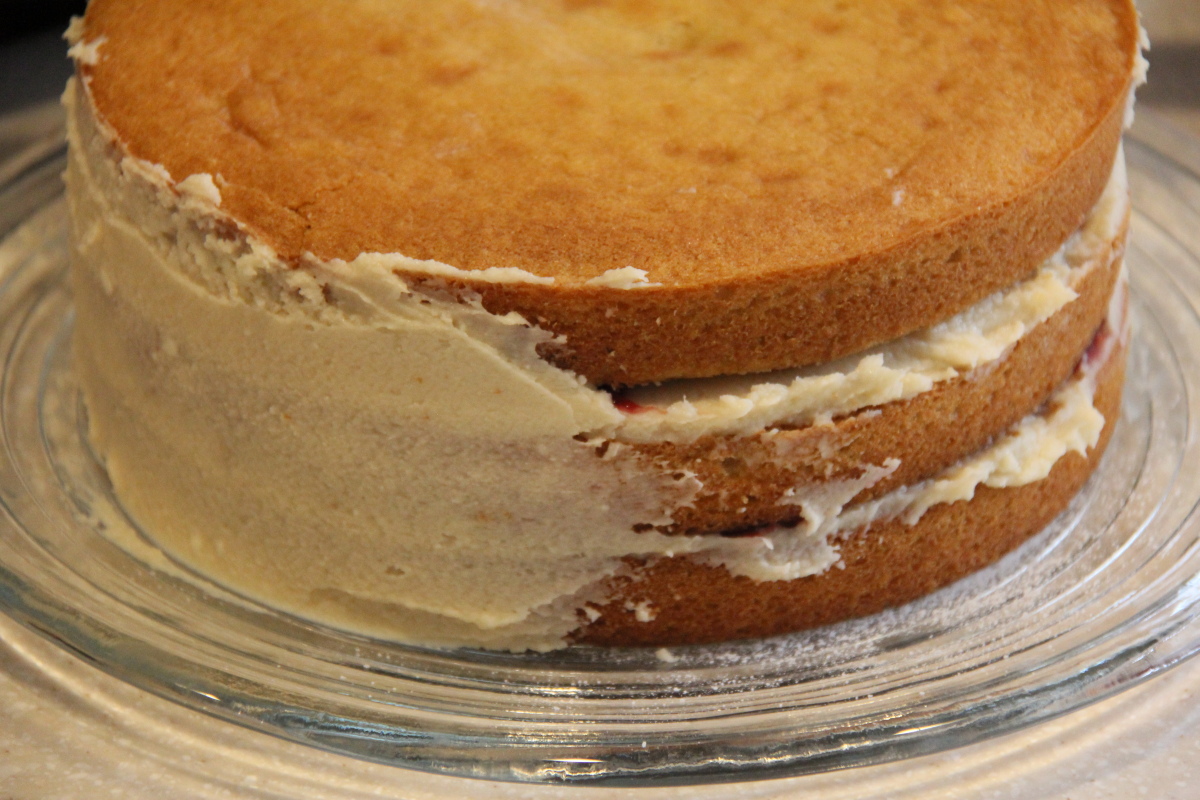
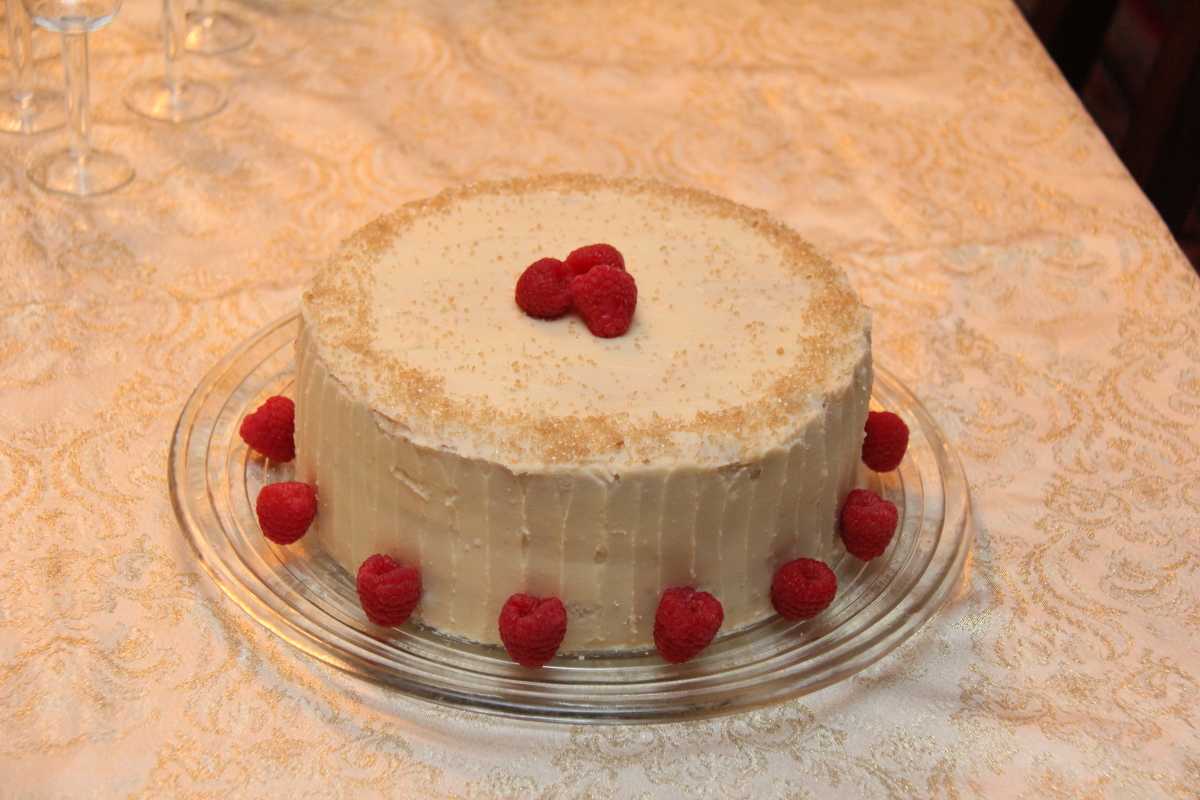
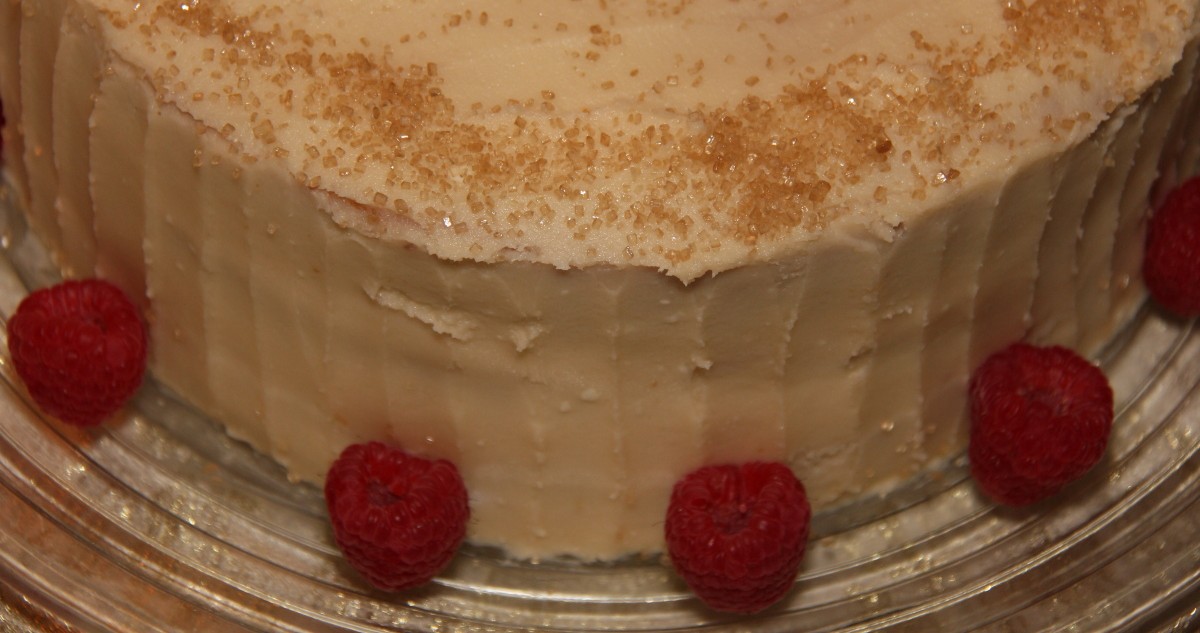
To frost it, first cover the cake with a very thin layer of frosting to create your crumb coat. Refrigerate it for a few hours to let it set. Then, frost the top and sides with the remaining frosting. Decorate and cover with garnishes as desired.


Texas Sheet Cake

I don’t know where my mom acquired this recipe, but it is definitely a family favorite. The sheet cake is not as dense as a brownie but when combined with the decadent chocolate glaze, it delivers a solid chocolate hit. Plus, no mixer or bowls required. All you need is a 3 quart pot and a jelly roll pan to create this fast, simple, and delectable dessert!

IMG_3865 Texas sheet cake

IMG_3816 Texas sheet cake IMG_3819 Texas sheet cake

Cake

8 oz (2 sticks) butter
1 cup water
1/4 cup cocoa powder
2 cups all-purpose flour
2 cups granulated sugar
1/2 teaspoons salt
2 eggs
1 teaspoon baking soda
1/2 cup sour cream

Preheat your oven to 375F. Combine the butter, water, and cocoa in a 3 quart sauce pan and bring to a boil.

IMG_3821 Texas sheet cake IMG_3824 Texas sheet cake

Remove from the heat and stir in the remaining ingredients.

IMG_3826 Texas sheet cake IMG_3829 Texas sheet cake

Pour the batter into a 11″ x 17″ jelly roll pan.  You’ll bake the cake at 375 F for 22 minutes, but start making the glaze when there are about 5-10 minutes left on the timer. We want to pour our icing on a HOT cake:)

IMG_3845 Texas sheet cake

After 22 minutes, the cake should be finished baking. To make sure it’s done, press gently on the surface, and it should easily bounce back.

IMG_3841 Texas sheet cake IMG_3844 Texas sheet cake


Glaze

4 oz (1 stick) cup butter
6 tablespoons milk
1/4 cup cocoa powder
4 cups powdered sugar
1 teaspoon vanilla extract
1/2 cup chopped walnuts (optional)

Combine the butter, milk, and cocoa in a sauce pan and bring to a boil. Remove from the heat and stir in the remaining ingredients. (I don’t always use nuts because of friends/family nut allergies, but they do add a little crunch to the icing.)

IMG_3852 Texas sheet cake IMG_3853 Texas sheet cake

The cake should now be out of the oven. Pour the glaze on the cake while both the cake and glaze are hot. Spread the glaze quickly and evenly. Let it cool.

IMG_3856 Texas sheet cake IMG_3864 Texas sheet cake

You can cut the Texas sheet cake into bars about 1.5″ by 2.5″. Sometimes I will use a pizza cutter- put a little butter on the wheel and cut away to make swift and smooth cuts. Enjoy!

texas sheet cake IMG_2107

Cranberry Orange Pecan Biscotti

Biscotti get a bad rap for being dry and hard. It’s almost like you’re forced to dunk them in your coffee or tea so you don’t break a tooth.  This recipe is oh so different.  It must be the magical combination of the cranberries and pecans… creating a much softer and more delicate cookie. Now you can choose whether you want to dunk or not:) Of course, I still eat them with my coffee for breakfast. Coffee makes everything better, amiright?

orange pecan cranberry biscotti0005

Orange Pecan Cranberry Biscotti
  • 6 tablespoons butter, room temperature
  • 1 1/4 cup granulated sugar
  • 4 eggs
  • zest of 2 oranges, chopped
  • 3 1/4 cups all-purpose flour
  • 2 teaspoons baking powder
  • 1/4 teaspoon salt
  • 2 cups pecan halves
  • 1 cup dried cranberries

In a stand mixer, beat the room temperature butter and sugar until light and creamy.  Add the eggs one at a time and beat at medium speed for a couple of minutes.  Now, add in the orange zest. (I like to zest my orange to obtain long zest strips and then cut them up into nice small (1/8 inch or so) pieces.)

orange pecan cranberry biscotti0002

Now, mix in one cup of flour along with the baking powder and salt. Once combined, add the remaining flour. It will be fairly think at this point. Finally, add in the pecans and dried cranberries. You can either mix for just a few seconds with the mixer or give a quick stir by hand.

Place the dough in two piles on a parchment paper covered cookie sheet.  One very simple trick is to wet your hands, which will make it much easier to form the logs.  It really keeps your hands from sticking to the dough!

This batter will become wider as it bakes. I like to shape them into about 4″ wide logs, anticipating that I will end up with about a 6″ wide final loaf.  Bake at 350F for 30 to 35 minutes, until they turn a light golden brown.

orange pecan cranberry biscotti0003

Let the logs cool on the tray for about 10 minutes and then transfer to cooling racks to rest for another 20 to 30 minutes.  Once the logs are almost completely cooled, use a sharp serrated knife to saw the logs into slices.  I like to cut them at an angle. Use a back and forth sawing motion so you don’t rip the big pieces of pecans out of the soft loaf. Once sliced, place the biscotti back on the cookie sheet.

Lay them on one side and bake for about 6 to 8 minutes, then flip them over and bake another 4 to 6 minutes on the other side, depending on how you like them. (I like to re-bake these slightly less than my other varieties of biscotti to keep them soft, for a different texture.  If they are all the same, what fun is that?)

biscotti 0002

Finally, place your biscotti on a cooling rack for 30 to 60 minutes.  They will keep in an airtight container for 1 – 2 weeks or in the freezer for up to 3 months.

Zucchini Bread

zucchini bread 0003zucchini bread 0005

It’s late summer, and the zucchini in my family’s garden are ready to be picked!

We’re going to use them to make the most delicious zucchini bread. This recipe is quick and simple! And as my dad likes to say, you can pretend that you’re getting your veggies for the day with every slice you eat. Enjoy!


Zucchini Bread

2 cups grated zucchini (about 1 large or 2 medium zucchini)
3 cups all-purpose flour
1 teaspoon salt
1 teaspoon baking soda
1 Tablespoon ground cinnamon
3 eggs
1 cup vegetable oil
2 cups granulated sugar
1 Tablespoon vanilla
1 cup of chopped nuts (walnuts)


Start off by greasing and flouring two loaf pans. Glass is best, if you have them. Preheat the oven to 350 degrees.

zucchini bread 0011 zucchini bread 0100

I start off by grating my zucchini and setting it aside. Instead of a food processor, I just use my old hand grater as it takes no time to convert the zucchini into 2 cups of tender shreds ready for the bread.zucchini bread 0102

IMG_7532 IMG_7527zucchini bread 0036

Next, chop up 1 cup of nuts (walnuts are a personal favorite), into medium size pieces and set aside.  Slightly larger chunks give you a great crunch in every bite.zucchini bread 0101

zucchini bread 0025 zucchini bread 0026

Now mix the flour, salt, baking soda ,and cinnamon together in a bowl. Whisk to incorporate all of the ingredients together.

zucchini bread 0042 zucchini bread 0048

In a second bowl, beat the eggs, oil, sugar, and vanilla until blended.  Add in the grated zucchini.

zucchini bread 0052

Pour the flour mixture into to the zucchini mixture and mix until incorporated.  Add the chopped nuts and stir.

zucchini bread 0072

Now, pour about half of the mixture into each loaf pan.  Place the pans in the oven and bake for 50 to 60 minutes.  If you’re not sure it’s done, insert a toothpick into the top of the loaf and see if it comes out clean.

zucchini bread 0089 zucchini bread 0083

Let the pans cool for about 5 to 10 minutes. Then, you can remove the loaves and let them cool on racks.

zucchini bread 0097 zucchini bread 0095

It’s hard definitely tough to wait unit the bread is cool before eating it – especially when you can see the hot steam coming off the freshly cut slice…. yummm:)

Strawberry Tart

I am so thankful that I was able to spend Easter at home with my family. As this may be my last break for quite some time, I soaked up the opportunities to see old friends, bum around the house, enjoy a holiday meal with family, and bake!

strawberry tart 0020

strawberry tart 0011

After what seemed to be the longest winter ever, the sight of bright pink strawberries in the grocery store makes me almost giddy! I knew they must be incorporated into this year’s Easter treat.

strawberry tart 0010strawberry tart 0004

This strawberry tart keeps it simple and delicious. It showcases the beautiful berry and is full of texture and flavor! My dad’s famous flaky pie crust is filled with a luscious pastry cream, all topped off with sweet berries.

strawberry tart 0017strawberry tart 0021

This tart would also be delicious with any other spring/summer fruit like raspberries, peaches, or plums! Your friends and family will definitely be impressed:)

strawberry tart 0014strawberry tart 0015

strawberry tart 0016

Strawberry Tart

1 fully baked pie crust
pastry cream
about 3 cups fresh strawberries, sliced
glaze (2 Tablespoons jam + 1 Tablespoon water)

Shortly before you are ready to serve the tart, spread the pastry cream in the bottom of your baked pie crust shell and arrange the strawberries on top. Combine the jam and water together and heat (either in the microwave or a small saucepan) until combined. Using a pastry brush, spread the glaze over the strawberries to give your tart a shiny finish!

strawberry tart 0013

Pie Crust
  • 1 1/3 cups all-purpose flour
  • 1/2 teaspoon salt
  • 1 Tablespoon sugar
  • 1 stick cold butter, cut up into small chunks
  • 1/4 cup (+ 1 Tablespoons if necessary) ice water

(We made the crust by hand with a pastry cutter. Using a food processor works wonderfully, as well.) Stir together the first three ingredients in a medium sized bowl. Add your small pieces of cold butter. Using a pastry cutter, cut the butter into the flour mixture until you have little bits of pea-sized butter pieces remaining. Pour in 1/4 cup of ice cold water and blend together with the pastry cutter and your hands until a nice dough forms. Add another tablespoon of water if it is still too crumby. Wrap the dough in plastic wrap and chill for a couple of hours before rolling it out.

strawberry tart 0003

Put a piece of parchment in a circle to fit in the bottom of your pan. We used a tart pan with fluted edges, but any kind of pan (pie, tart, quiche, flan) will do! After your dough has chilled, it’s time to roll it out into a circle with a diameter a couple of inches bigger than your pan. Sometimes this is easier on top of the plastic wrap or a floured sheet of parchment paper. Keeping your dough sprinkled with flour will also help to prevent it from sticking. As you roll out the dough, occasionally turn, flip, and lift the dough to free it from the surface. After you’ve reached the desired size, turn the dough out into your pan. At the bottom edge, lift the dough up and press in to make sure it gets fully in there. Trim the overhang to 1/2 inch. Fold the overhang in to make double thick sides.

strawberry tart 0005strawberry tart 0006

Now, it’s time to blind bake! We’re going to bake the crust by itself, since the filling doesn’t need to be baked. This method also keeps the crust flaky and wonderful, protecting it from becoming soggy after we load it up with pastry cream and berries.

strawberry tart 0007strawberry tart 0008

Preheat your oven to 425F.  Gently place a piece of aluminum foil on top of the crust. Then, place your pie weights or “baking beans” on top of the foil. You can purchase official pie weights, but we are totally happy using dried beans. (After they cool, you can store them in a bag and use them over and over again as pie weights!) Spread out the beans delicately and evenly.

strawberry tart 0012

Bake your crust, filled with foil and weights/beans, for 15 minutes. Then, remove the weights and foil and bake for about 5 minutes more, until the crust is cooked through and turns light brown. Remove from the oven and allow the crust to cool in the pan.


Pastry Cream
modified from Smitten Kitchen and Williams-Sonoma Dessert
  • 1 1/2 cups whole milk
  • 3 large egg yolks
  • 1/2 cup granulated sugar
  • 3 Tablespoons cornstarch
  • pinch of salt
  • 1 teaspoon vanilla extract
  • 3 Tablespoons butter, room temperature

In a saucepan over medium heat, warm the milk until you see small bubbles form along the edges. Remove pot from the heat. In a medium bowl, whisk together the egg yolks, sugar, cornstarch, and salt. Slowly add about one quarter of the hot milk to the egg mixture, while whisking. Continue to add the milk very slowly until it is all incorporated. Pour the mixture back into the saucepan and place over medium-low heat.

strawberry tart 0001strawberry tart 0002

Cook, stirring constantly, until the mixture comes to a boil and thickens. Continue to cook, still stirring constantly, for about 30 seconds. Pour the mixture into a clean bowl. Add the vanilla extract and butter (cut into small chunks). Stir until smooth and combined. Press a piece of plastic wrap directly onto the surface to prevent a skin from forming. Refrigerate until cold, for at least 2 hours or up to 24 hours.