When we are planning for and upcoming birthday in our house, the conversations don’t revolve around where the birthday person wants to go out to dinner or which gifts they desire. For us, the most significant birthday decision centers around the birthday dessert. The selections typically bounce between my Nona’s chocolate cake (my favorite!) and the Boston Cream pie. Other times, we make carrot cake (post coming soon), a trifle, or pound cake with berries, but those first two are the household staples. When you combine cake, homemade pudding, and chocolate, you get one of the most delectable desserts around. There is only one downside of a birthday Boston cream pie – it is tough to insert candles into the hardened chocolate shell. You’ll have to make starter holes with a small knife so that your loved one can blow out some birthday candles, but that is a sacrifice I’m willing to make:-).
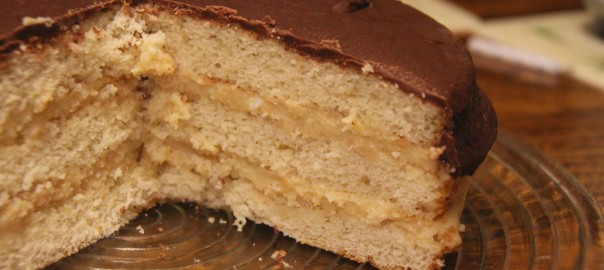
A few words from Sarah: From one glance at this layered treat, I think we can all see that this so-called pie is indeed a cake. And let me tell you, it is not just ANY cake. It wasn’t enough for this cake to get sandwiched in between some loving layers of smooth and creamy pudding. Oh no. Then it decided to be blanketed with a generous coating of rich, chocolate glaze. I’m pretty sure this cake and I are on the same page because chocolate truly makes everything better. Perhaps you, like me, are wondering why on earth this intelligent dessert decided to call itself a pie. Let us turn to Wikipedia for the answer. “Although it is called a Boston cream pie, it is in fact a cake and not a pie… The Boston cream pie is the official dessert of Massachusetts, declared as such in 1996. However, it is not mass-produced in Boston.”
While the Boston Cream Pie remains one of the dessert world’s most egregious misnomers (*slight overreaction*), I sincerely hope you will give it a try. The components of cake, pudding, and chocolate may seem somewhat simplistic each on their own, but when married together, they create synergy and magic. I promise you won’t be disappointed.
The Boston Cream Pie does require a couple of steps, but none of them are too difficult. Let’s walk through the process together. We make the pudding first, which gives it time to cool while we work on our cakes. Next, we bake the cakes and then assemble the layers. Finally, we cover the entire masterpiece with a chocolate topping and try our hardest to remain patient while the chocolate sets in the fridge. Believe me, this is not easy. Luckily, some of the chocolate will drip off the sides and land on the plate, in which case it is fully acceptable to clean up the mess you’ve just made.
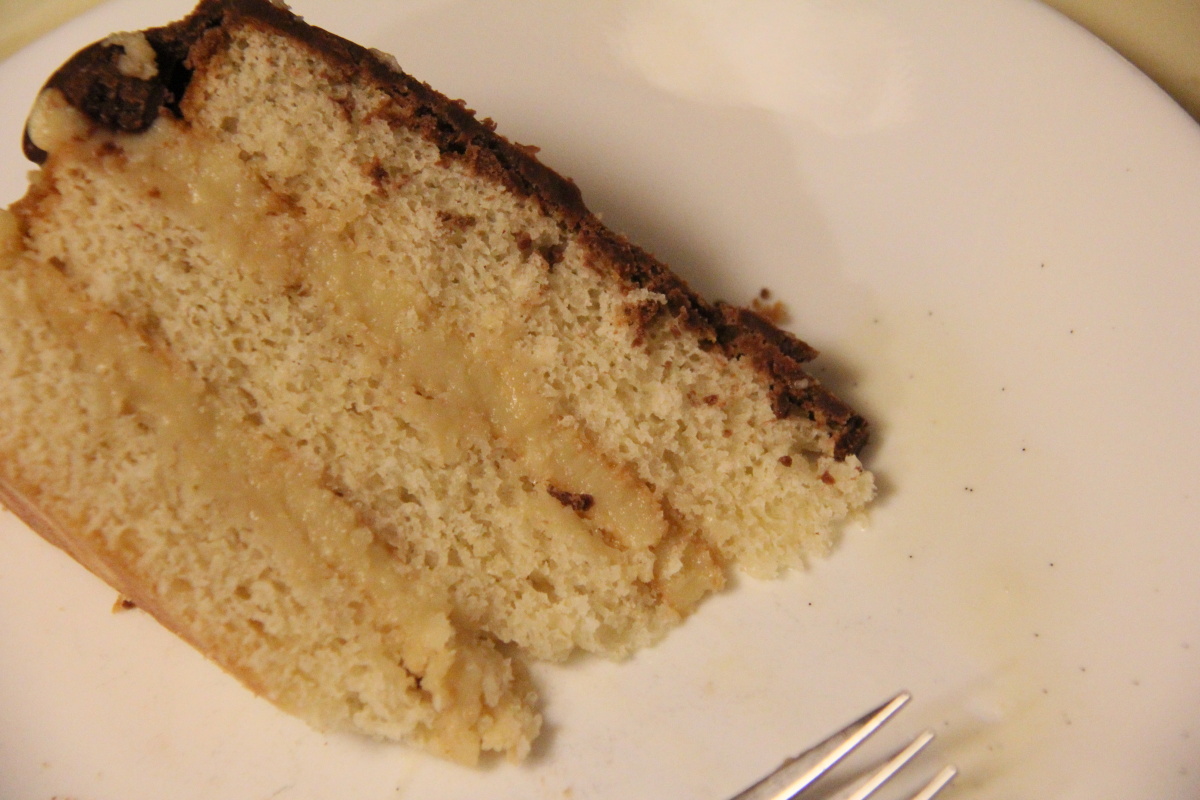
Back to BiscottiDave: In this recipe, I have chosen to make 3 individual cake layers. This is really just my personal preference. Some recipes make one tall cake and then slice it into three separate, thin cakes. This yields a nice looking symmetric perimeter in your finished product, but I think the pudding absorbs too much into the cake. I feel that the flavors and texture hold up much better when each cake layer has been baked separately. Also, I choose to make 3 cake layers, while some other recipes only have 2 layers. Again, this is totally up to you, but one layer of pudding is just not enough for me.
Pudding Filling
- 2/3 cups granulated sugar
- 1/4 cup corn starch
- 1/4 teaspoon salt
- 3 cups milk (2% or whole)
- 4 egg yolks
- 4 teaspoons vanilla extract
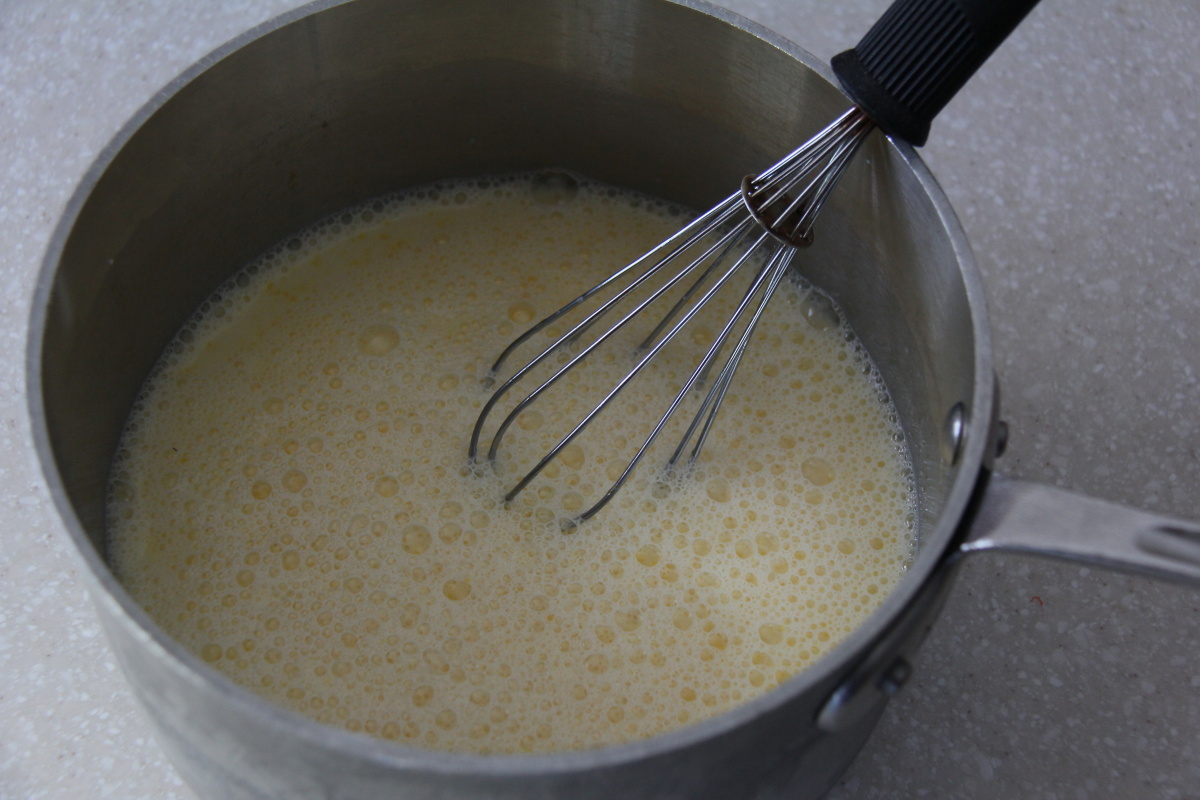
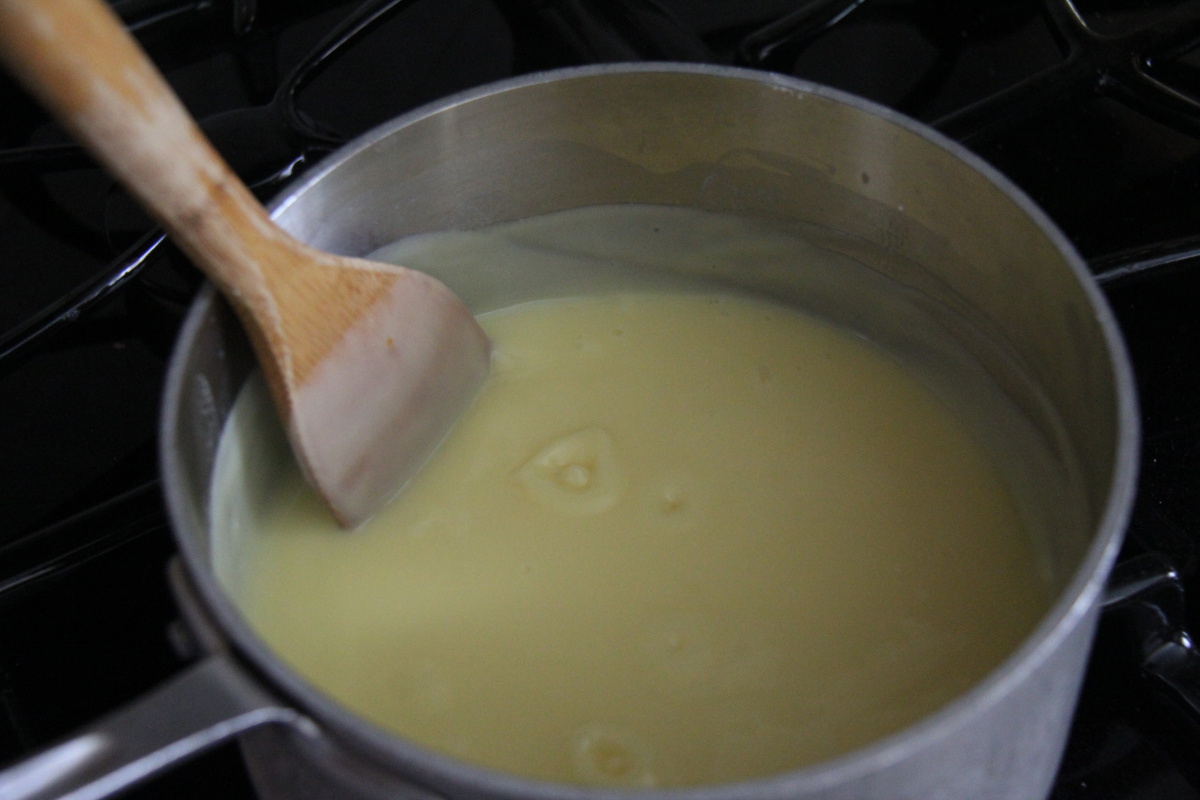
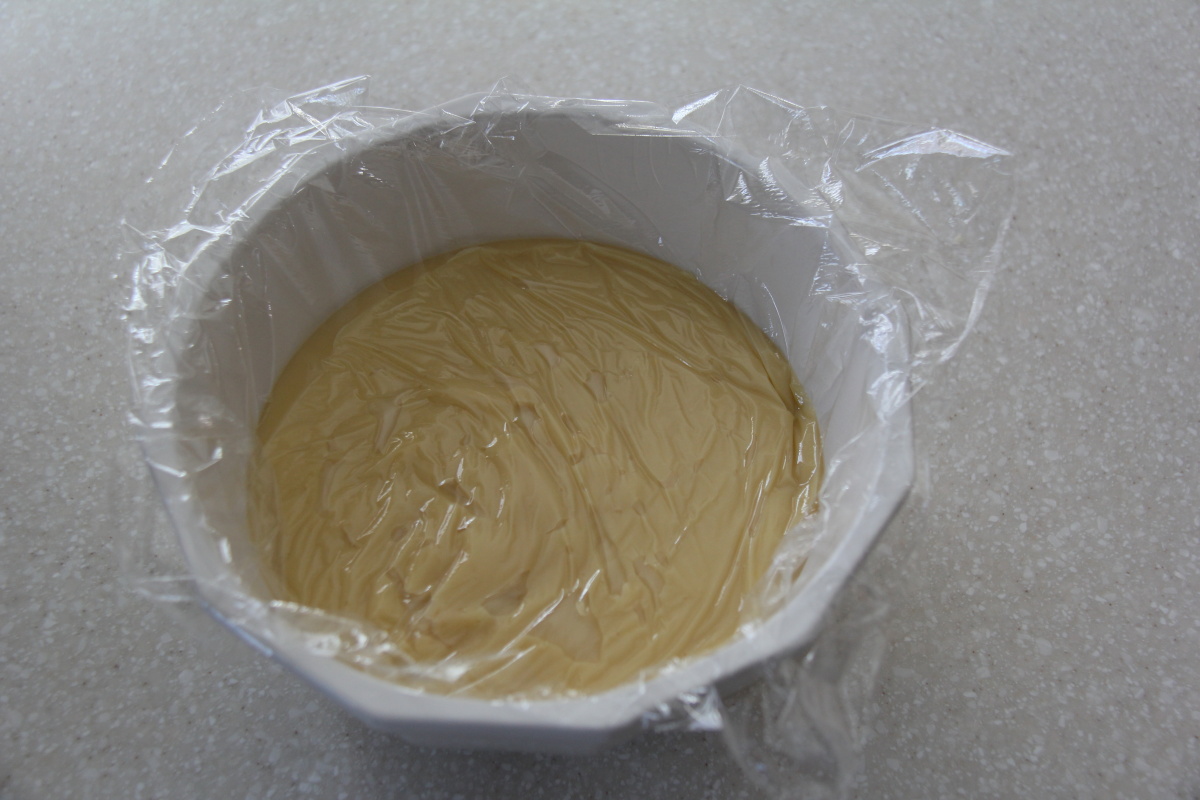
Add all of the ingredients into a heavy 3 quart pot. Before placing the pot on the stove, I like to use a wire whisk to totally incorporate the cornstarch, eggs, and other ingredients. Once you start cooking the pudding, use a flat-bottomed wooden spoon to continuously stir the mixture. Although the constant string for 10 or 15 minutes is annoying and your arm gets tired, it’s the best way to prevent lumps from forming in the pudding. Think of it as exercise so you can eat a bigger piece of cake! As soon as you feel the bottom of the pan becoming slick (indicating that the pudding is beginning to thicken), remove the pot from the burner for about 10 seconds. Continue stirring to incorporate the thicker bottom layer back into the rest of the mixture, doing your best to minimize any lumps in the pudding. Place the pot back on the heat and continue stirring. As you stir, you will feel the mixture thicken and start to boil. Cook for another 1 to 2 minutes. Remove from the heat. Add the vanilla and stir. Place the pudding in a bowl and cover with plastic wrap, touching the pudding surface to prevent any film from forming. After it cools for about 30 minutes on the counter, place in the refrigerator for at least several hours or overnight.
Cake (modified from Betty Crocker)
- 4 oz (1 stick) butter, room temperature
- 1 1/2 cups granulated sugar
- 1 egg
- 1 1/2 teaspoons vanilla extract
- 2 teaspoons baking powder
- 3/4 teaspoon salt
- 1 cup + 2 Tablespoons milk
- 2 cups all purpose flour
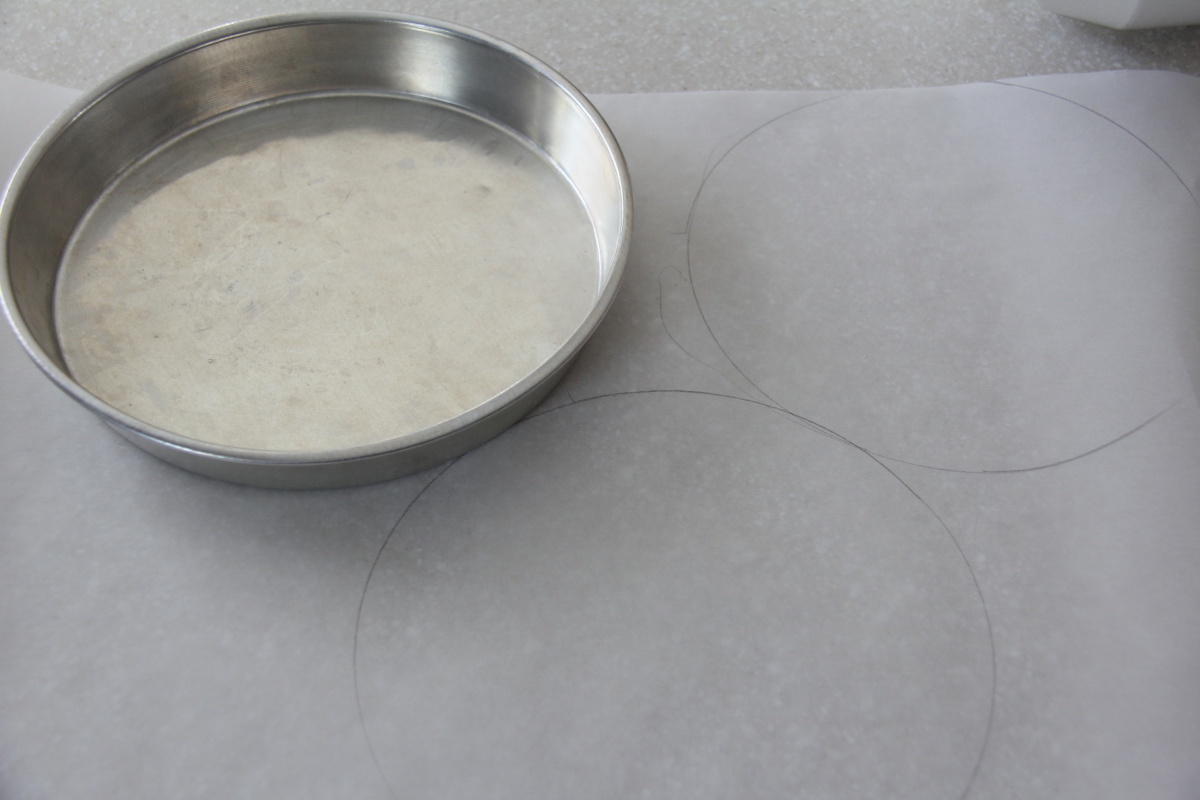
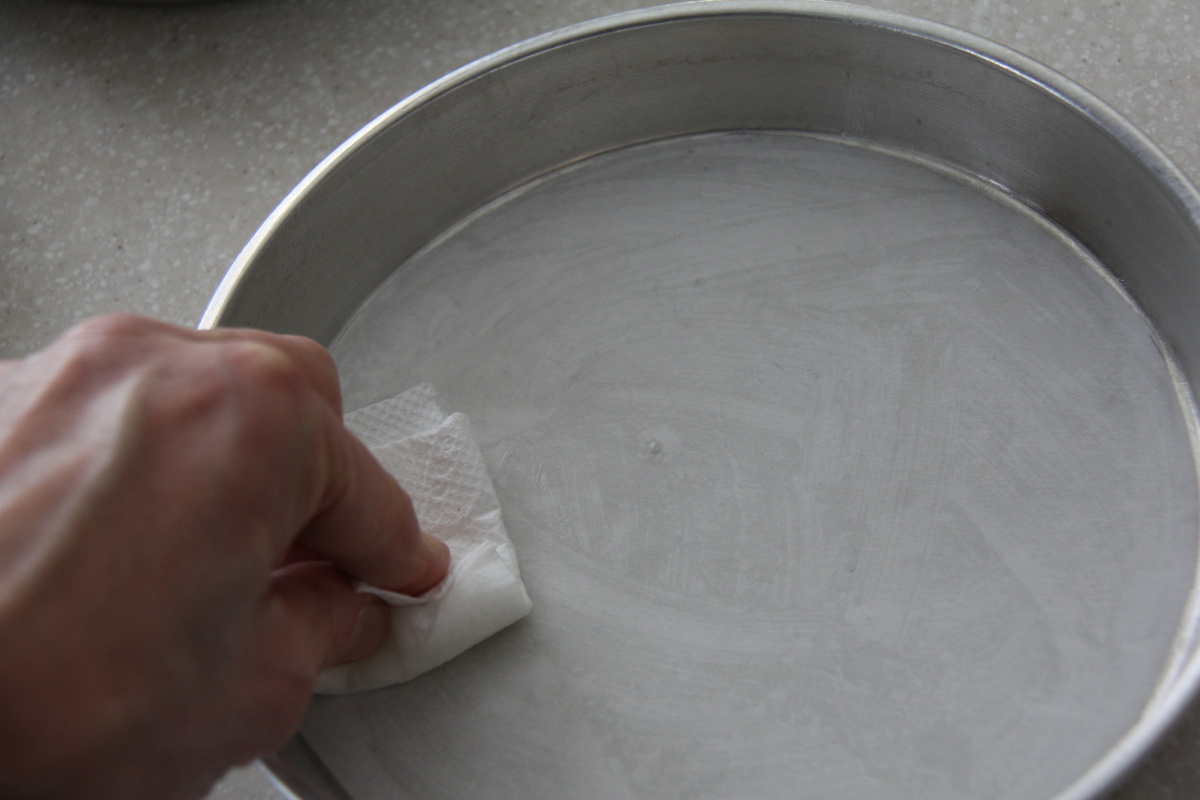
To make the cakes, you’ll need three 9″ circular cake pans. Trace three circles of parchment paper to place in the bottom of each pan. Grease the bottom and sides of the pan. Add the parchment circle and grease the bottoms again. Dust the bottom and sides with flour and set aside.

Preheat your oven to 350F (or a convection oven at 325F). Cream the butter and sugar until smooth. Add the egg and beat until light and slightly fluffy. Add the remaining ingredients and continue to mix for about 30 seconds. Scrape down the bowl and beat for another 30 to 60 seconds.
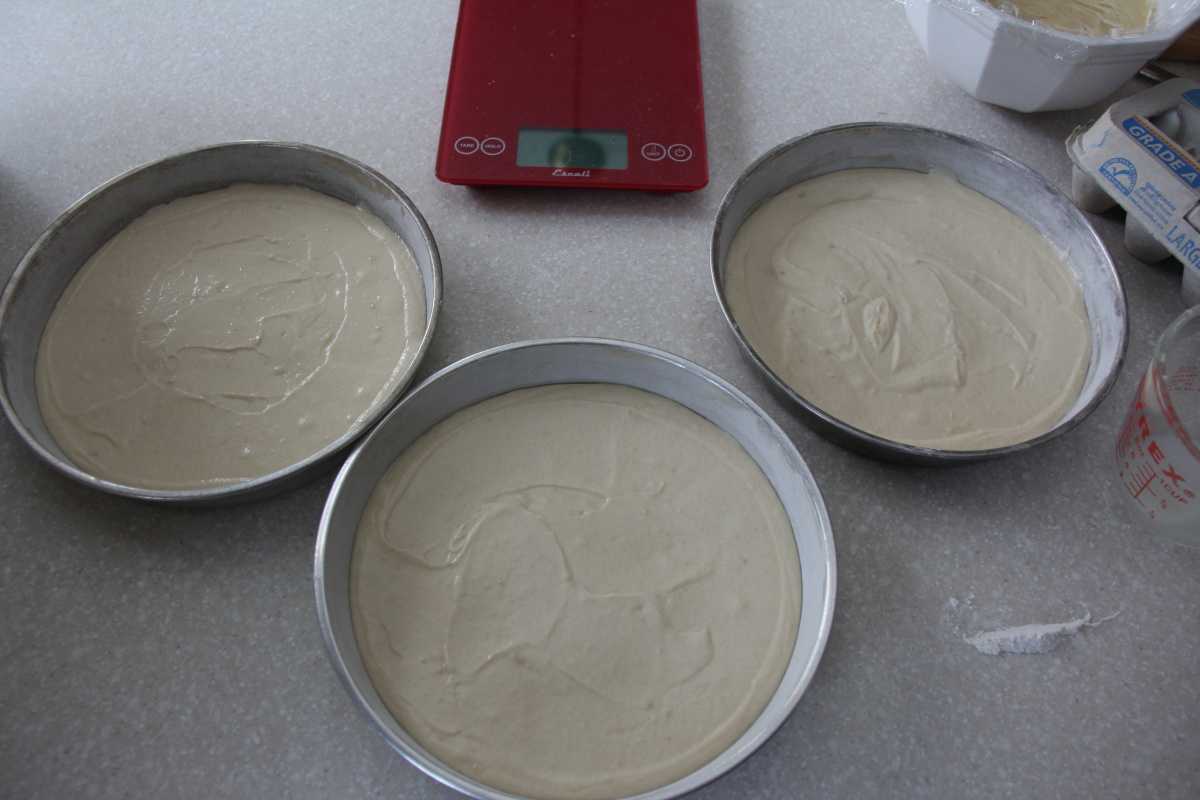
Pour the mixture into the three prepared pans. I find it useful to use a kitchen scale to evenly distribute the batter among the pans. The batter will be thick, so spread it out as evenly as possible in the pan. Then, lift each pan and tap down on the counter 5 to 10 times to make the batter as flat as possible. Place the pans in the oven and bake for about 25 to 30 minutes at 350 F (I used a convection oven at 325 for 25 minutes). The cakes should be a golden brown. If you lightly press your finger into the center of the cake, it should bounce back up.
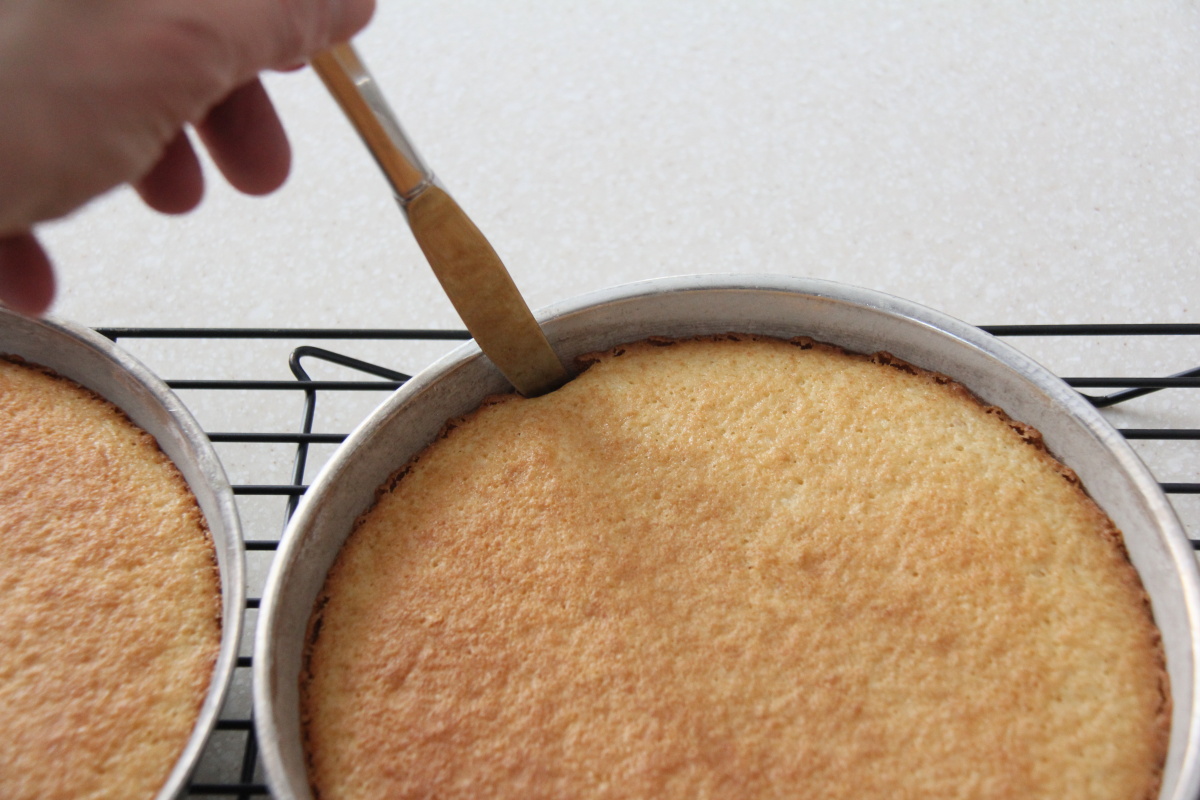
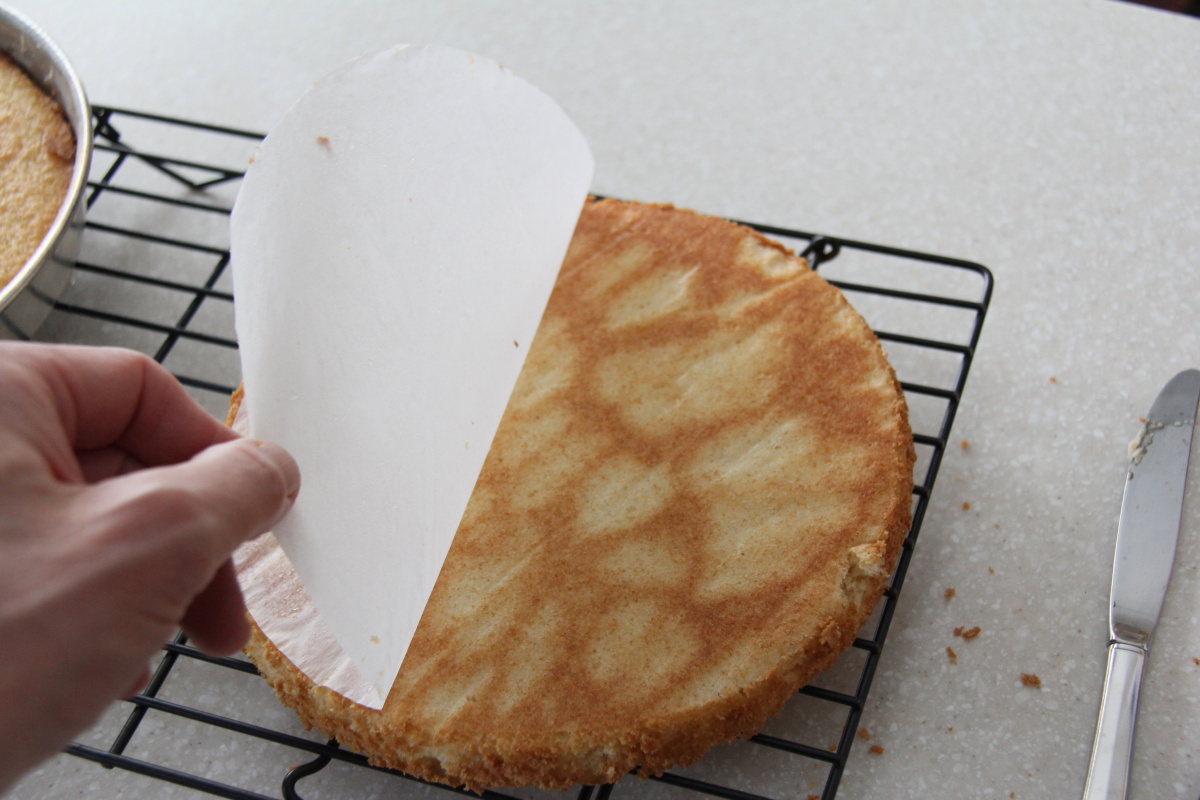
When they come out of the oven, let them cool for about 5 to 10 minutes in the pan. Then, run a thin knife around the perimeter of each pan and flip on to a cooling rack. Remove the parchment paper on the bottom of each cake and let them cool for at least another 30 minutes before assembling the cake.
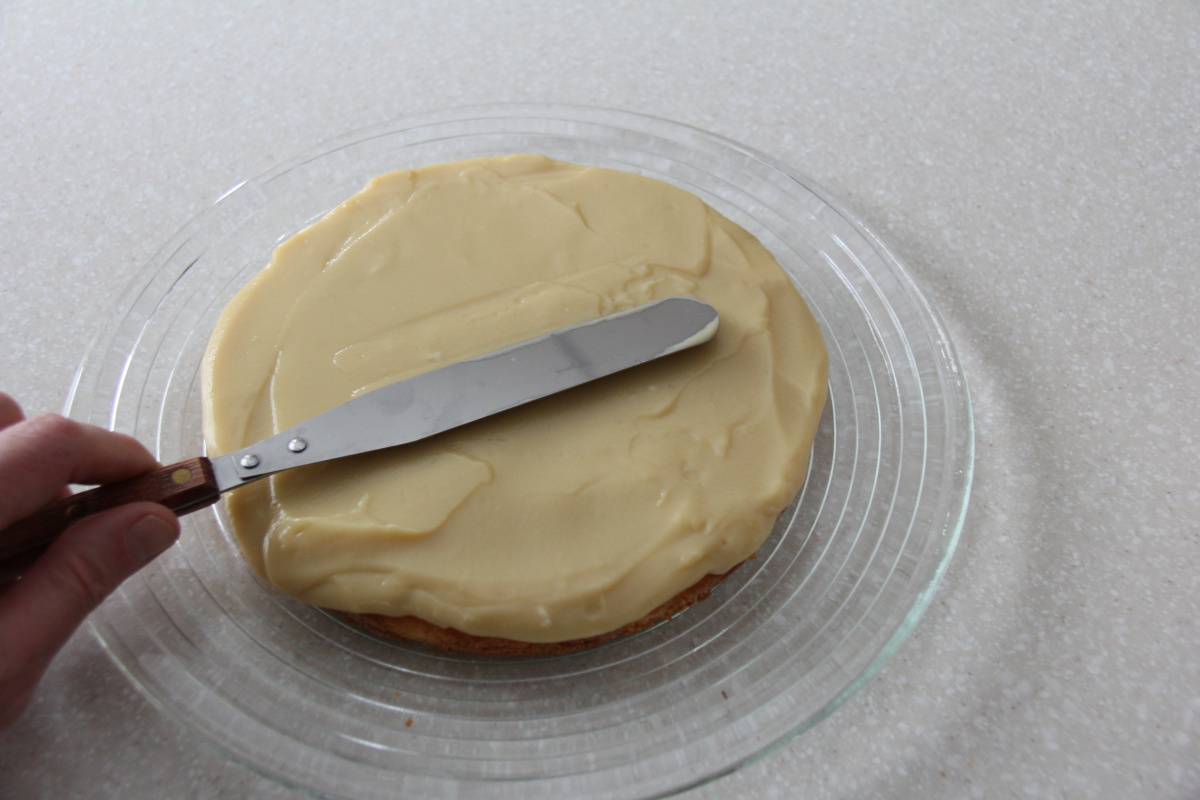
Assembly: Place one of the cakes on a nice serving plate. Add about half of the pudding and spread evenly and flat as possible on the cake, making sure the pudding extends all the way to the edges. Add the second cake on top. Add the remaining pudding and spread out like before. Place the third cake on top. Depending on the look you’re going for, you can let the pudding seep out between the layers for a rustic look or you can use a spatula to go around the cake and smooth the leaking pudding. Now you are ready to add the chocolate glaze.

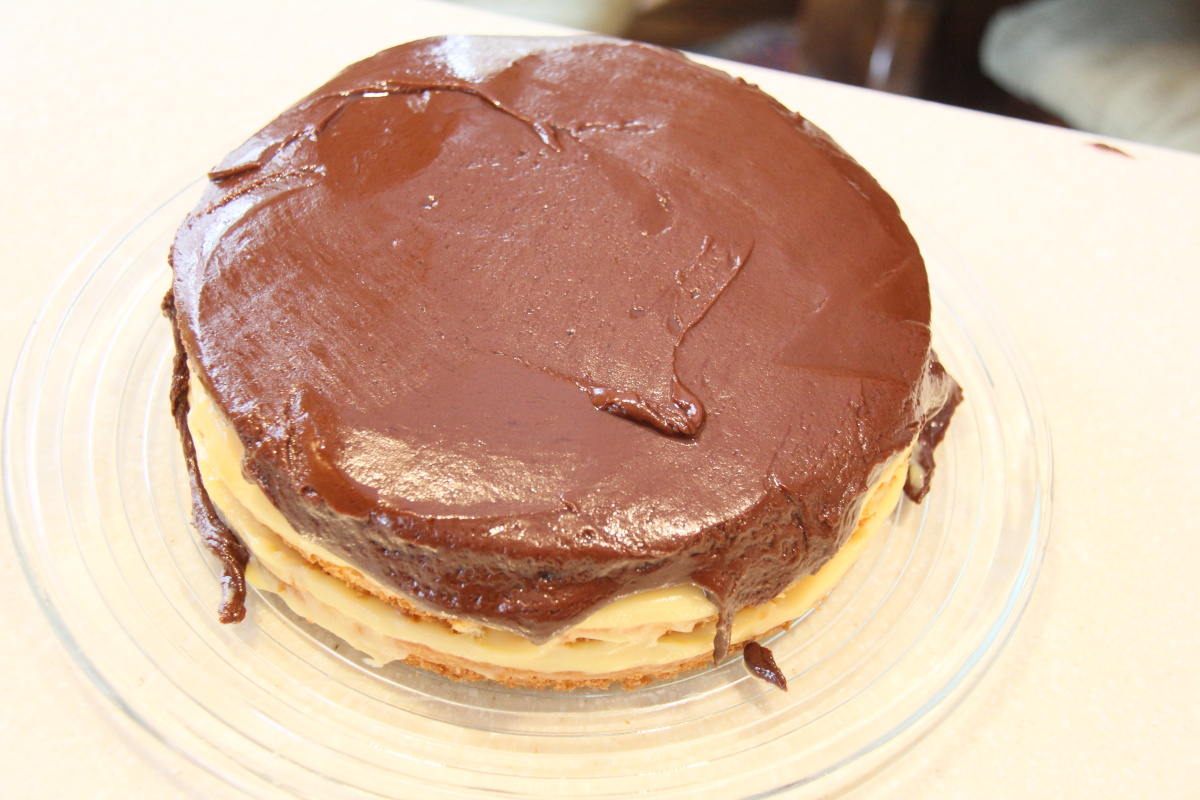
Topping the cake with a thick, dark chocolate glaze really completes this dessert. This glaze is always amazingly delicious, but it can sometimes be slightly tricky to achieve the ideal consistency. There is a delicate balance between making it thin enough to pour on the cake and slightly drizzle down the sides while still making it thick enough to form a nice thick crust on top.
Chocolate Glaze
- 5 Tablespoons butter
- 6 Tablespoons cocoa
- 1 cup powdered (confectioners) sugar
- 3/4 teaspoon vanilla extract
- 2 to 3 Tablespoons hot water

Start by melting the butter in a heavy sauce pan. Add the cocoa and stir until just incorporated. Remove from the heat. Add the vanilla and powered sugar and stir until combined. Add the hot water, 1 tablespoon at a time, stirring constantly. You may have to place the pot back on the heat for 10 to 20 seconds if the mixture cools too much but be careful not to overheat the mixture.
Working quickly, pour the glaze over the assembled cake. Quickly, spread the chocolate using a long flat knife or an icing spatula to force a small amount of the glaze to drip down over the edges. Chill the cake for a few hours before serving to help set the pudding and chocolate. Use a sharp serrated knife to cut the cake. Enjoy!
“For us, the most significant birthday decision centers around the birthday dessert.”
Obvi!!!!